
Introduction
If you worked through Part 8 and the block editor handles everything your site needs, there’s no rule that says you need a page builder.
But if you keep thinking “I know what I want this to look like, but I can’t get the block editor to do it,” a page builder can help. Maybe you want text layered over a background video with precise spacing, or you need a pricing table that looks a particular way. You might be handing the site off to someone who wants to drag elements around a visual canvas. Elementor handles all of that.
This tutorial covers the major builders briefly, why this series focuses on Elementor, how to install and configure it, and the theme and plugin decisions that keep your site fast from the start.
Builders Worth Knowing
Page builders are WordPress plugins that give you a visual design interface alongside WordPress’s native block editor. There are several worth knowing about.
| Builder | Best suited for | Worth knowing |
|---|---|---|
| Elementor | Beginners and small businesses wanting visual control without code | Very widely used, lots of widgets, useful free tier |
| Bricks | Developers comfortable with CSS who want lean output | Excellent workflow but steep learning curve |
| Divi | Hobbyists who like lifetime licensing and a large template library | Larger page size, proprietary shortcode system that makes switching harder later |
| Oxygen | Developers building custom sites from scratch | Powerful but complex, smaller community |
| Gutenberg | Content-first sites, blogs, brochure sites with standard layouts | Native to WordPress, no extra page weight (covered in Part 8) |
This series focuses on Elementor because it’s the most common page builder among STW users, but the hosting and performance principles in the rest of the series apply regardless of which builder you pick.
When Elementor Makes Sense Over Gutenberg
Elementor has more versatility for presentation-heavy work. If you’re building a page where design carries real weight, where the layout itself is part of what the business communicates, Elementor gives you control that blocks can’t match. Photography portfolios, product landing pages, design agency sites, or any project where “close enough” on spacing and positioning falls short.
It also makes sense when you need more design flexibility and a broader widget ecosystem than the block editor gives you by default. Elementor Free covers a lot of ground, and the Pro tier adds many of the more advanced design and marketing widgets.
Elementor does load its own CSS and JavaScript layer on every page where it’s active. The performance chapters later in this series (Part 13 onward) cover how to manage that, but a site that starts lean is always easier to speed up than one that starts heavy.
If you’re on the fence, build your first few pages with the block editor. You can add Elementor later without losing any content. Going the other direction, removing Elementor from pages built entirely with it, is a bigger job.
Free vs. Pro — What You Actually Get
Elementor’s free plugin gives you a broad widget set, a template library, responsive editing controls, and the full drag-and-drop canvas. You can build complete sites with it.
There are a few things you only get with Pro, though:
- Theme Builder. On the free plan, your theme controls headers, footers, blog post templates, and archive layouts. Elementor handles page content only.
- Built-in forms. You’ll need a separate plugin like WPForms or Contact Form 7 for contact forms.
- Popups. Promotional overlays and lead capture modals are Pro-only.
- Motion effects. Scroll animations, parallax backgrounds, sticky elements, and mouse-tracking effects require Pro.
- The extended widget set. Pro adds dozens more widgets including advanced carousels, animated headlines, price lists, and WooCommerce product widgets.
Elementor Pro is an add-on that sits on top of the free plugin. You always need both installed. Deactivate the free plugin, and Pro stops working too.
When free is enough
If your theme already handles headers and footers well (and Astra does, as covered in Part 7), and your pages need visual layout control without custom site-wide templates, the free version of Elementor may be all you need.
When Pro is worth it
Pro makes sense once you want to design your own header, footer, and post templates visually, or when you need forms, popups, or WooCommerce integration through Elementor’s interface. The Theme Builder is the main reason many users upgrade, and Part 11 explains where Astra handles that work on the free stack and where Elementor Pro starts to make sense later. Check elementor.com/pricing for current rates.
Choose Your Theme Before You Install
Even with Elementor handling most of the visual work, your theme still matters. It provides the underlying HTML structure, the default typography Elementor inherits, and on the free plan, the header and footer your visitors see.
- Hello Elementor is a theme built by the Elementor team as a blank canvas. It keeps the theme layer very light and basic. If you’re running Elementor Pro and plan to design every element through the Theme Builder, Hello gives you a very lean base with nothing competing against your designs. Without Pro, though, it gives you much less ready-made site structure than Astra, so you may need to build more of that frame yourself.
- Astra is the better choice if you’re using Elementor’s free version. It ships with a proper header and footer, flexible layout options through the Customizer and Header Builder you set up in Part 7, and Starter Templates that work with Elementor. It’s still lightweight, and it gives you a complete-looking site without requiring Pro for basic structure.
Avoid pairing Elementor with heavy multipurpose themes or themes that bundle their own page builder. Two design systems trying to control the same page creates conflicts, bloat, and debugging problems you don’t need.
Installing Elementor
With your theme in place, installing Elementor takes about a minute.
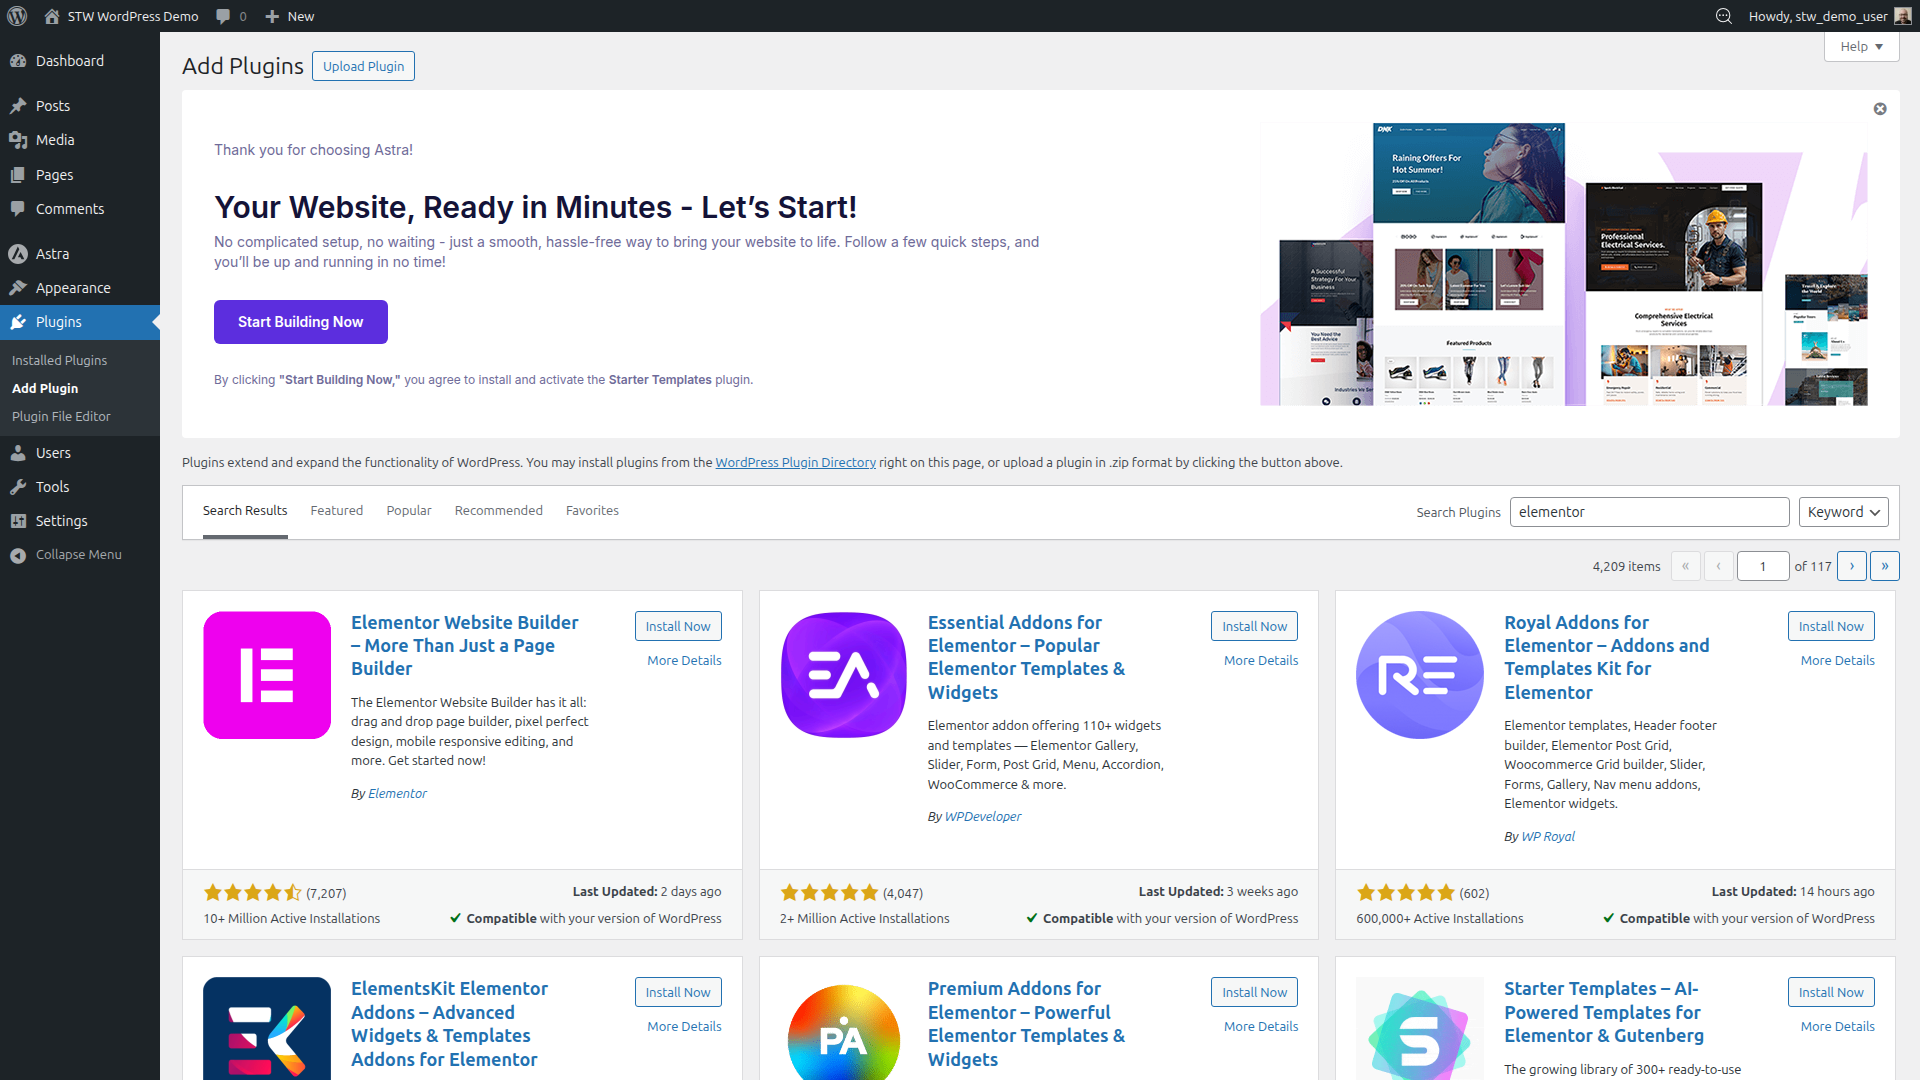
- In your WordPress admin, go to Plugins → Add New Plugin.
- Type “Elementor” in the search box.
- Find Elementor Website Builder (the one by Elementor.com) and click Install Now. After a few seconds, the button changes to Activate.
- Click Activate.
WordPress redirects you to the Elementor welcome screen. Dismiss any setup wizards for now and head to the Elementor dashboard instead.
The Elementor dashboard
After activation, a new Elementor section appears in the left-hand admin menu. Click it to see the Elementor home page.
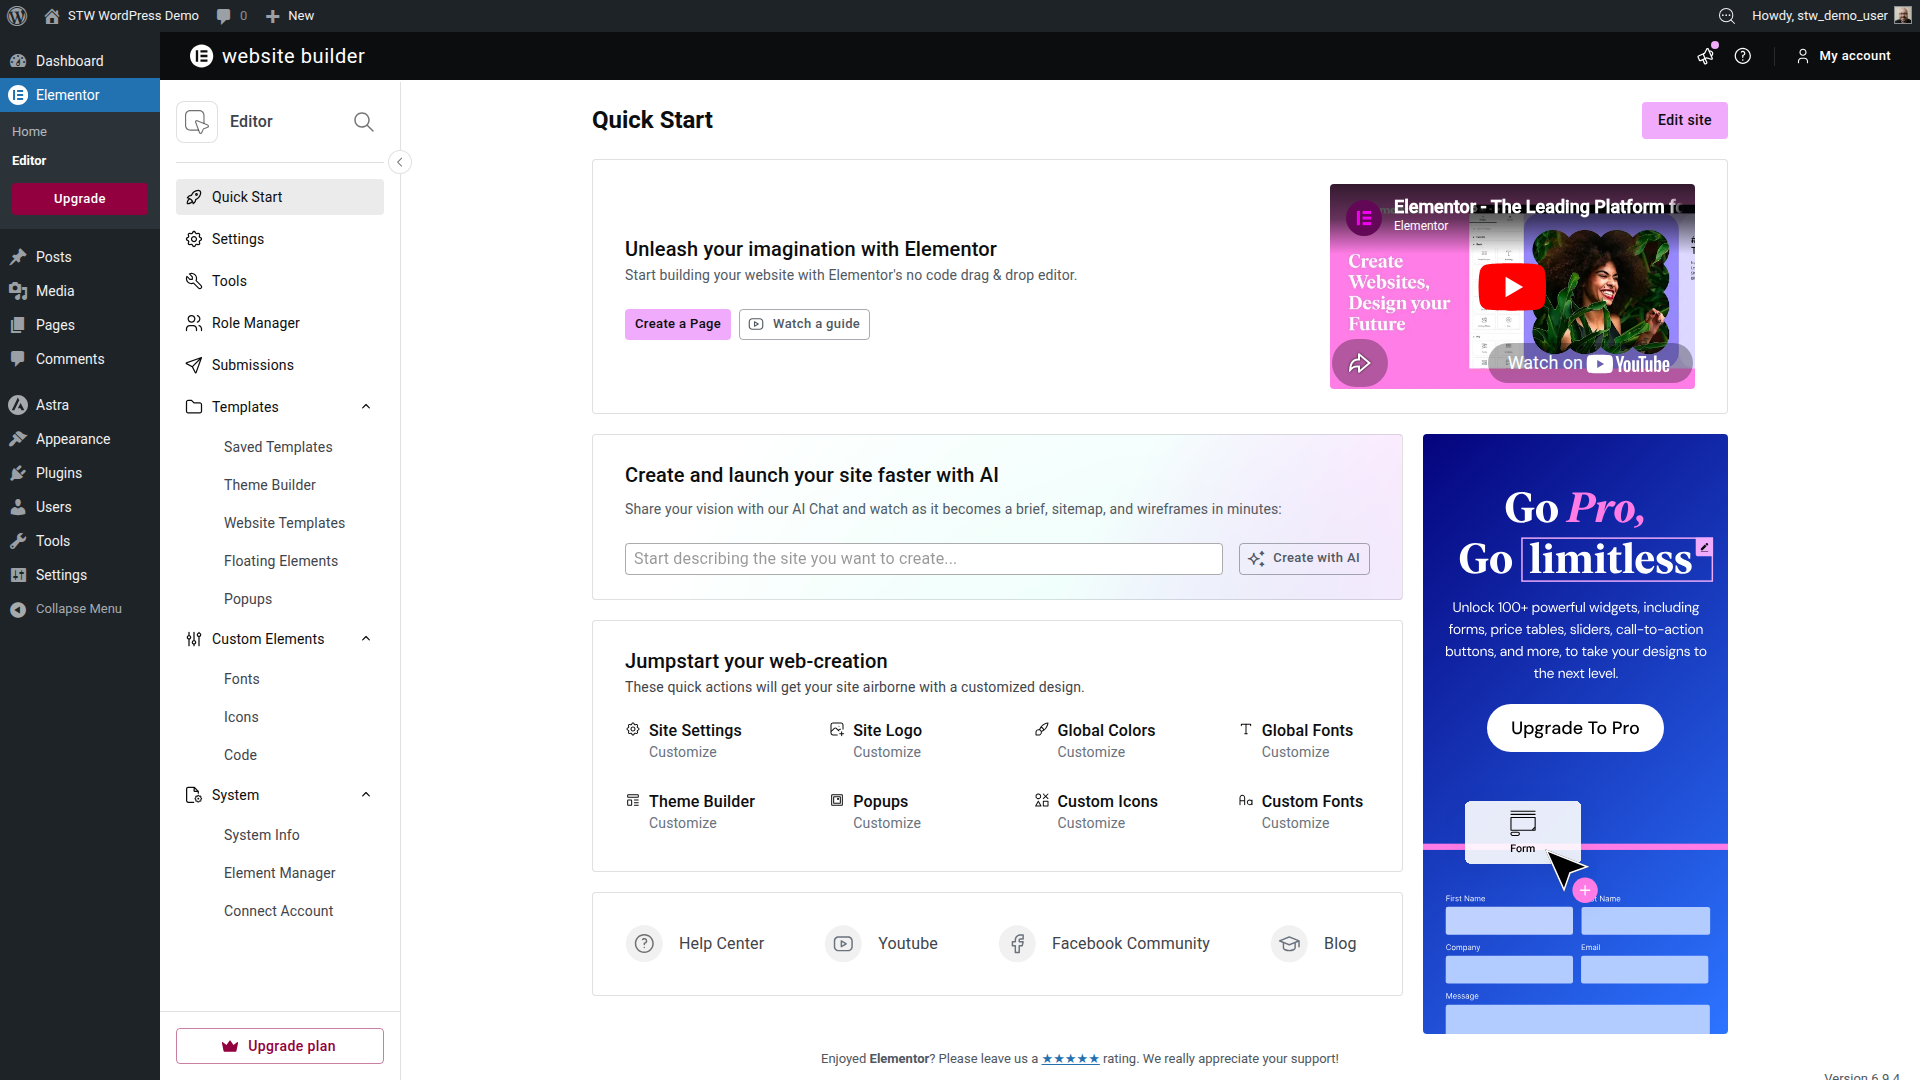
The sidebar menu gives you access to Settings, Templates (Saved Templates, Theme Builder, Website Templates), and under System, tools like System Info and Element Manager. You’ll find an Upgrade prompt for Pro, which you can ignore until you need Pro features.
What matters first on the Elementor dashboard
Don’t be overwhelmed – the Quick Start screen shows more than a first site needs on day one. Website Templates, Theme Builder, Floating Elements, Popups, Fonts, Icons, and Code are all real parts of Elementor, but they are not one big starter checklist.
For a first site on Astra, the practical order is simpler. Use Elementor to build the page content, use Astra to handle the site-wide frame such as the header and footer, and treat Website Templates as an optional shortcut if you want a faster visual starting point. Theme Builder, Popups, Floating Elements, and custom code are later tools, and some of them require Pro.
The things that matter most right now are the editor itself, the settings that control fonts and colors, and the template options only if you want a head start rather than a blank page.
A sensible first Elementor sequence
If you want the shortest path from setup to a site that looks ready to publish, use this order.
- Set up your theme and basic defaults in Astra.
- Build the page body in Elementor.
- Keep the header and footer in Astra unless you have a real reason to move them into Pro site parts later.
- Review the result on tablet and mobile before you start adding extra widgets, effects, or add-ons.
This process is what we cover in the next three tutorials. It keeps the design under control and makes it much easier to understand which tool handles each change.
The “Edit with Elementor” button
The first thing you might notice is you now have a new blue Edit with Elementor button that appears in the block editor toolbar whenever you’re editing a page or post.
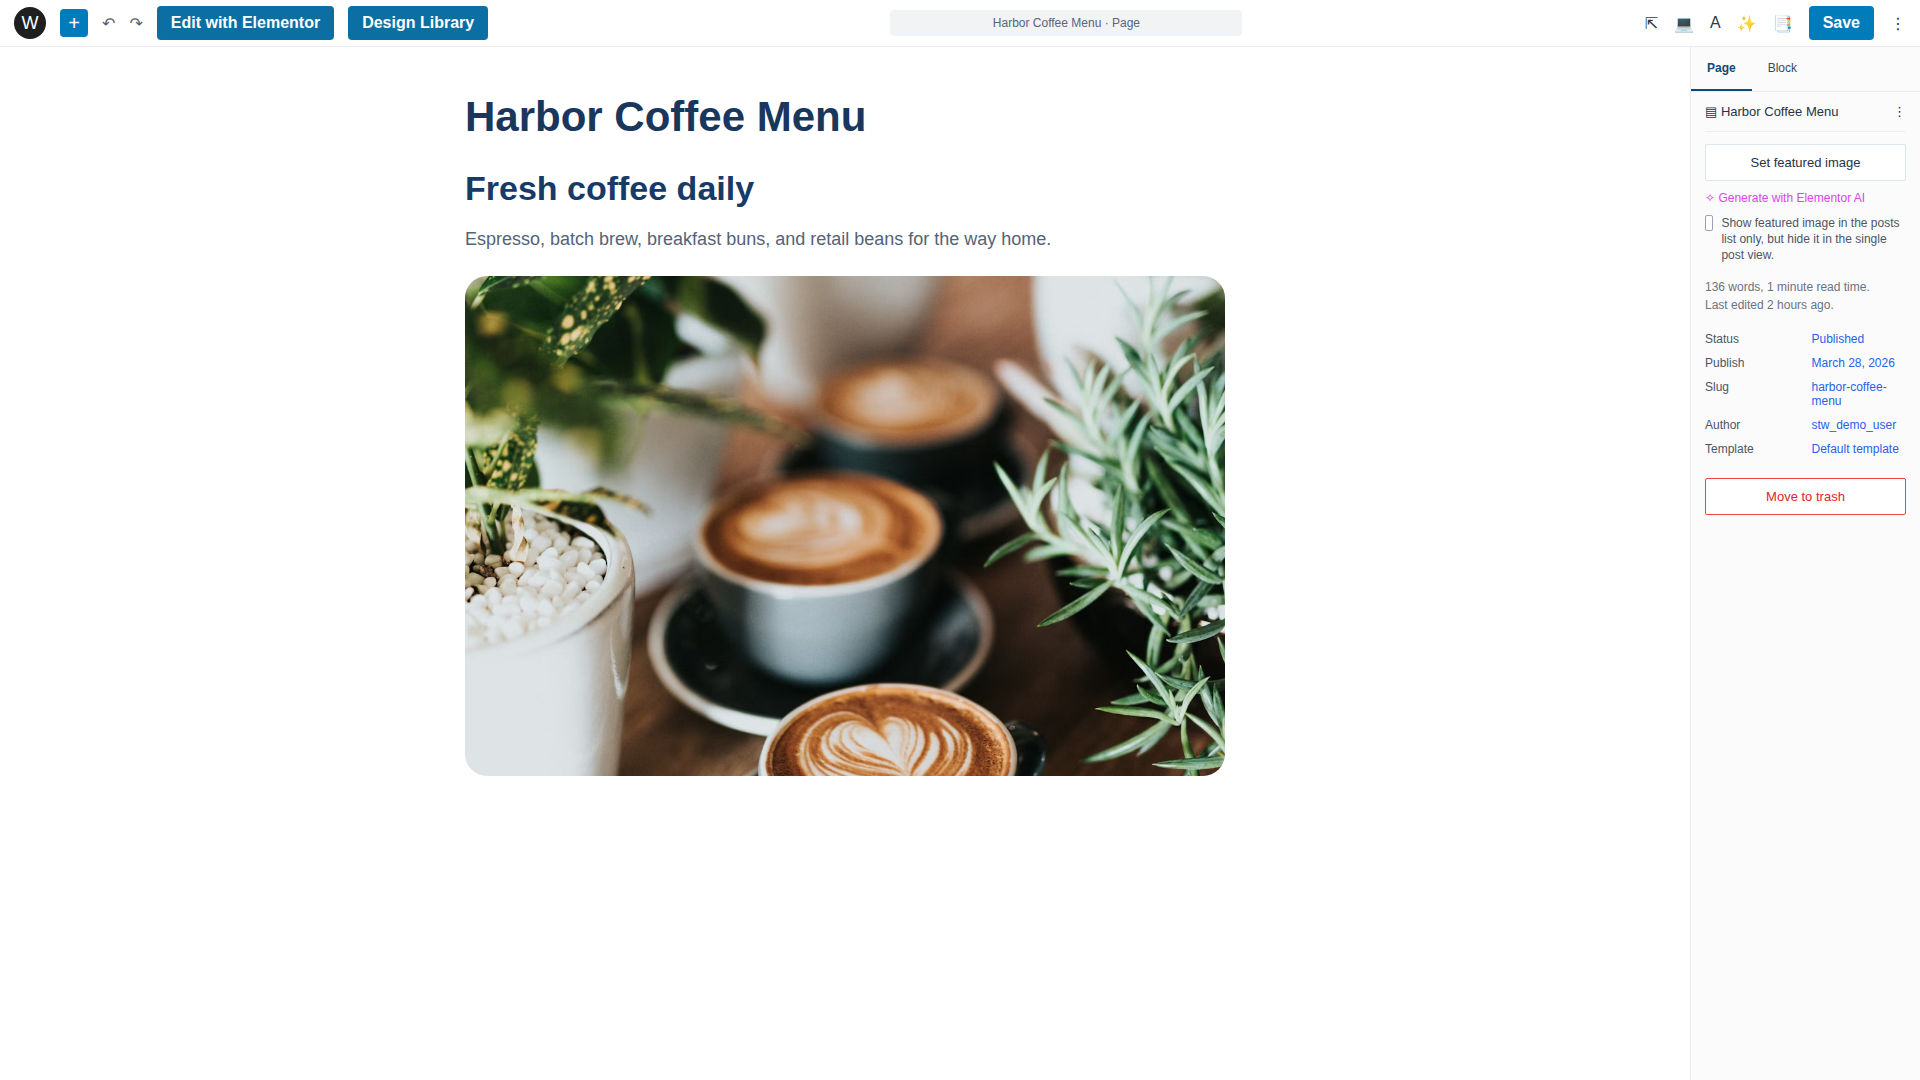
Clicking that button opens the page in Elementor’s visual editor instead of the block editor. You can go back and forth. Elementor-edited pages still show the Edit with Elementor button when you return to the WordPress admin, and you can always open them in the standard block editor too.
Installing Elementor Pro (optional)
If you’ve purchased a Pro license, download the Pro plugin ZIP from your Elementor account at elementor.com.
Then go to Plugins → Add New Plugin → Upload Plugin, select the ZIP file, and click Install Now.
After installation, activate the Pro plugin and connect your license in Elementor → Editor → Connect Account.
First Settings to Configure
Before you start building pages, open Elementor → Settings and check two things.
- Post Types controls where the “Edit with Elementor” button appears. By default, Elementor is enabled for Pages and Posts. If you only want it on pages, uncheck Posts here. This keeps the block editor as the default for blog content, which is usually the right setup.
- Disable Default Colors and Disable Default Fonts decide whether Elementor or your active theme controls color and typography defaults. If you set up brand colors and fonts in Astra’s Customizer in Part 7, toggling these on tells Elementor to inherit those theme settings rather than overriding them with its own defaults. This keeps your site visually consistent without having to set the same fonts in two places.
Elementor → Settings → Integrations is where you connect Google Fonts, reCAPTCHA, or third-party services later. None of it is urgent for getting started.
The visual editor itself, containers, widgets, and building a real page, is what our next step covers.
Avoid the Plugin Stack Trap
The most predictable Elementor beginner mistake is installing too many add-on plugins. WordPress’s plugin directory is packed with “Essential Addons for Elementor,” “Premium Addons,” “Unlimited Elements,” and dozens of similar packs that each add 30 to 100 extra widgets.
Each add-on registers its own scripts and stylesheets, and many load those assets on every page whether you use their widgets or not. Install several add-on packs and you can end up shipping far more JavaScript and CSS than the site really needs. That bloat slows down both the editing experience and the published pages.
Start with what Elementor already includes. Most business sites use a fairly short list of widgets. If you find you need something specific that Elementor doesn’t offer, install one focused plugin that provides that widget. Don’t grab a bundle of 80 widgets to solve a single problem.
Also check whether a feature you think is missing already exists in Elementor natively. Accordions, tabs, star ratings, progress bars, and social icons are all built in now, though many add-on packs still advertise their own versions of these same widgets.
Part 13 through Part 16 cover the performance effects of JavaScript and CSS bloat in detail.
Conclusion
Elementor is worth using when the project calls for it. A lightweight theme, the right settings configured upfront, and restraint with add-on plugins will keep the editor fast and the finished site lean. Everything after the install, from containers and widgets to building your first real page, is what Part 10 covers next.
Next steps: