
Introduction
WordPress 5.0 replaced the old formatting toolbar with a user-friendly block editor (also known as Gutenberg, after the inventor of the printing press). Every piece of content you add, whether it’s a paragraph, an image, a heading, or a button, is an individual block. Each block is self-contained and configurable on its own.
This tutorial walks you through building a real page with blocks. You’ll create a page, add content using different methods, arrange sections with layout blocks, and work with patterns that speed up the process considerably. Part 9 covers Elementor for projects that need more visual control, but start here first. A lot of sites never need anything beyond what the block editor provides.
Opening the Block Editor
The block editor opens automatically whenever you create or edit a page or post. To start from scratch, go to Pages → Add New Page in your WordPress admin. You’ll see a clean canvas with a title field at the top and a blank area waiting for content below it.
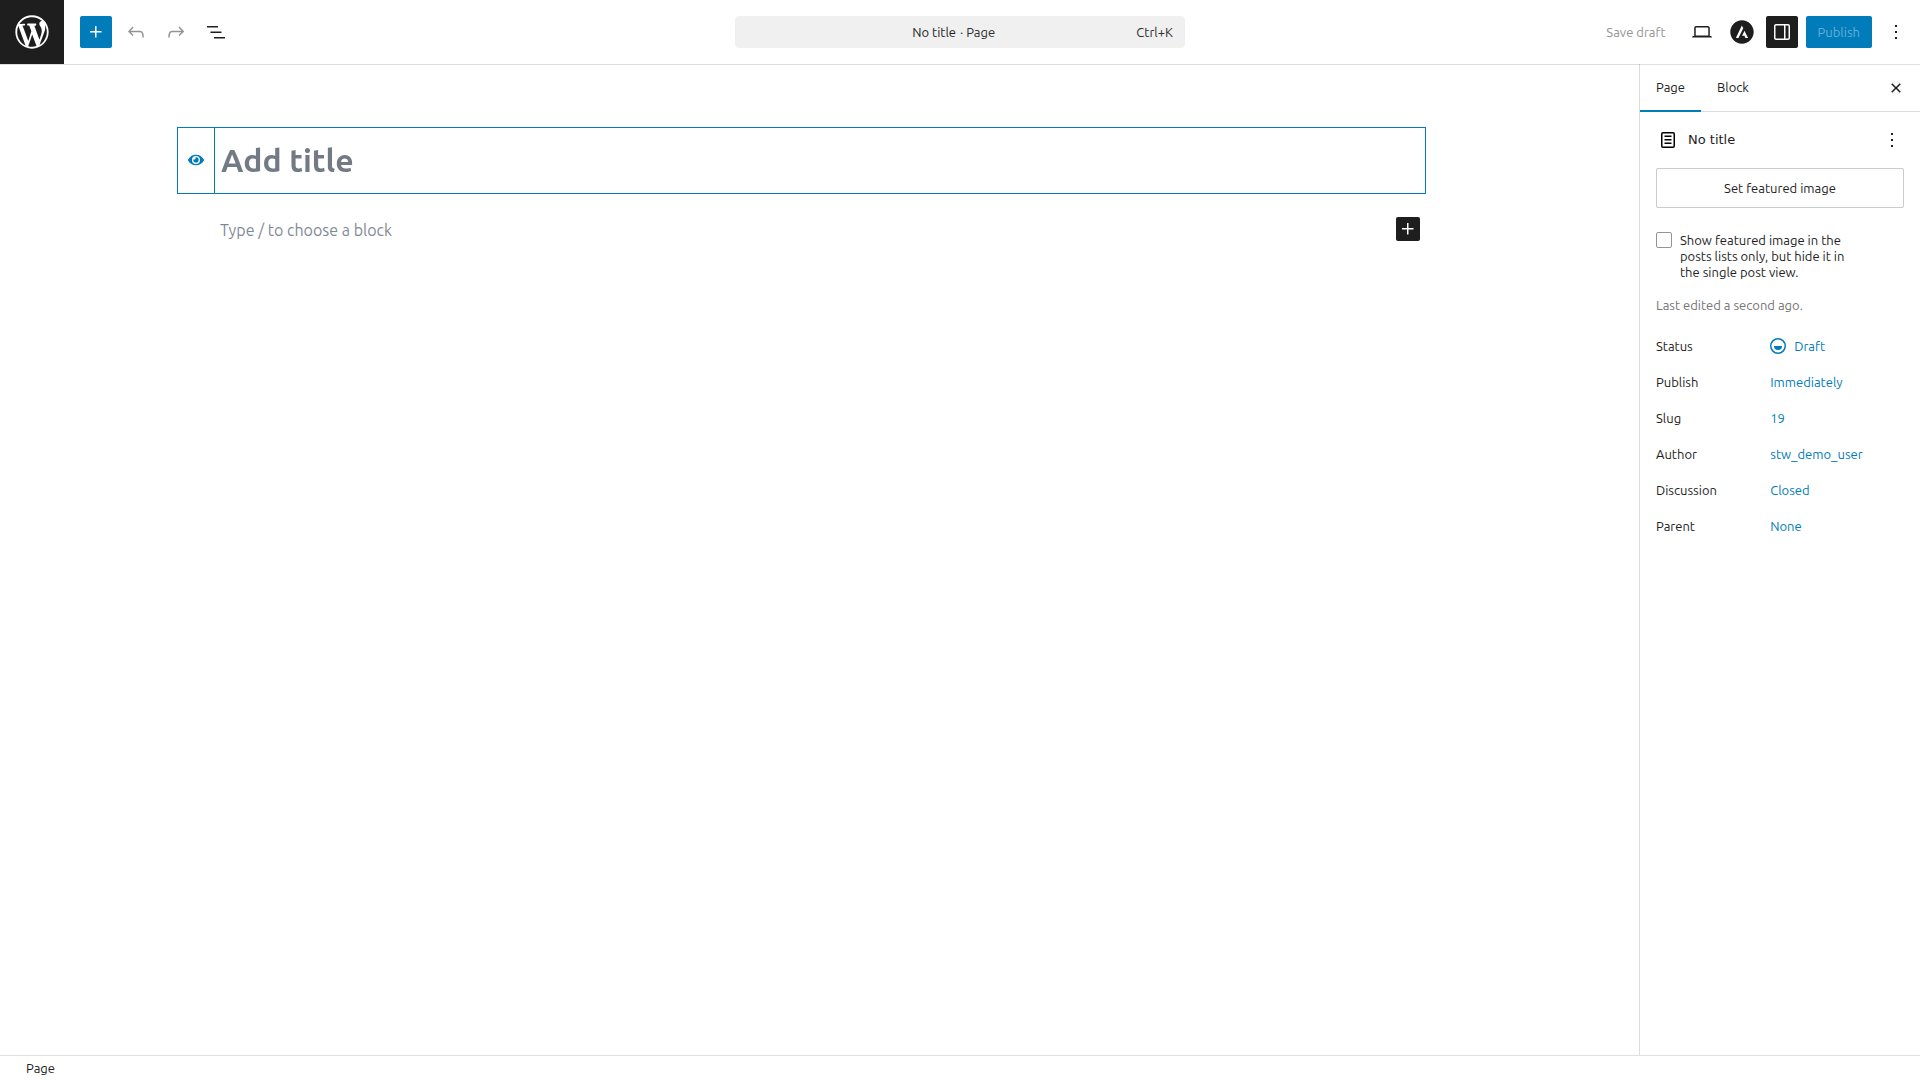
The toolbar at the very top of the screen has the controls you’ll use most. On the left side, the + button opens the block inserter. Undo/redo arrows sit next to it. Next to those, the list icon opens Document Overview, which shows the structure of your page (more on this later). On the right side, the Save draft and Publish buttons handle saving your work.
Type a title, something like “Menu” or “About the Cafe,” then click below it to start adding blocks.
Three Ways to Add Blocks
There are three methods for adding blocks, and you’ll use all of them depending on the situation.
The slash command
Click into an empty area of the canvas and type a forward slash /. A dropdown menu appears showing matching block types. Type the name of what you want, like /heading, /image, or /button, and press Enter to insert it.
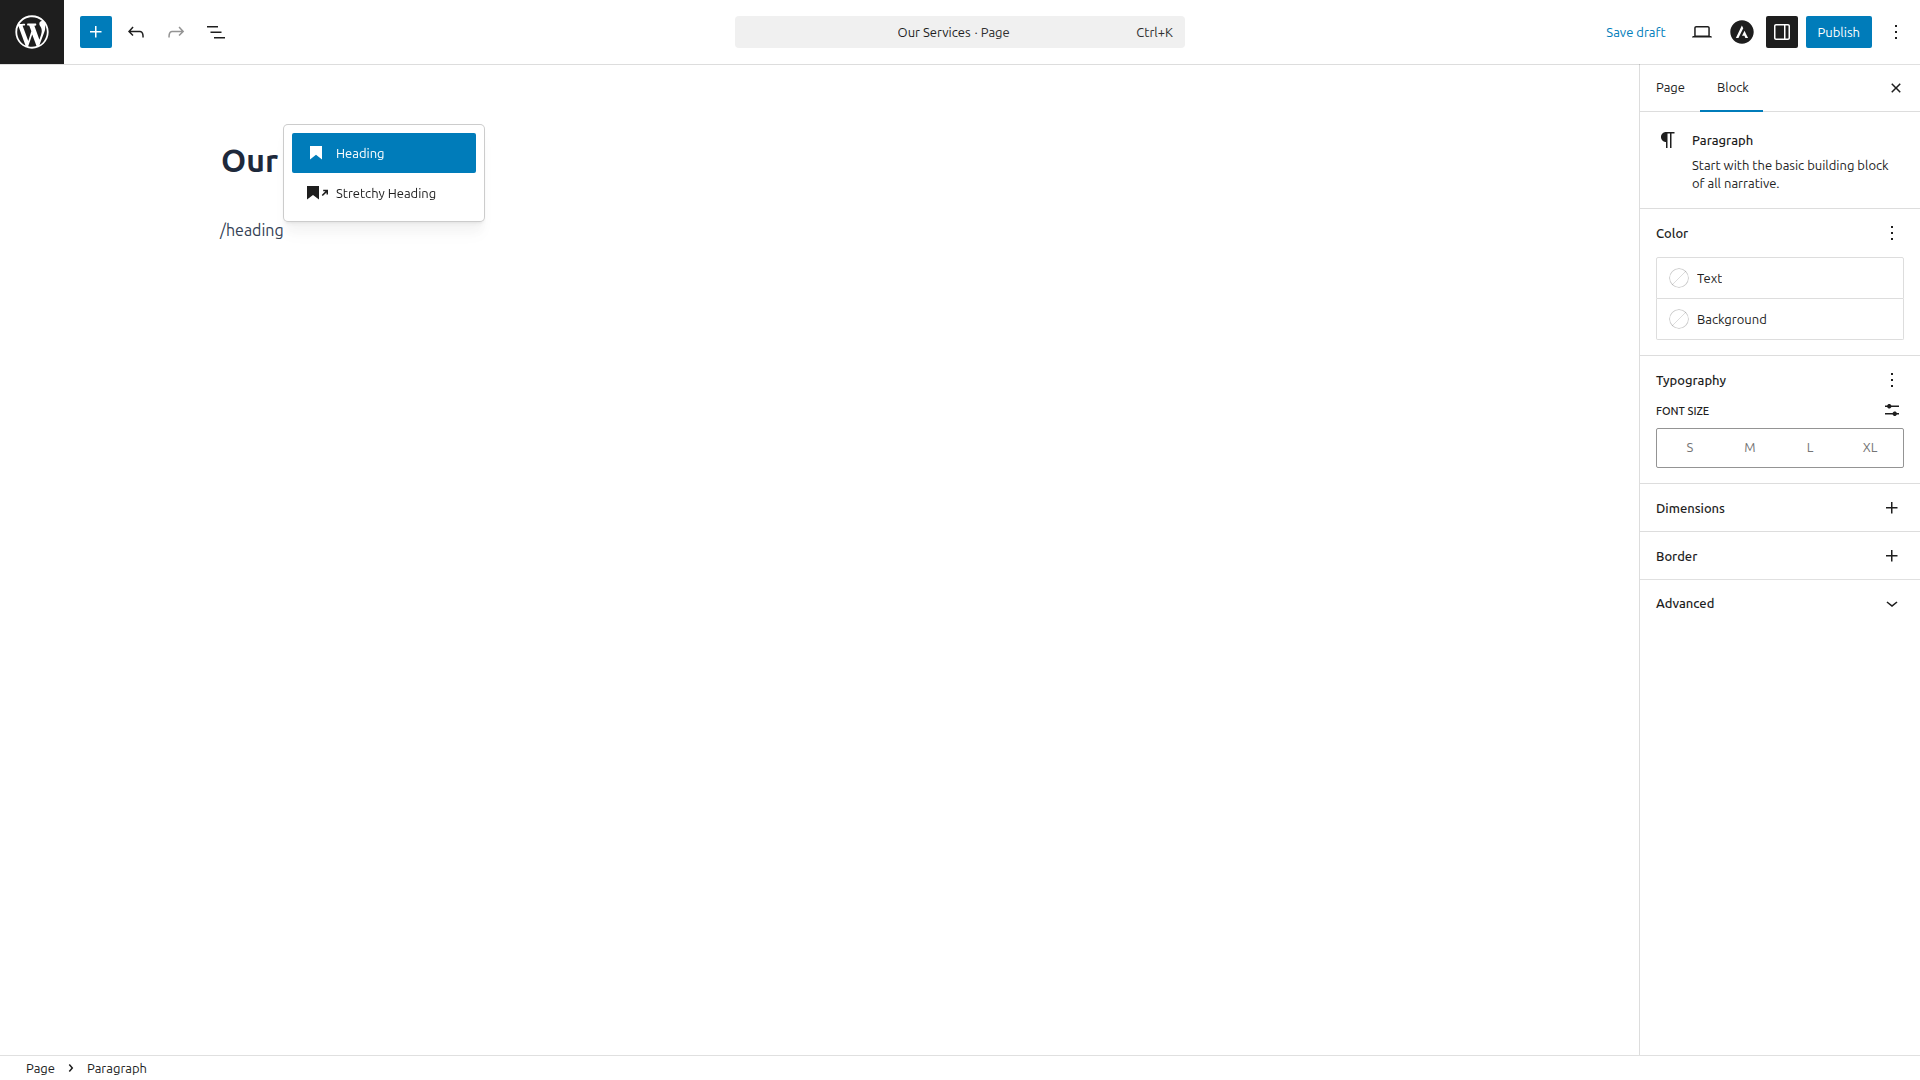
This is the fastest method once you know the block names. For adding a heading, a paragraph, or an image in the middle of writing, the slash command keeps you in flow without reaching for the mouse.
The block inserter
Click the blue + button in the top-left corner of the editor to open the full block inserter panel.
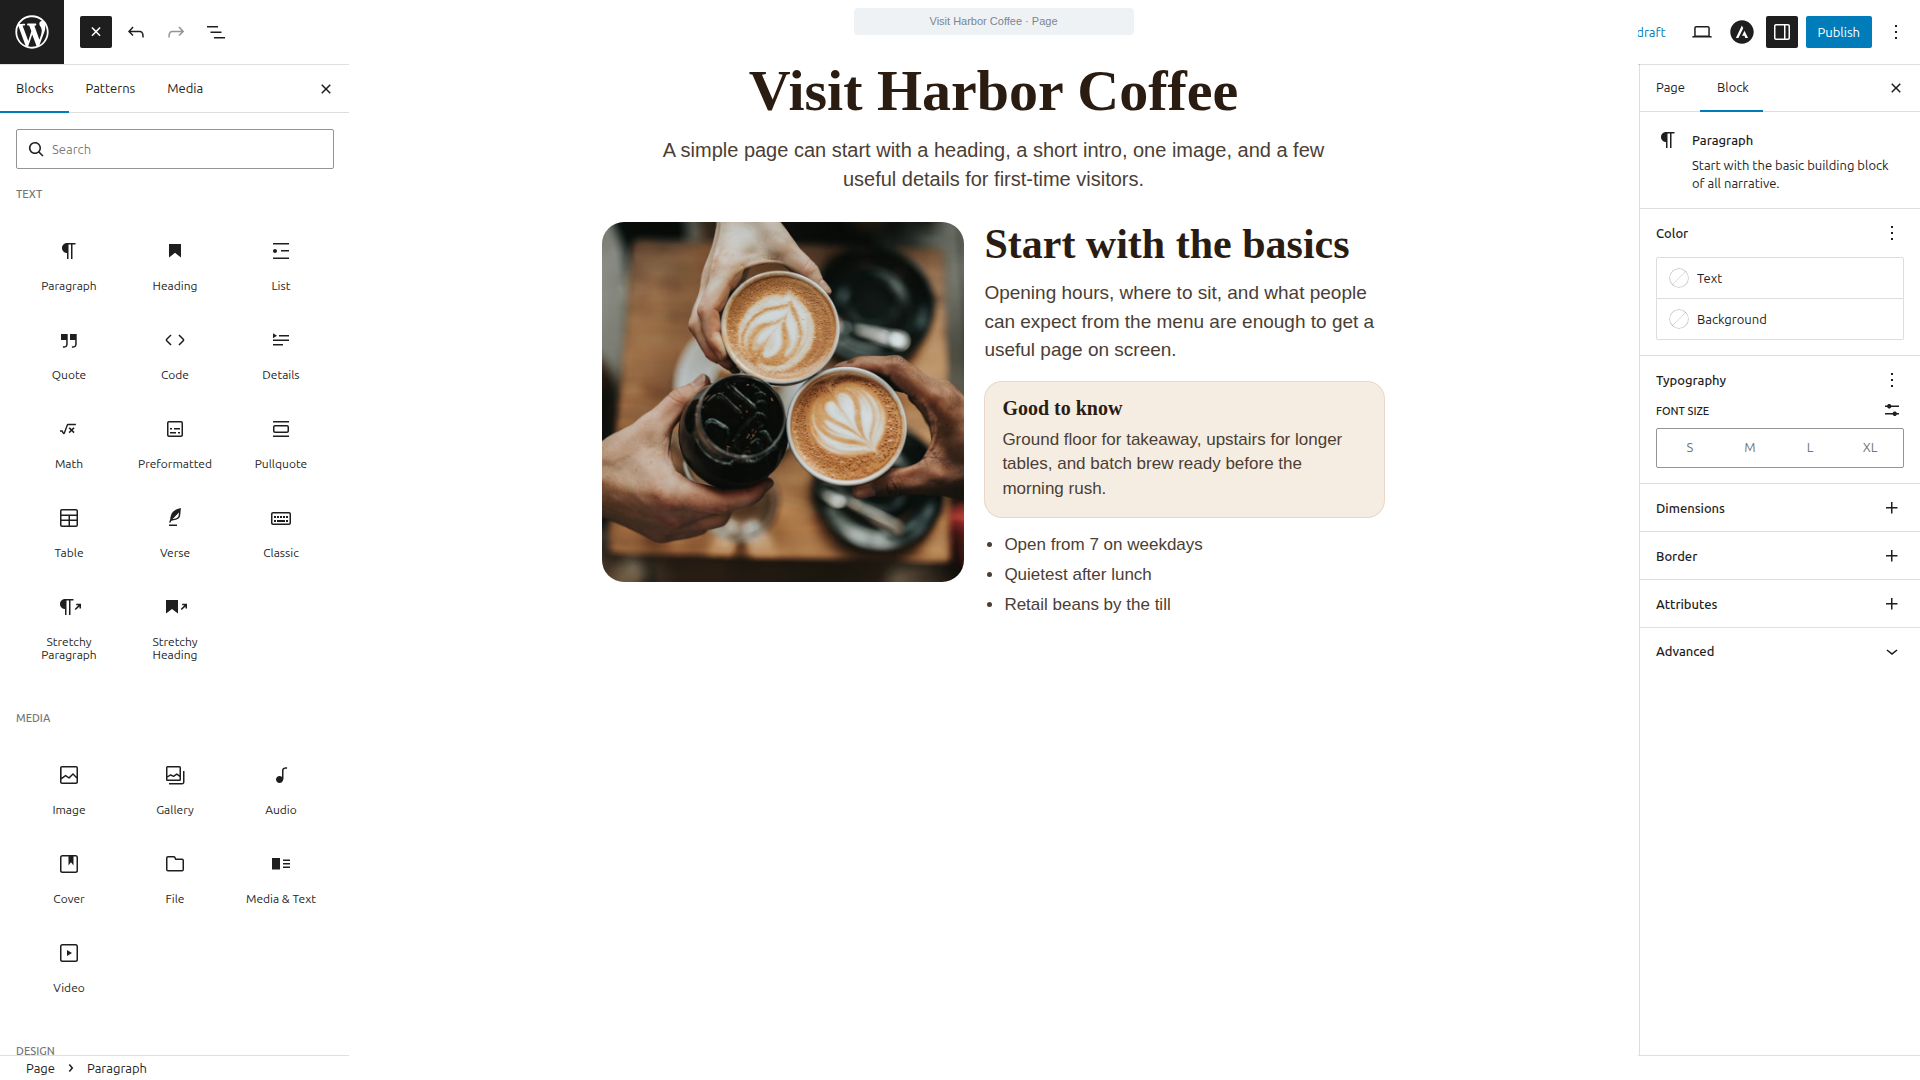
The panel shows every available block, searchable and organized by category. You can also find it between blocks on the canvas. A smaller + button appears when you hover between two existing blocks, giving you an insertion point exactly where you need one.
Drag and drop
With the block inserter panel open, you can drag a block directly from the panel onto the canvas. This is useful when you want to drop a specific block into a specific position within existing content.
You can try all three methods now. Create a test page, add a Heading block with /heading, type a paragraph below it, and use the + button to drop an Image block between them. That covers the mechanics you’ll use on every page.
Building a Page with Blocks
Once you’ve placed a few blocks, the page on the canvas starts to feel like a real page rather than an empty draft. The same basic setup you saw in the inserter example can grow into a home page, a menu page, or a simple about page without changing tools.
Each block has its own toolbar that appears when you select it. The toolbar gives you formatting options specific to that block type. A Paragraph block shows bold, italic, and link buttons. An Image block shows alignment and crop controls. A Heading block lets you change the heading level from H2 to H3 or H4.
The blocks you’ll use most fall into a few categories.
- Text blocks handle the written content. Paragraph, Heading, List, and Quote cover most pages. Every time you press Enter in the editor, WordPress creates a new Paragraph block automatically.
- Media blocks handle visuals. Image, Gallery, Video, and Cover (an image with text layered over it) are the ones you’ll reach for most often. Cover is how most hero sections on block-built sites are made. Type
/cover, upload or select an image, then type your heading and subtitle over it. - Layout blocks control how content is arranged on the page. Columns splits content into side-by-side sections. Group wraps multiple blocks into a single unit you can style together. Row and Stack control horizontal and vertical arrangement within groups.
Columns in action
Type /columns and WordPress asks you to pick a layout.
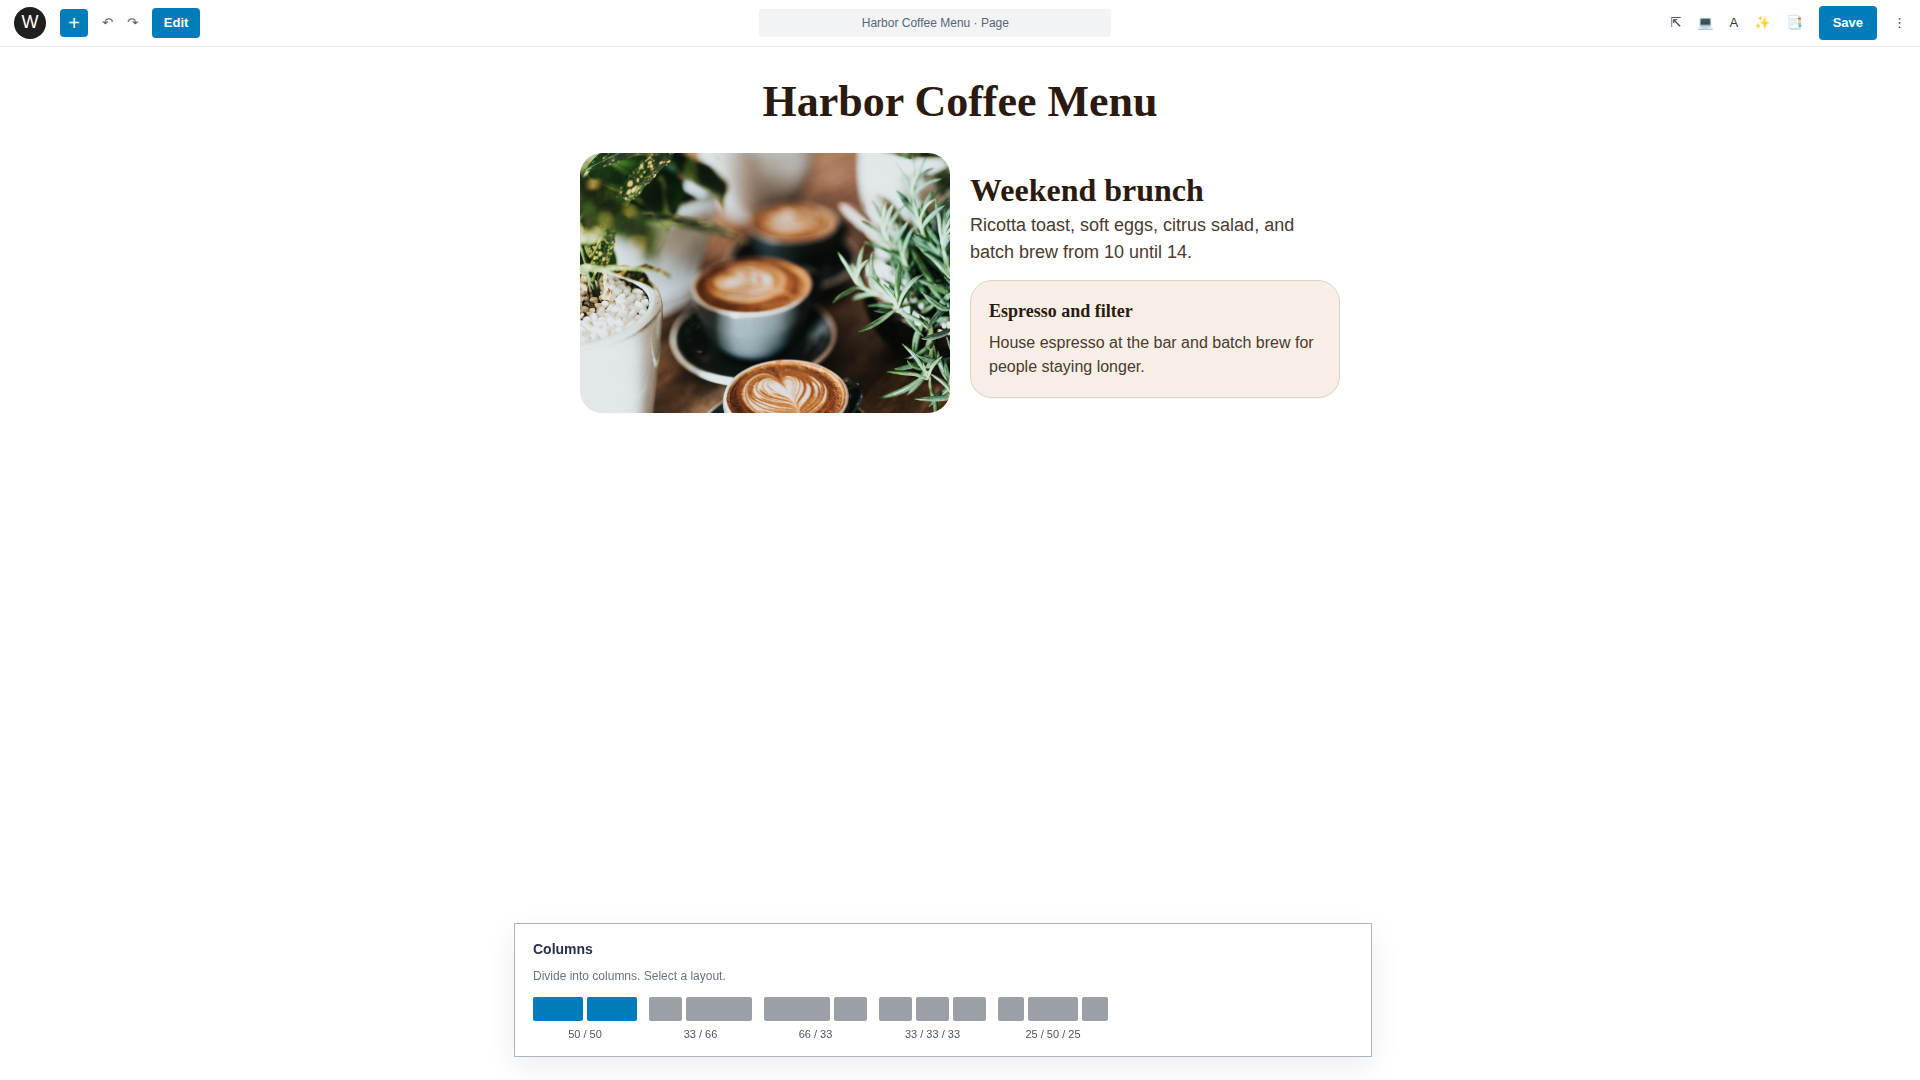
Pick a two-column split, drop an image in one side and text in the other. That’s the basic structure behind most service pages, feature comparisons, and “about us” layouts on the web. Three-column layouts work well for feature grids or team member cards.
Embeds
For YouTube, Spotify, or social media content, paste the URL into an empty block. WordPress detects it automatically and converts it into the right embed player. No shortcodes or plugins needed.
Patterns — Pre-Built Block Layouts
Building every page block by block works, but certain layouts repeat. A hero section is always some combination of a Cover block with a heading and buttons. Testimonial sections are always a quote with an author and photo. Rebuilding these from scratch each time is slow.
Patterns are pre-built block arrangements you insert as a single unit. WordPress ships with a built-in library and most themes, including Astra from Part 7, add their own.
To insert a pattern, click the + button to open the block inserter, then switch to the Patterns tab.
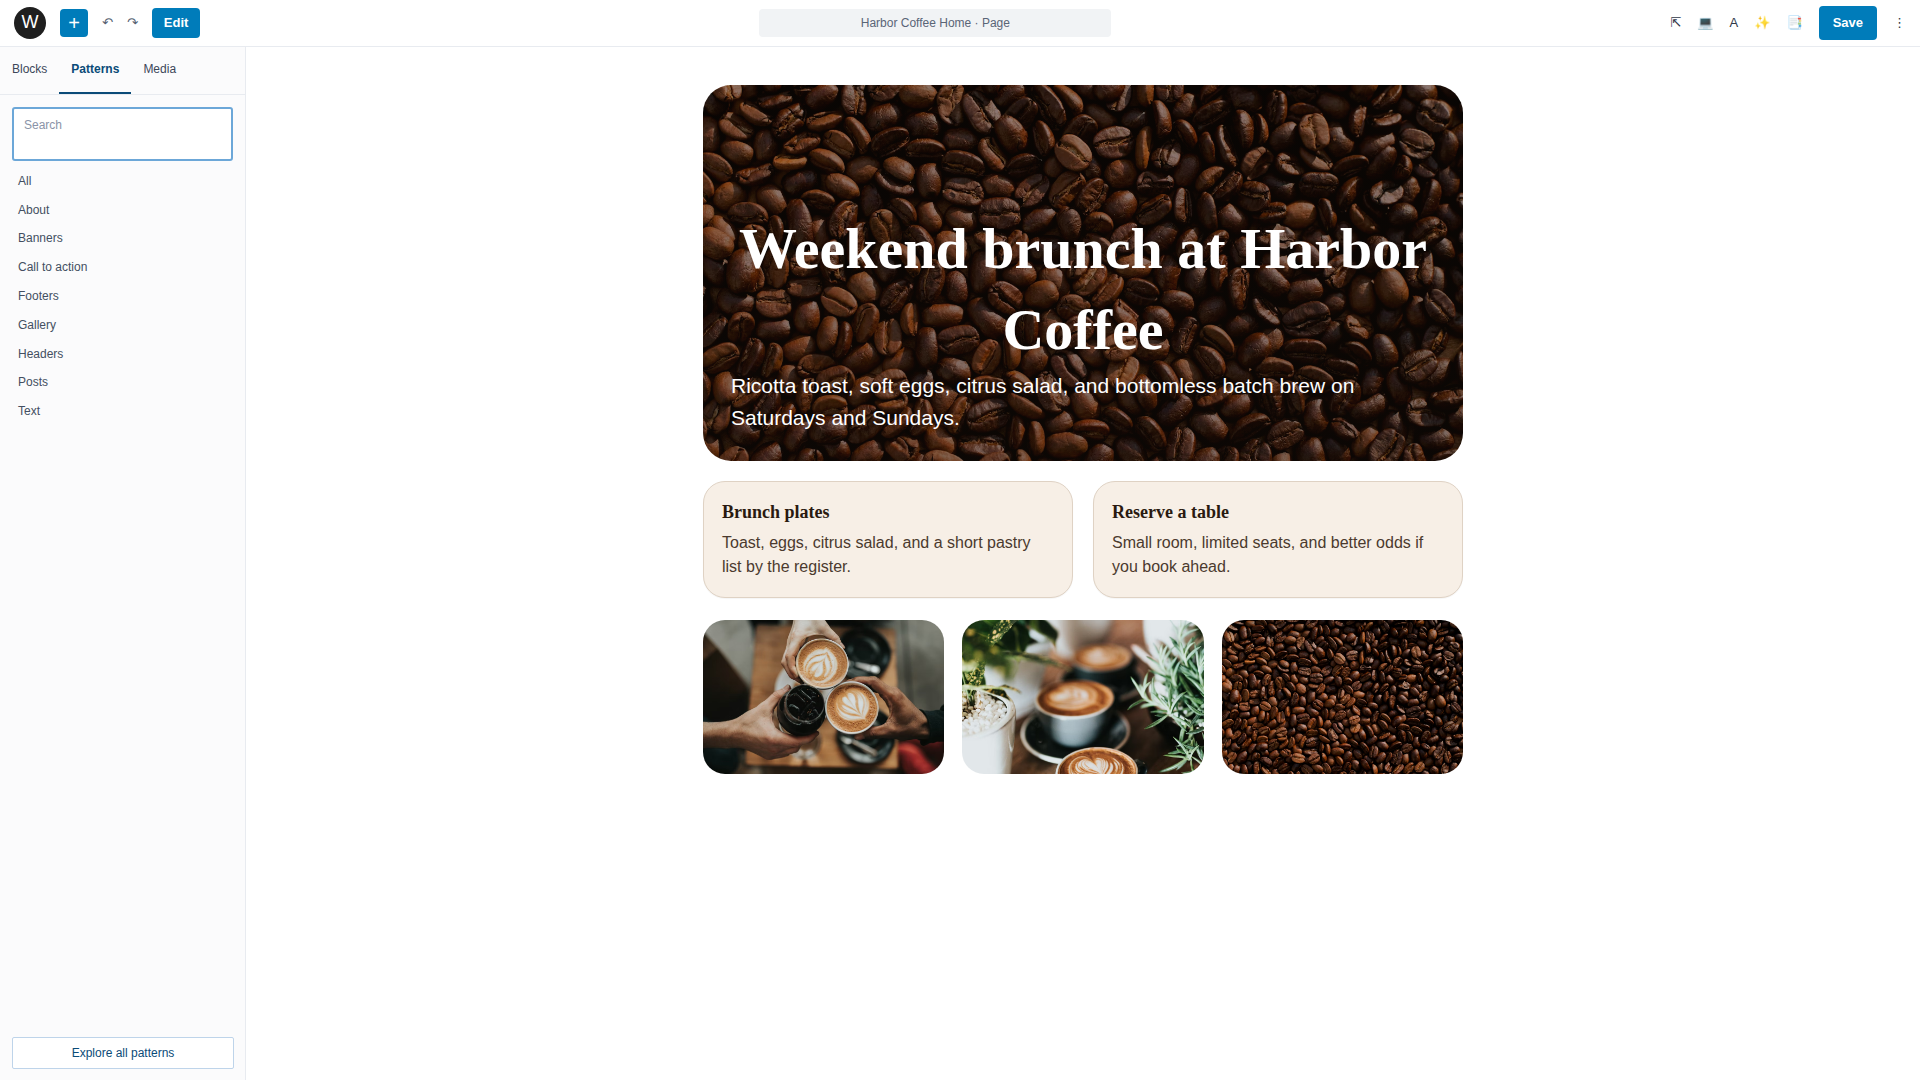
Browse by category or search for what you need. Try “hero,” “testimonial,” or “call to action” to see what’s available. Click a pattern to insert it, then replace the placeholder text and images with your own content.
A home page built from four or five patterns, each customized with your text and images, comes together in minutes rather than the hour it would take to build the same layout block by block.
Synced patterns for repeated sections
Some sections appear on multiple pages. A call-to-action banner, a contact block, or a promotional strip that should look the same everywhere. For these, WordPress has synced patterns.
To create one, select the blocks that make up your reusable section. Click the three-dot menu in the block toolbar and choose Create Pattern. Give it a name and toggle Synced on. Now you can insert that pattern on any page, and editing it once updates every instance automatically.
This is how you handle a phone number or footer banner that appears across ten pages without editing each one individually. If you need a one-off variation, you can detach a synced pattern after inserting it, which turns it back into regular independent blocks.
Document Overview — Your Page Structure at a Glance
As pages get more complex, with nested columns and groups inside groups, selecting the right block can get frustrating. Clicking in the canvas doesn’t always grab the block you wanted.
Document Overview (the list icon in the top toolbar, sometimes called List View) solves this. Click it to open a sidebar that shows every block on your page in a nested tree structure.
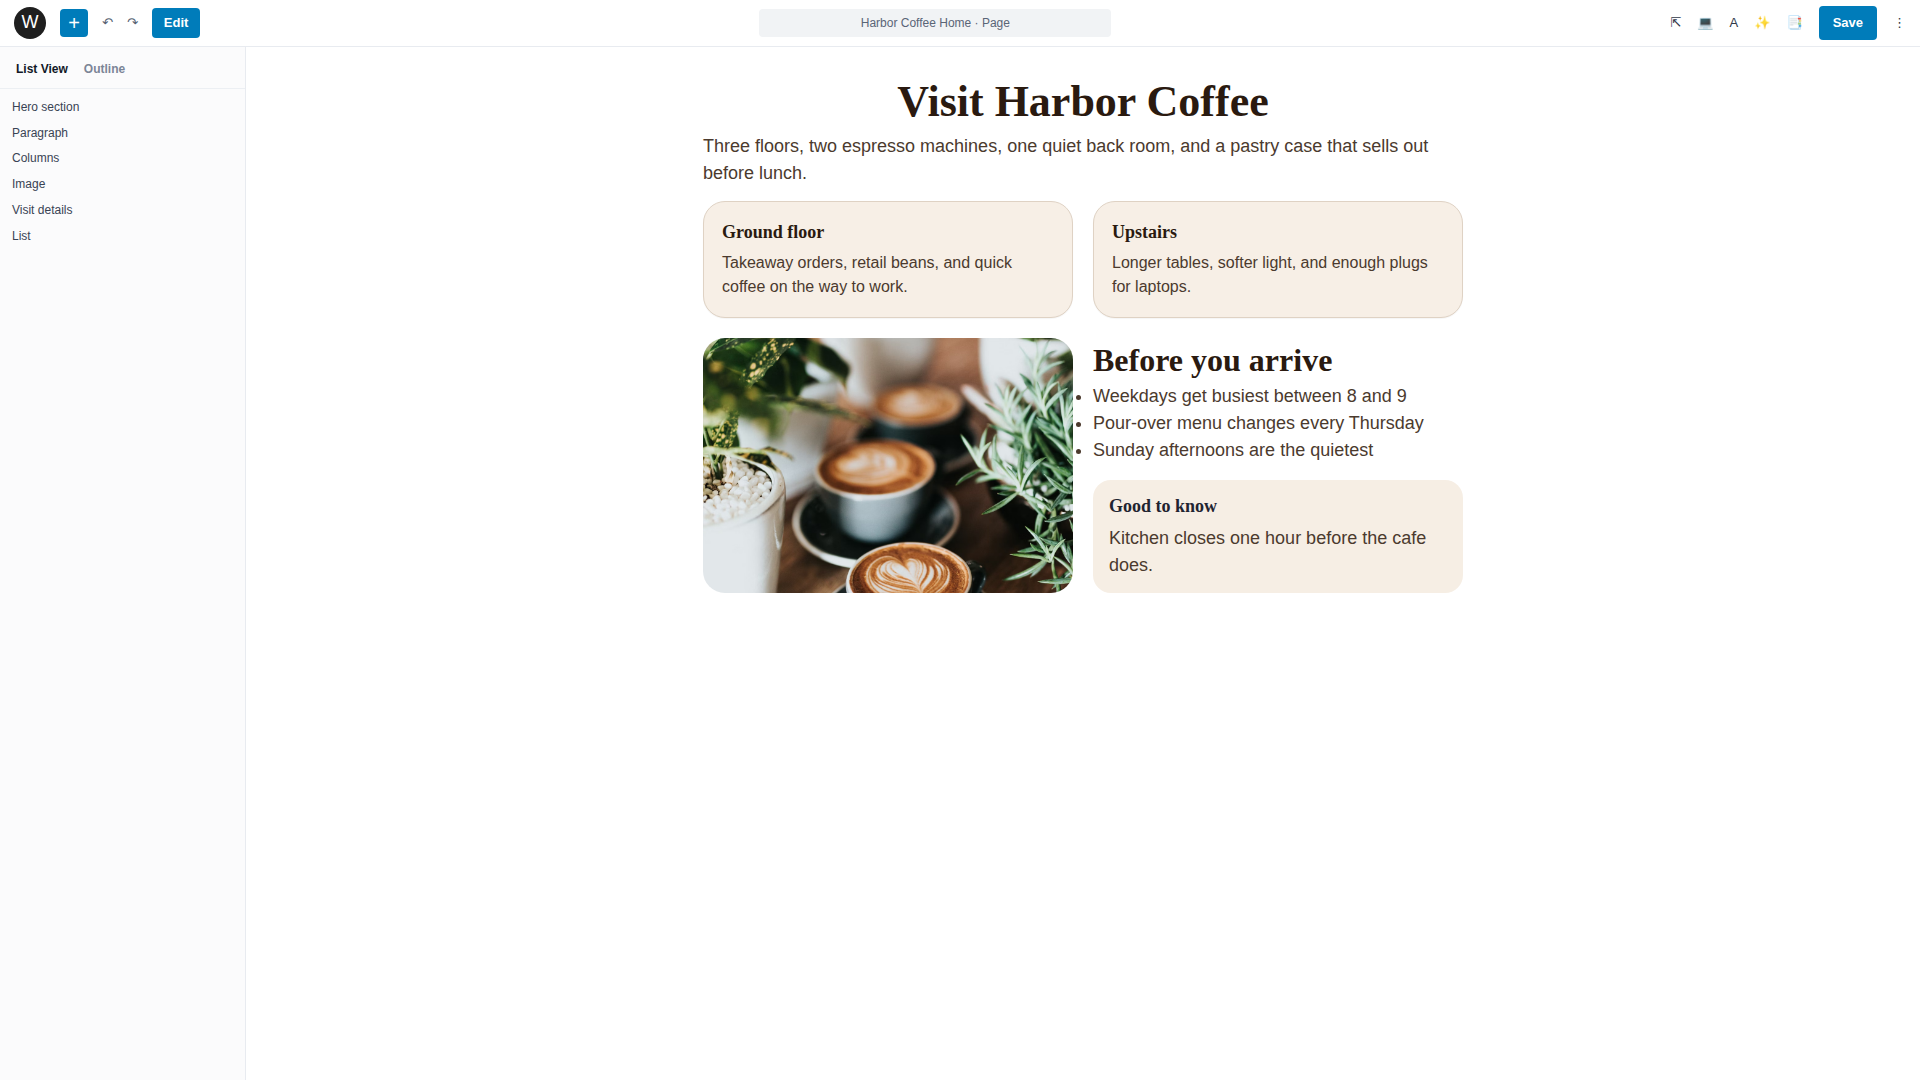
From here you can click any block to select it instantly, drag blocks to reorder them, and see the hierarchy of nested content at a glance. When a Columns block contains groups that contain paragraphs, headings, and images, Document Overview makes the structure visible in a way the canvas alone cannot.
You’ll use this constantly once your pages grow beyond a few simple blocks. Make it a habit to open Document Overview whenever you need to rearrange or troubleshoot a layout.
When Gutenberg Is Enough
The block editor handles a wide range of sites well without any additional builder. If your project fits one of these descriptions, you may not need Elementor or any other page builder.
- Blog and content-heavy sites. This is what the editor was originally built for, and it handles it well.
- Brochure sites with standard layouts. Home, About, Services, Contact. Patterns and the Cover block handle the visual side. The Navigation block handles menus.
- Sites where non-developers will update content regularly. Patterns lock in the layout, and the text and images stay straightforward to edit.
- Sites where speed is paramount. Native blocks don’t load a separate builder layer, so the page weight stays low. On the same hosting plan, a block-built page will typically load faster than one built with a page builder.
- Any project using a theme with good starter templates. Astra’s Starter Templates import a complete starter site.
A small business site explaining basic services and contact hours works with Gutenberg alone. So does a food blog or a portfolio with category archives. If your site is primarily about getting information in front of people cleanly and fast, the block editor gets you there.
When You Might Want Elementor
Some projects need more visual control than blocks provide. Consider Elementor if the design itself carries weight for the business, if you need pixel-level positioning or layered elements that block patterns can’t match. Pricing tables, animated counters, interactive sliders, and custom form layouts also tend to push people toward a page builder.
Our getting started with Elementor guide covers prerequisites and setup. Part 10 covers the interface and core widgets.
Conclusion
The block editor is how most WordPress content gets built. Blocks, patterns, synced patterns, and Document Overview give you the tools to create clean, fast-loading pages without any additional plugins. Everything you’ve built in this article sets a better baseline for the performance work later in the series.
The next article covers Elementor for projects that need more visual design control.
Next steps: