
Introduction
By the end of Part 10, you have page content taking shape inside Elementor. That still leaves the parts visitors see before they even reach the page itself. The header, the footer, the menu, the site identity, and the overall frame that ties every page together. This is what we’ll cover in this tutorial.
Who Handles What
Typically, Elementor edits the page content, but Astra still controls the site-wide structure unless you’re using Elementor Pro to replace it with custom Elementor templates.
That split is normal. You don’t need to force everything into one tool.
For a first site using Astra + Elementor Free, the work splits like this.
| Area | Best tool |
|---|---|
| Page content | Elementor |
| Header and footer | Astra |
| Global site identity and menus | Astra |
| Site-wide template parts beyond the theme | Elementor Pro, later if needed |
Elementor handles the content inside the page. Astra gives you the site-wide frame around that content. You only need Elementor Pro’s template system when Astra stops being flexible enough for the design you want.
Step 1 — Open the WordPress Customizer
The real starting point here is the WordPress Customizer. That’s a standard WordPress feature, not something Astra invented. Astra hooks its own header and footer controls into that screen.
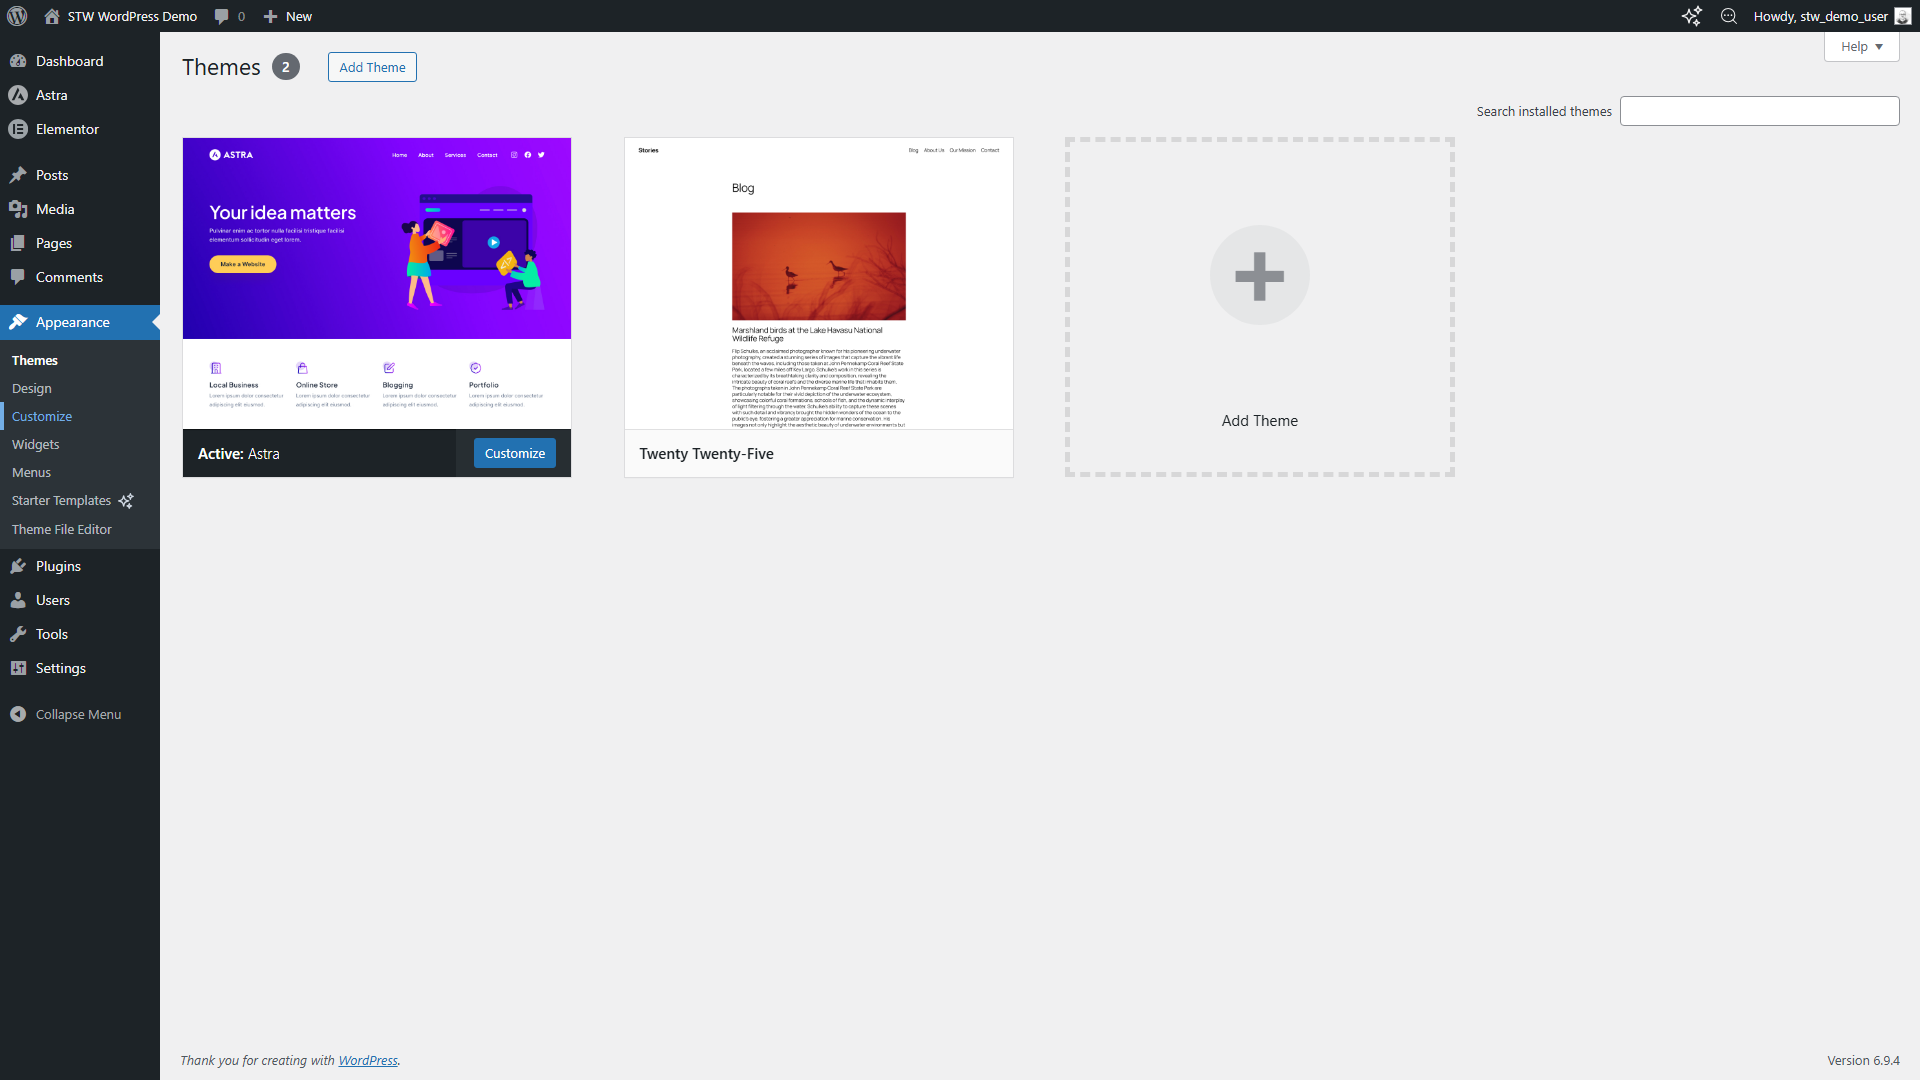
You can open it from Appearance → Customize in the left admin menu. On the Appearance → Themes screen, WordPress also shows a Customize button on the active theme card.
Once you’re inside the Customizer, Astra adds the sections you need in the left sidebar. The important ones are Header Builder, Footer Builder, Site Identity, and Menus.
Step 2 — Build the Header
Your header’s job is to help people understand where they are and where to go next.
Open the Header menu. Astra loads a visual builder at the bottom of the Customizer screen.
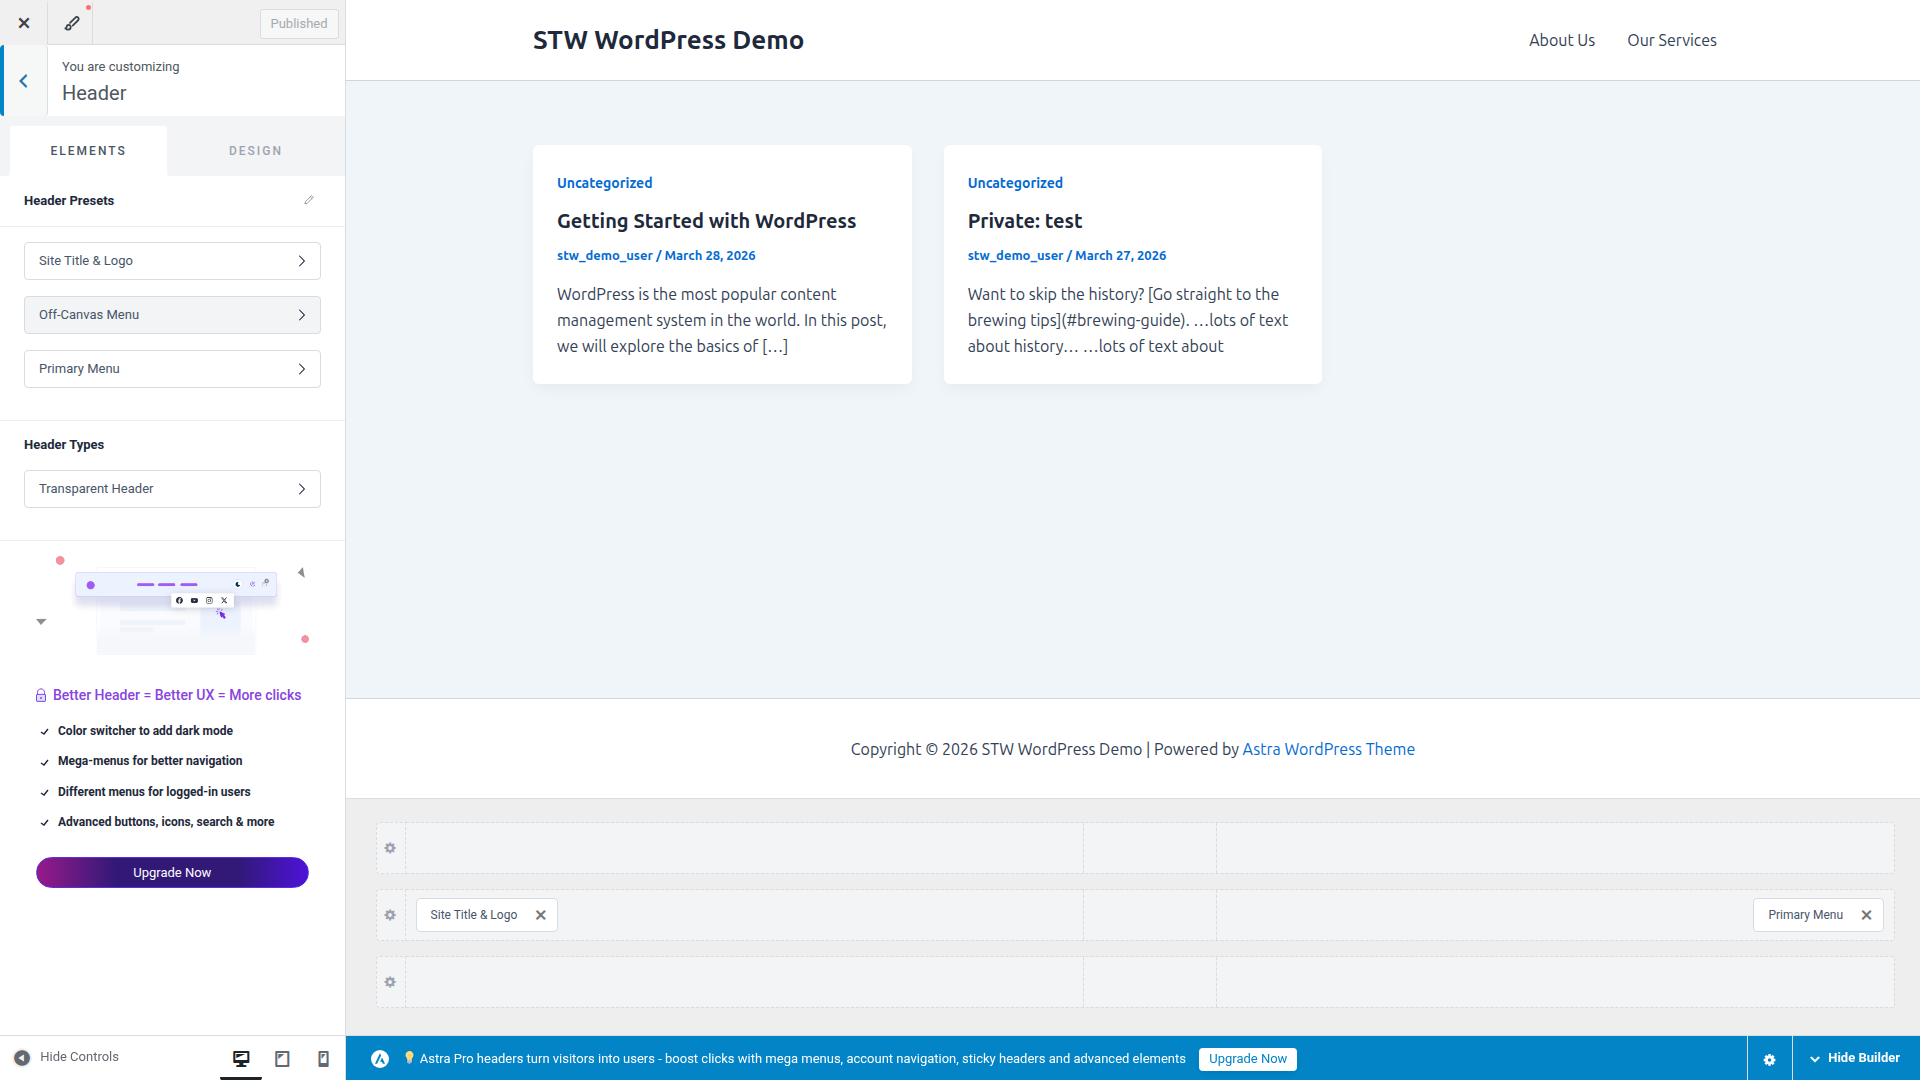
How the builder works
The header builder has three rows. Above Header, Primary Header, and Below Header. Each row has slots on the left, center, and right where you can place elements.
For most first sites, only the Primary Header row matters. The Above Header and Below Header rows are for extras like a top bar with phone hours, a secondary menu, or a promotional strip. You can ignore those rows until you actually need them.
To add an element, click an empty slot and pick from the list Astra offers. To rearrange, drag elements between slots. To configure an element you’ve already placed, click it and the settings panel opens on the left side of the Customizer.
Set up the site title or logo
Click Site Title & Logo in the builder. It’s usually already in the left slot of the Primary Header row by default. The Customizer sidebar shows settings for the site logo image, the site title text, and the site icon (the small favicon that appears in browser tabs).
If you have a logo file, upload it here. Astra shows a live preview in the header as you adjust the logo width. Something between 120px and 200px works for most business sites, but use whatever looks balanced against the menu on the other side.
If you don’t have a logo yet, that’s fine. The site title text works as a clean placeholder, and you can swap it for a proper logo later without rebuilding the rest of the header.
Add the primary menu
Click the empty slot on the right side of the Primary Header row and add Primary Menu. That places the main navigation in the header.
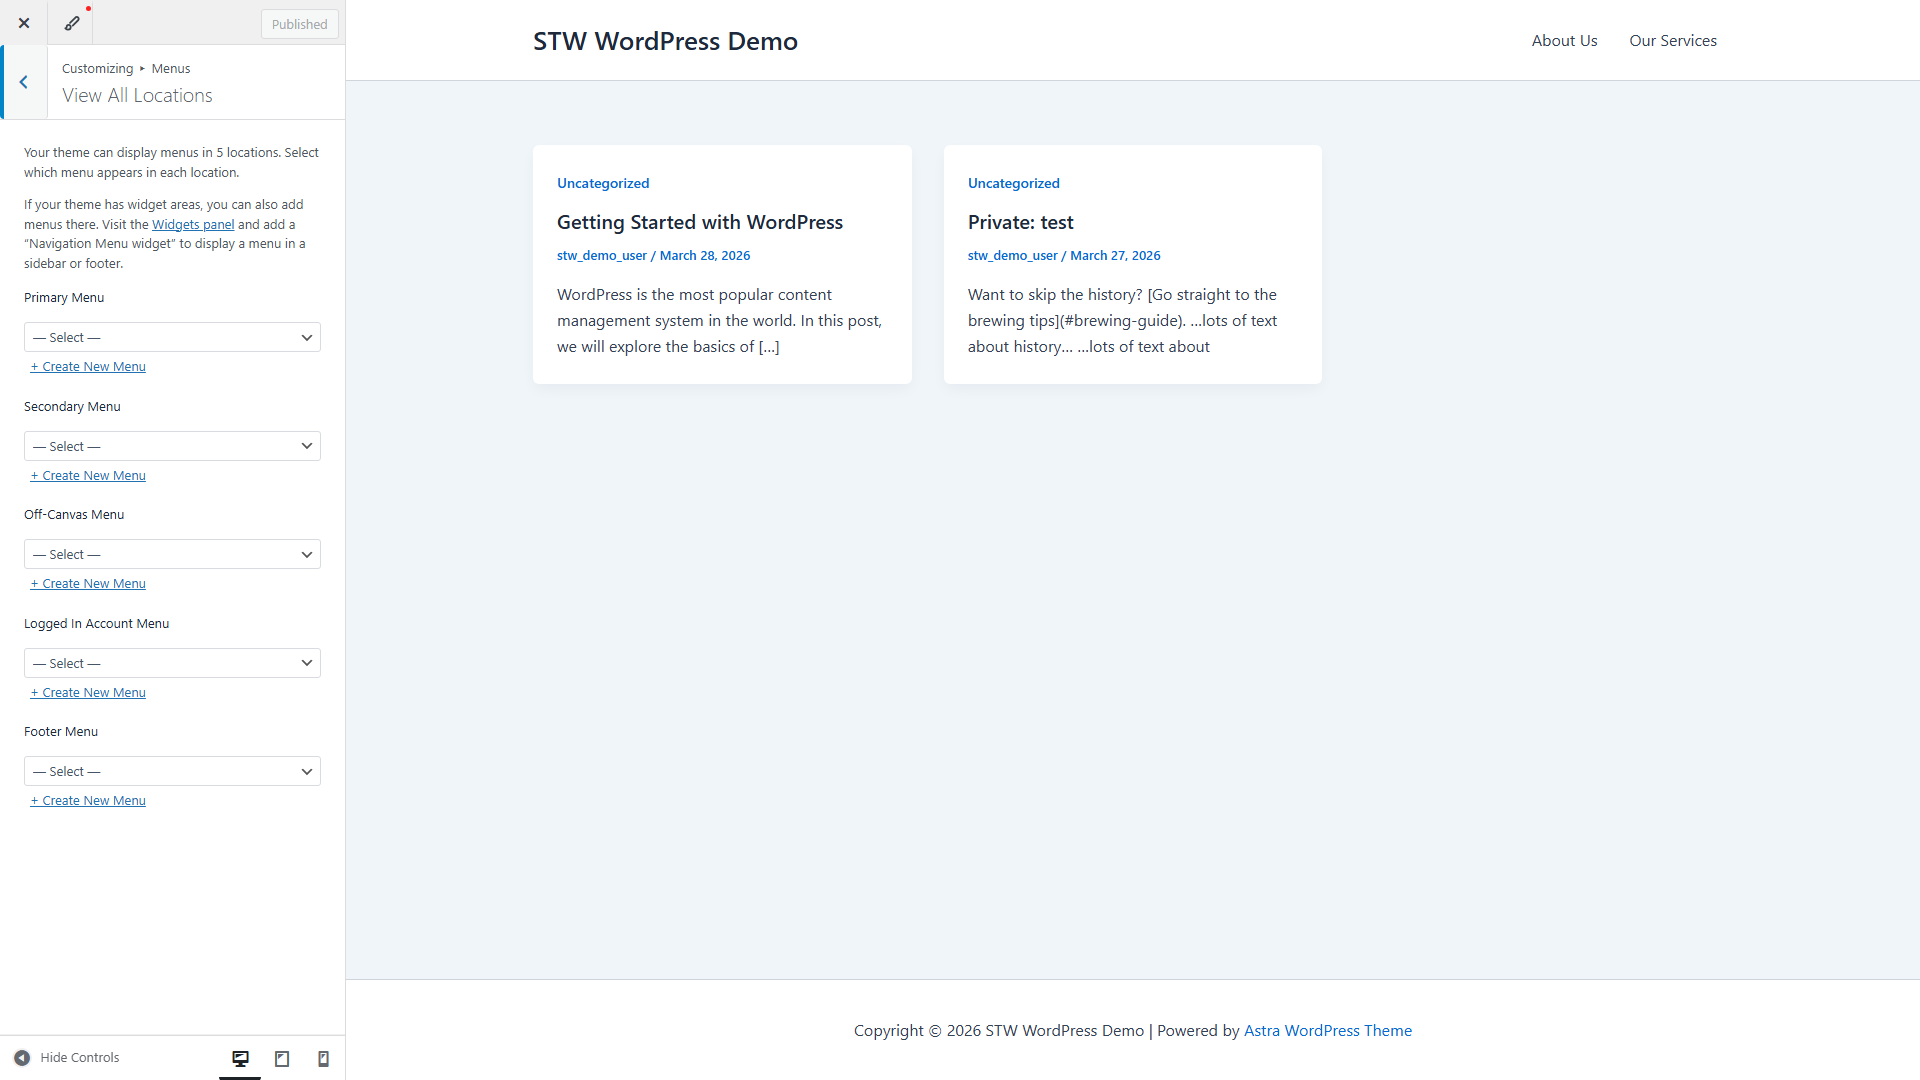
The builder decides where the menu appears in the header layout. The actual menu items come from your WordPress navigation menu, which is a separate system entirely. Astra pulls whichever menu you’ve assigned to the Primary Menu location.
If the wrong links show up, or nothing appears at all, the fix is almost always in Appearance → Menus rather than the header builder. Go there to create your menu and add the pages you want visitors to reach from any page on the site. For a first business site, that usually means something like Home, About, Services, and Contact.
Once you’ve created the menu and assigned it to the Primary Menu location, Astra picks it up in the header automatically.
Resist the temptation to pack the header with phone numbers, social icons, secondary menus, a top bar, promotional banners, and multiple buttons all at once. A crowded header makes the whole site feel less confident, and you can always add elements later when a real need appears.
The Off-Canvas Menu handles mobile
You’ll notice an Off-Canvas Menu element in the builder. That element controls what visitors see on phones and tablets when the screen is too narrow for the full desktop menu.
Astra handles the transition automatically. You can configure the toggle icon style and the slide-in behavior through the Off-Canvas Menu settings, but the defaults are clean enough for a first site. Come back and refine these later if the mobile menu feels too plain once the rest of the site is taking shape.
Step 3 — Build the Footer
Once the header is in place, move to the footer. Open Footer from the Customizer sidebar.
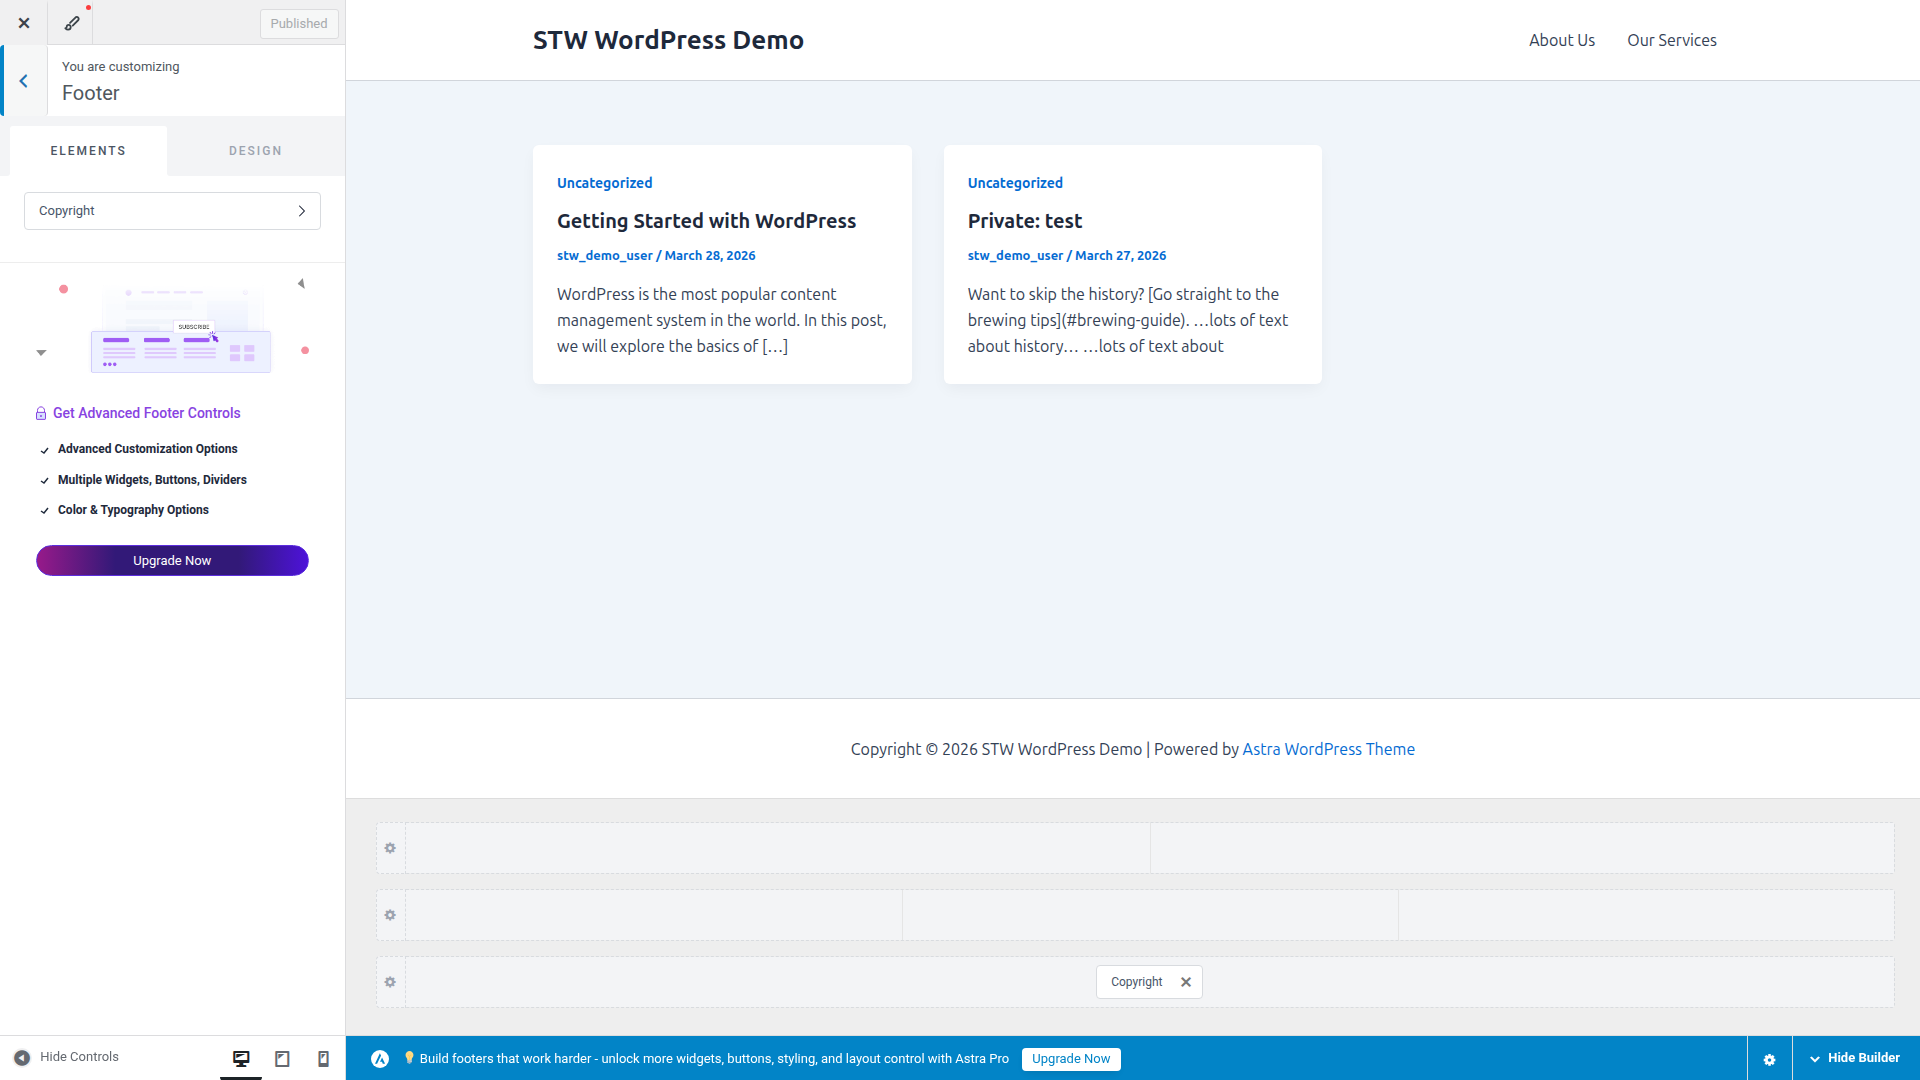
The footer builder uses the same row-and-slot system as the header. It has three rows (Above Footer, Primary Footer, Below Footer) with left, center, and right slots in each. In practice, the footer is usually simpler to set up than the header.
Astra starts with a single Copyright element in the footer grid. That’s enough for a clean first site even if it looks sparse.
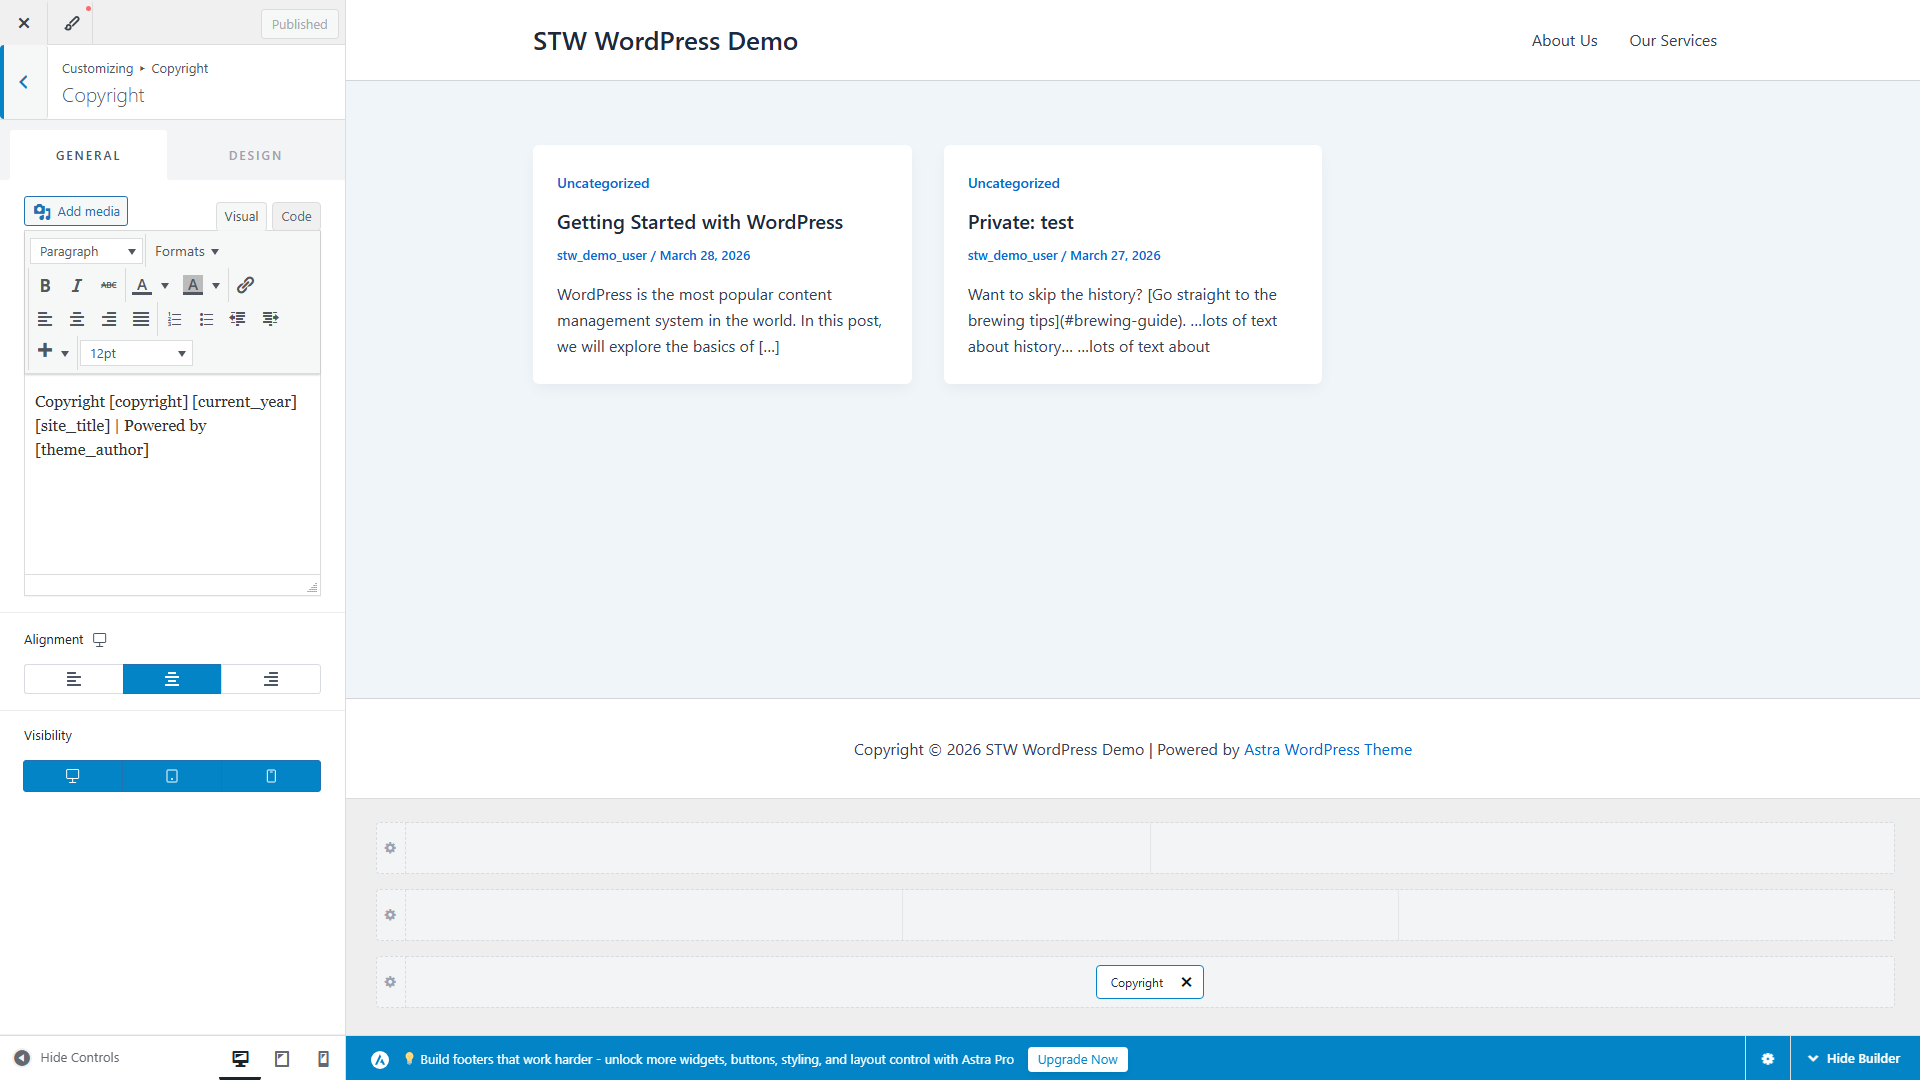
Edit the copyright line
Click the Copyright element to open its settings. Astra uses placeholder tags that update automatically. [current_year] fills in the current year and [site_title] pulls the site name from your WordPress general settings. A template like Copyright [current_year] [site_title] produces “Copyright 2026 Your Business Name” without you needing to update the year every January.
You can also type static text instead. A simple “© 2026 Business Name” works fine if you’d rather keep things manual.
Add more to the footer if needed
The footer slots work the same way as the header slots. Click an empty one and add an element from the list.
A few elements that make sense in footers for different types of sites.
- Menu. A small secondary menu pointing to pages like Privacy Policy, Terms, or Contact. This is separate from the header menu and visitors expect to find these links at the bottom of a site.
- HTML. A raw text block that works well for a physical address, opening hours, or a short tagline.
- Social. Icon links to business social media profiles. Only worth adding if the accounts are genuinely active. Dead social profiles are worse than an empty slot.
For a local business, the footer is a natural place for address details. For a service business, a short footer menu and a Contact link often cover everything visitors need.
What Stays in Astra and What Stays in Elementor
The easiest way to avoid confusion is to keep asking one question. Is this a site-wide decision or a page content decision?
If it affects every page, it usually belongs in Astra.
- Site title and logo
- Header menu
- Footer links and copyright
If it belongs to one page or one section of a page, it usually belongs in Elementor.
- Homepage hero
- Service sections
- Image-and-text blocks
- Testimonials and call-to-action sections
That division keeps your workflow tidy and future edits simple, because you’ll know where to go when something needs changing.
Where Elementor Pro Fits Later
Elementor Pro includes a Theme Builder that lets you build custom headers, footers, and other site parts using the full Elementor editor instead of Astra’s Customizer-based builder. Each template gets display conditions that control where it appears. You could build one header for most of the site and a different one for the blog section, for example.
For a first site, Astra’s builder is usually enough. Elementor Pro’s Theme Builder becomes worth exploring when you need something the theme can’t give you, like a fully custom header design, per-page footers, or a layout that goes beyond the row-and-slot system.
Conclusion
A first publishable WordPress site doesn’t need every part of the design system handled by the same plugin. It needs a clear division of responsibility.
You can use Elementor for the content inside the page and use Astra for the frame around the site. Build a header that helps visitors navigate, a footer that supports them without clutter, and keep the whole site consistent from page to page.
The next step is making sure that work still holds together on smaller screens. Part 12 covers the responsive review process and the final checks that make the site feel ready to launch.
Next steps: