
Introduction
Your site is built and it looks great on both desktop and mobile. But then, when someone visits, the page takes four seconds to load.
Google’s mobile page speed benchmarks found that when load time rises from one second to three seconds, the probability of a visitor bouncing rises by 32%. The ones who stay still form an impression before anything is displayed, and that impression colors whether they read further and whether they’ll come back.
Speed can support search visibility too. Google uses Core Web Vitals to track whether pages load quickly and stay stable while they load.
In this tutorial, we’ll explain why WordPress sites are slow without caching, what caching does to fix that, and how to set it up.
Why WordPress Pages Are Slow Without Help
WordPress generates every page on the fly. When a visitor requests your homepage, the server runs PHP, queries the database for your content, pulls in your theme’s templates, applies your plugins, and assembles the final HTML. Then it sends that HTML to the browser.
That build process happens for every visitor, every time. Fifty visits to the same page means the server builds that page from scratch fifty times, running the same queries, the same PHP, producing the same result every time.
On a small informational site with light traffic, the server handles this fine. But as your site adds plugins, uses heavier themes, or gets more visitors, each request takes a little longer. The server has to do more work per page.
What WordPress Caching Does
Caching stores a finished copy of a page so the server skips the rebuild.
Without caching, every visit triggers the full process. The server pulls data from the database, runs the PHP, assembles the HTML, and sends it. With caching, the server does that work once, saves the finished HTML, and hands it to every visitor who requests the same page.
A cached page response takes a fraction of the time. The server delivers a prepared file rather than running PHP and hitting the database on every request.
Types of caching
- Page caching is the one that matters most. It stores the complete HTML output of a page. Visitors get the stored copy, and the server skips all the PHP and database work. For most WordPress sites, this is where the biggest speed improvement comes from.
- Browser caching tells the visitor’s browser to hold onto files it already downloaded. CSS, JavaScript, images, and fonts get stored locally. On return visits, the browser loads those from its own cache instead of requesting them again.
- Object caching stores the results of individual database queries in memory. WordPress repeats the same database lookups constantly, so object caching cuts that repetition. It helps most on sites with users that log in with lots of dynamic content. Our guide to Redis object caching covers this layer in more detail.
For a typical WordPress site on shared hosting, page caching delivers the biggest single improvement. That’s where to start.
When Caching Works Best
Caching works best for pages that look the same to every visitor. Your homepage, services page, blog posts, about page, and contact page are identical for everyone. A cached copy serves them all.
Pages with personalized content are different. A logged-in dashboard, a shopping cart with items in it, or a membership area shows different content to different users. Page caching can’t serve a single stored version when every visitor sees something unique. Those pages rely more on object caching and server-side efficiency.
For a typical brochure site or blog on shared hosting, most pages are fully cacheable. The improvement happens on the pages that matter most to first-time visitors and search engines.
Setting Up Caching on STW WordPress Hosting
STW’s WordPress hosting plans include AccelerateWP, but you may need to first enable it in Plesk. The actual setup is simple once you know where Plesk hides AccelerateWP.
Activate AccelerateWP in Plesk
- Log in to
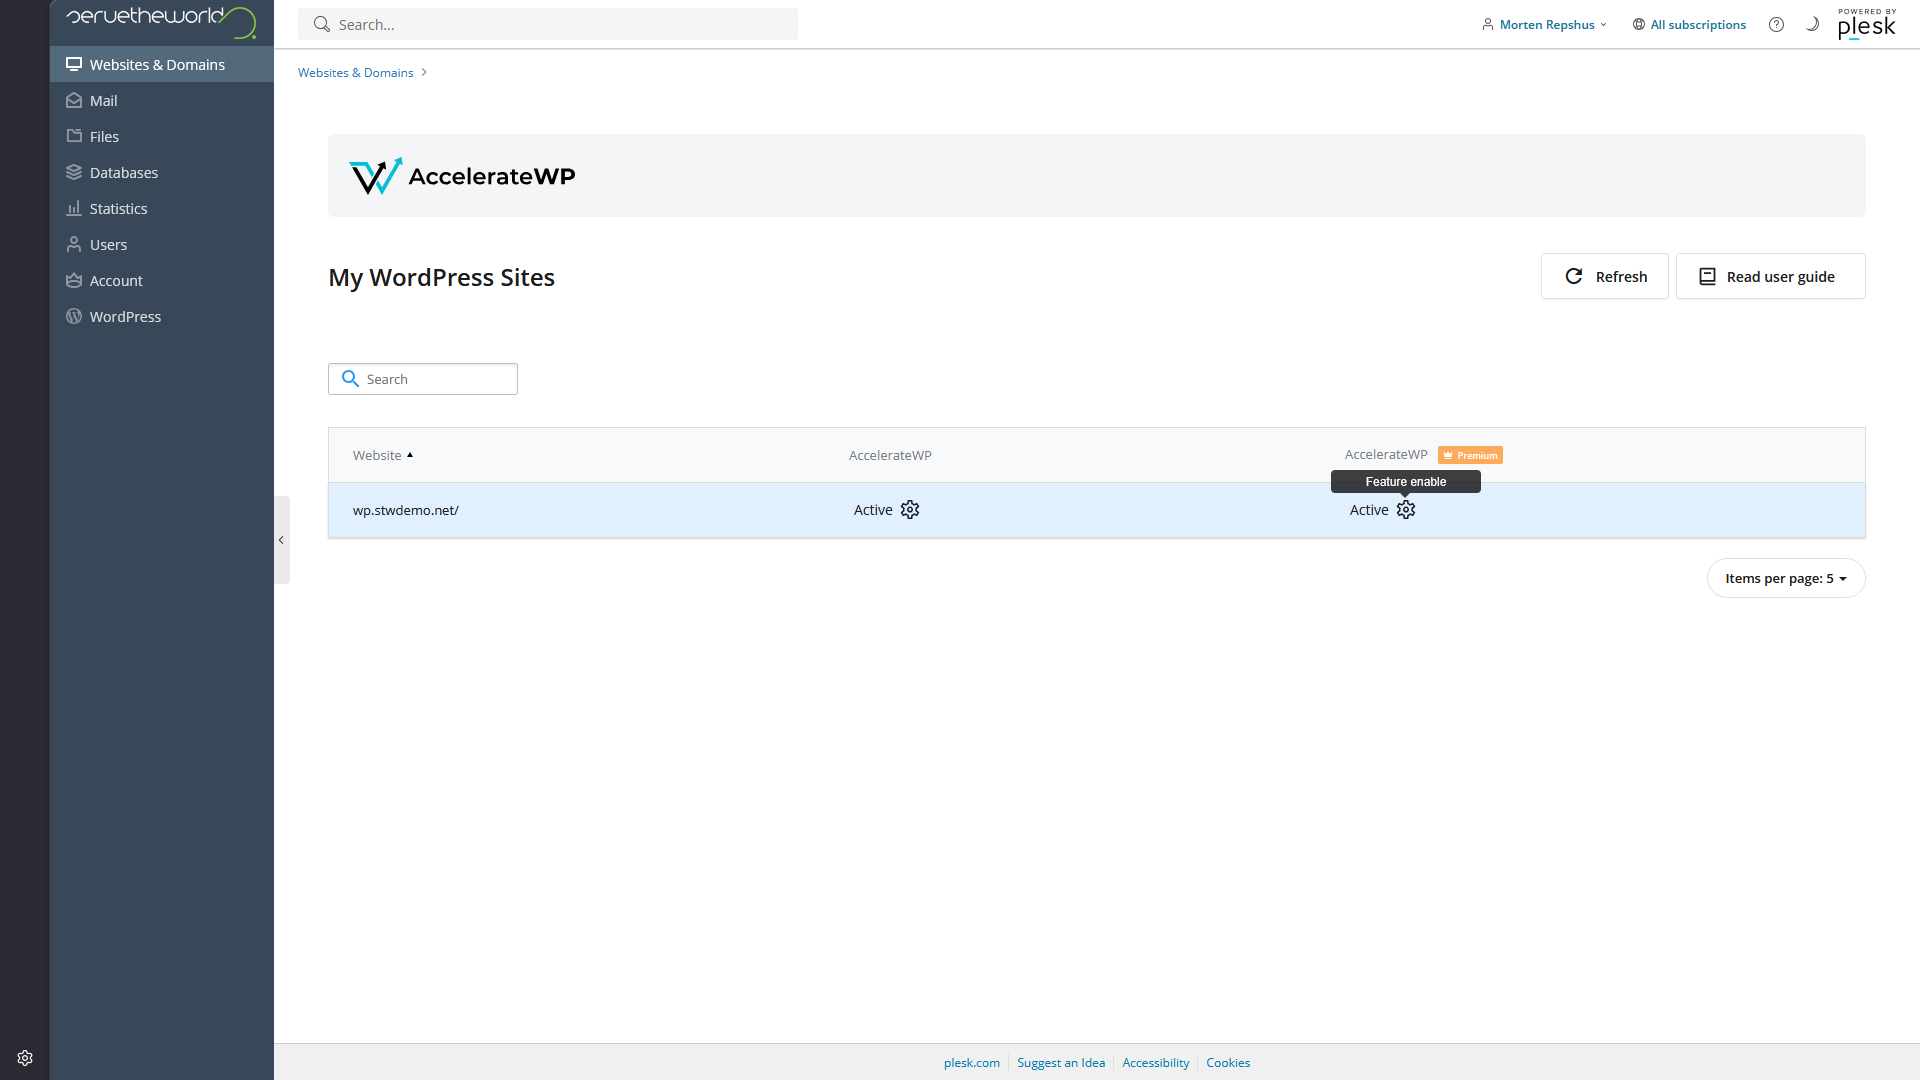
my.servetheworld.net, open Products → My Products, click Manage next to the relevant hosting plan, then click Plesk. - On the Websites & Domains page, look to the far right. If the tools strip is hidden, click the tiny square button in the top-right corner first. Then click AccelerateWP in that strip.

- On the AccelerateWP page, click the cog under AccelerateWP. If your plan also shows an AccelerateWP Premium column, that column has its own cog for the premium features.
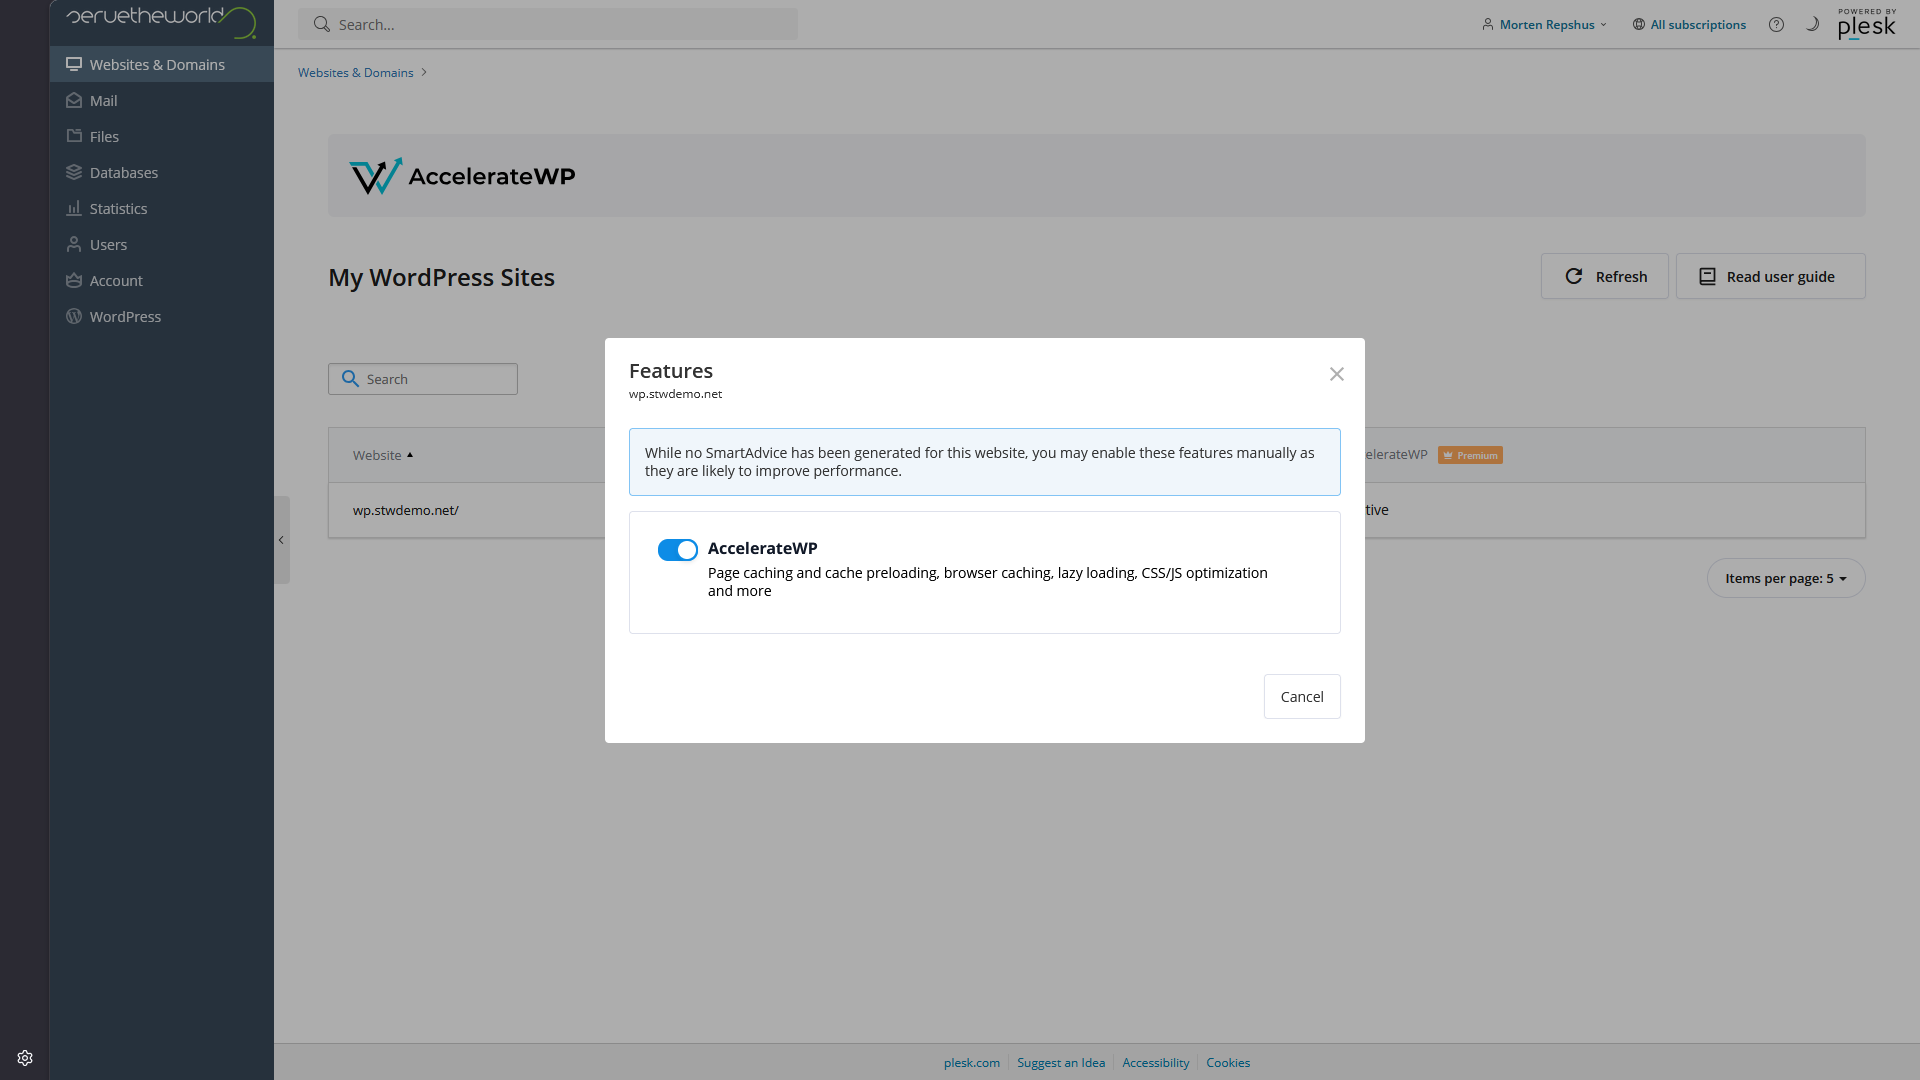
- In the first popup, switch on AccelerateWP.
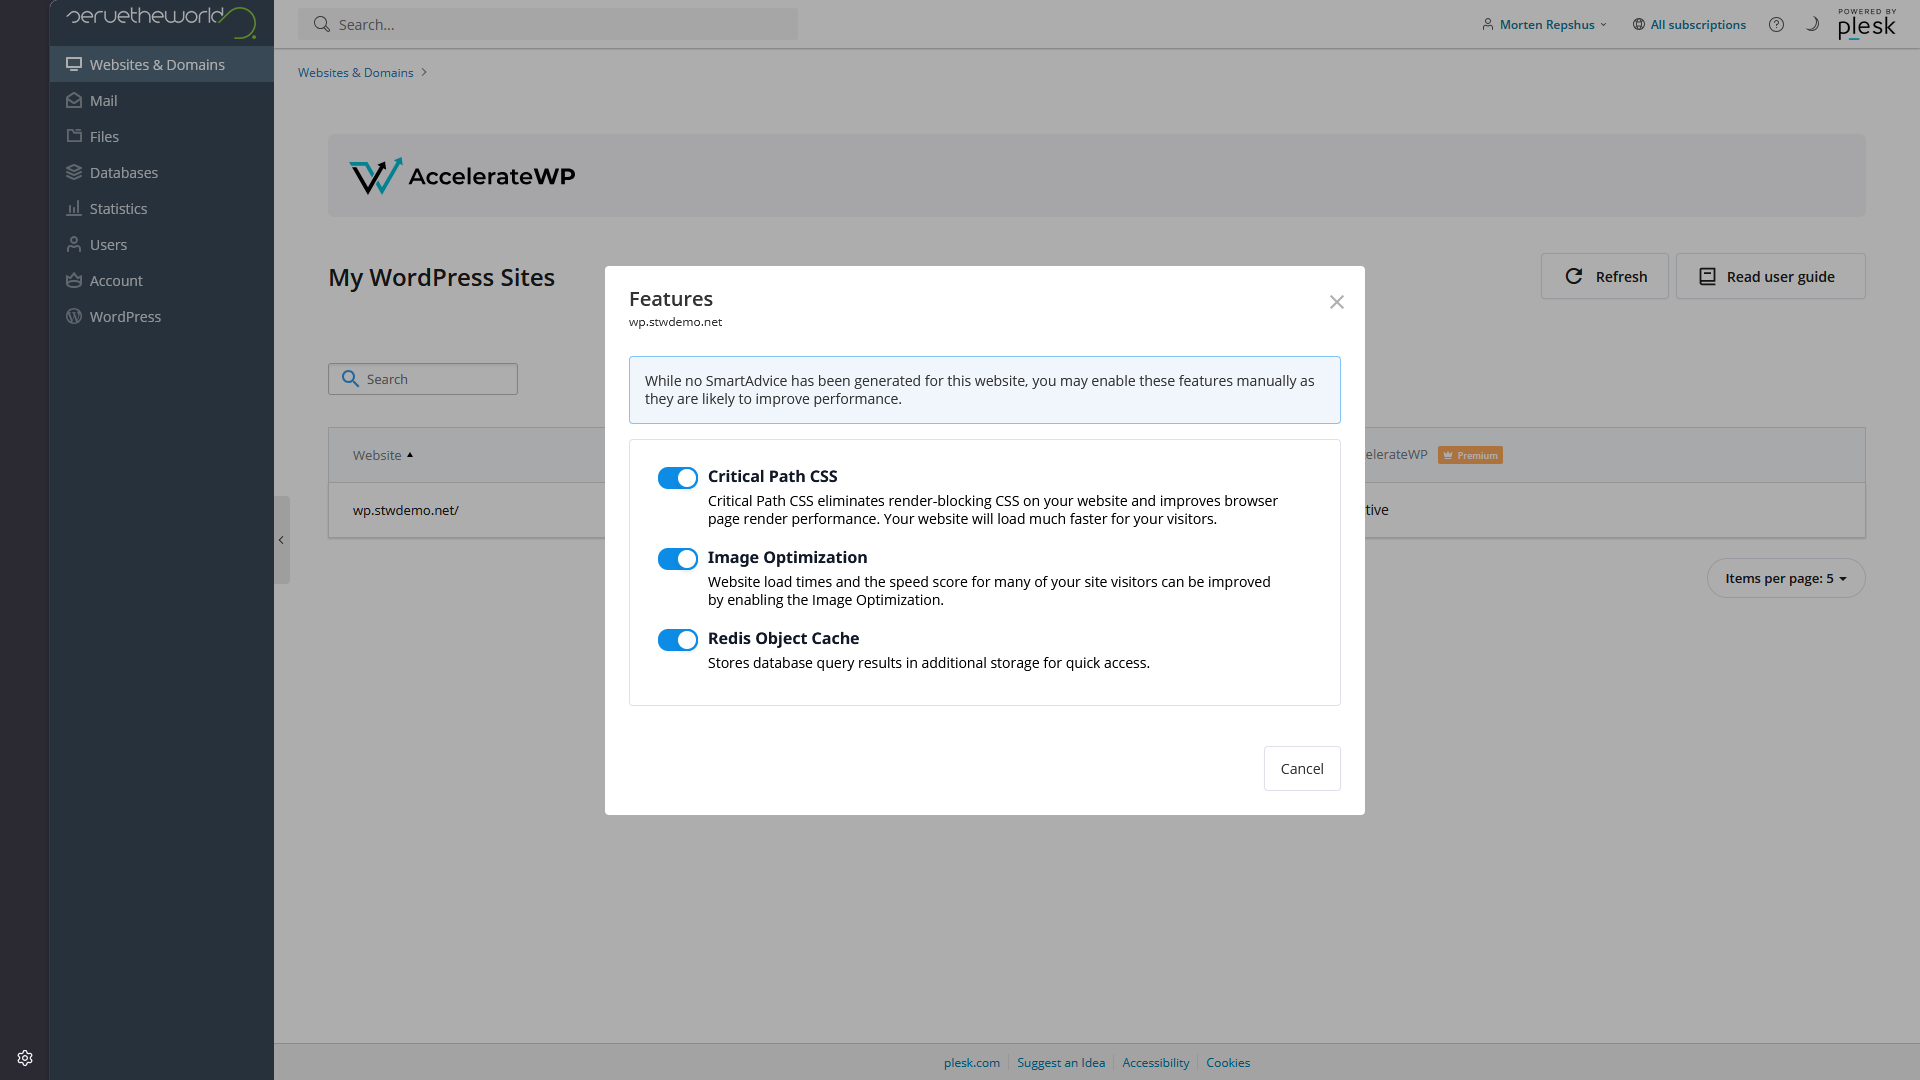
- If your plan includes the premium options, open the premium cog too and switch on Critical Path CSS, Image Optimization, and Redis Object Cache.
What those switches do
- AccelerateWP is the base layer. It covers page caching, cache preloading, browser caching, lazy loading, CSS and JavaScript optimization, and a few related front-end improvements. This article focuses on the page caching side of that stack.
- Redis Object Cache stores repeated database query results in memory, which helps the admin area and other dynamic parts of WordPress. Our guide to Redis object caching covers that in detail.
- Image Optimization compresses images and helps deliver lighter formats where possible. We come back to that in our guide to image optimization.
- Critical Path CSS is meant to reduce render-blocking CSS so the visible part of the page appears faster. That fits into the front-end tuning we revisit in our guide to CSS and JavaScript optimization.
Once the standard activation is done, WordPress adds AccelerateWP in the Settings sidebar and in the admin top bar. That’s where you handle the day-to-day controls inside WordPress.
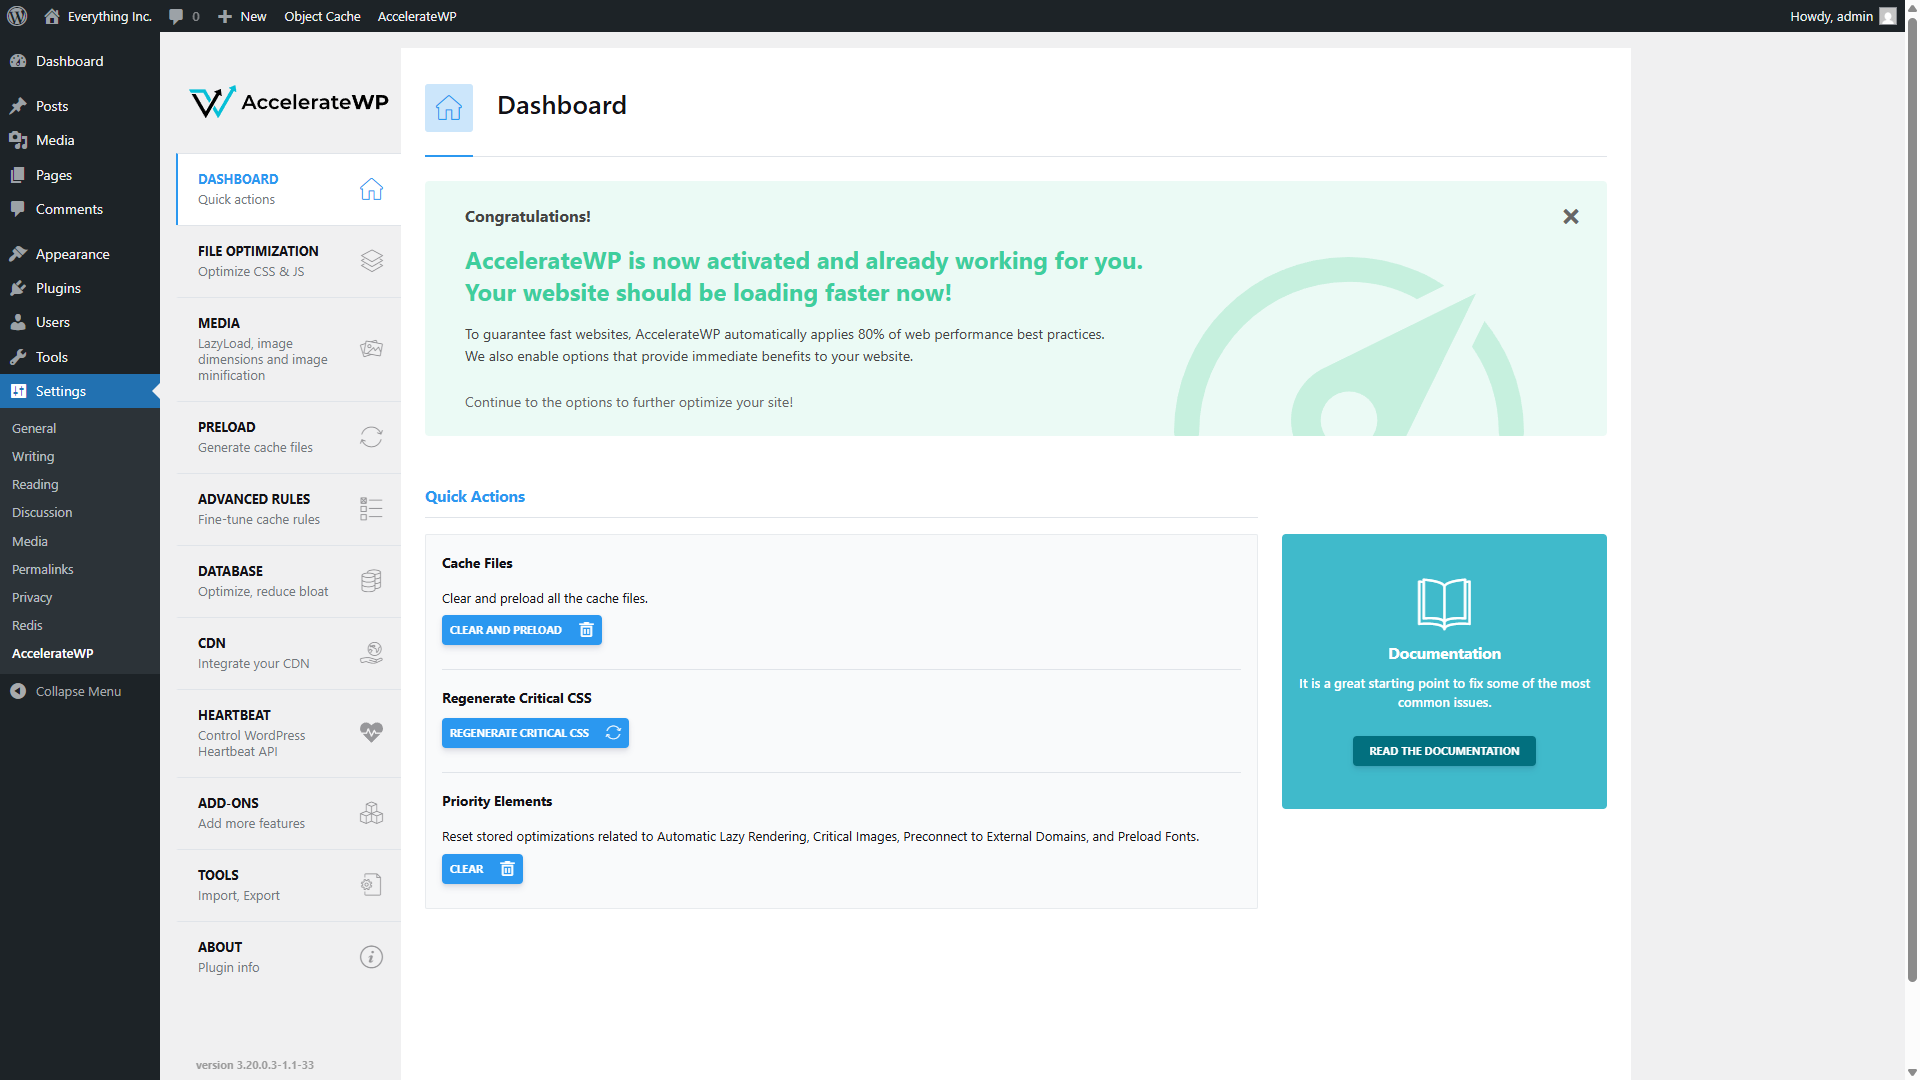
The dashboard confirms that AccelerateWP is working and gives you three quick actions.
- Cache Files clears the stored cache and regenerates it. Use this after making changes to your site’s content or design. Click Clear and Preload and AccelerateWP rebuilds the cache so the next visitor gets a fresh copy.
- Regenerate Critical CSS rebuilds the CSS that AccelerateWP extracts for above-the-fold content. You’d use this after changing themes or making significant design changes.
- Priority Elements resets stored data about lazy rendering and critical images. Clicking Clear forces AccelerateWP to re-analyze your pages.
Set your permalink structure first
If you see a warning banner at the top of the AccelerateWP pages that says “A custom permalink structure is required for the plugin to work properly,” you need to set your permalinks before some features will work.
Go to Settings → Permalinks in the WordPress admin. Post name is usually the cleanest choice for most sites because it gives you short, readable URLs, but any custom permalink structure works here. The important part is moving away from the plain default and saving your changes.
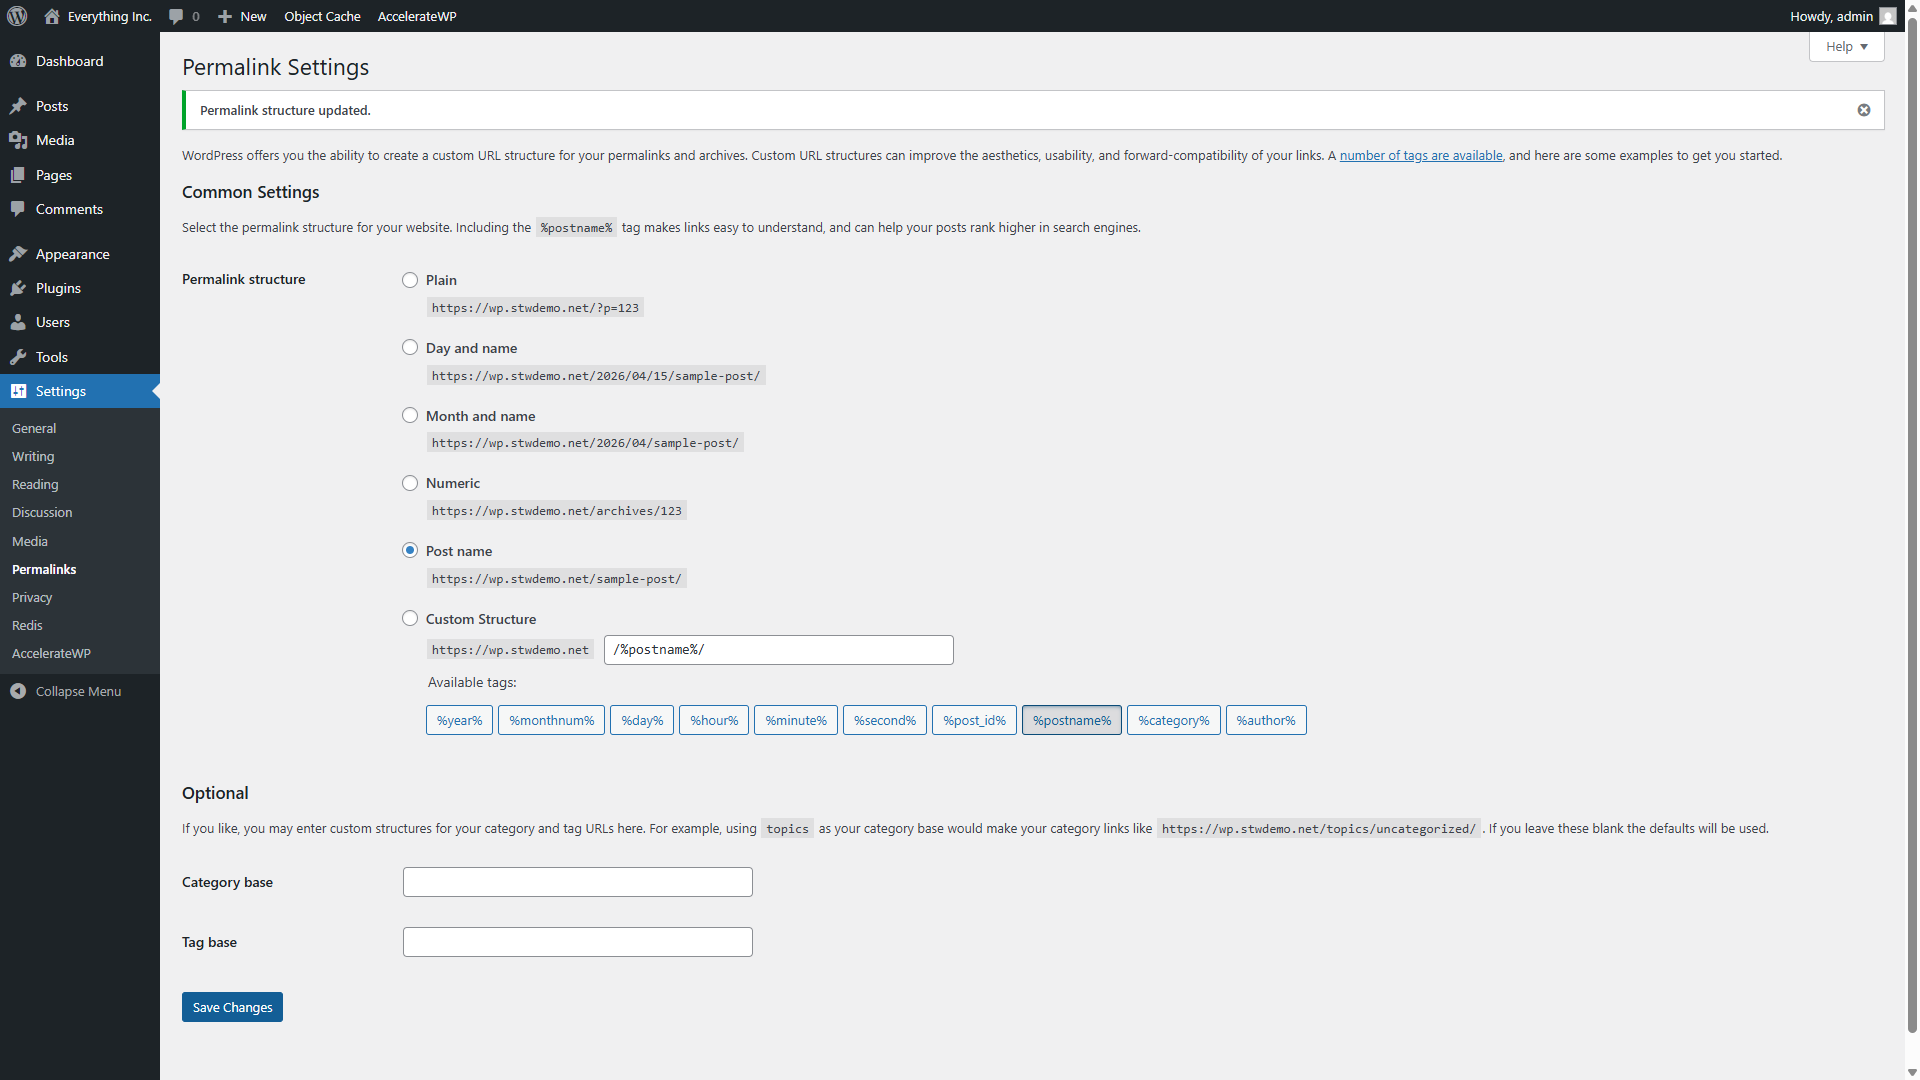
After saving, the warning disappears and AccelerateWP can fully manage your cache. If you already set this up in your first day in the WordPress dashboard, you won’t see the warning.
Configure preloading
AccelerateWP can preload your cache automatically. Preloading means the plugin crawls your site in advance so every page has a cached version ready before anyone visits it. The first visitor to any page gets the fast cached version rather than triggering a fresh build.
Go to AccelerateWP → Preload in the sidebar.
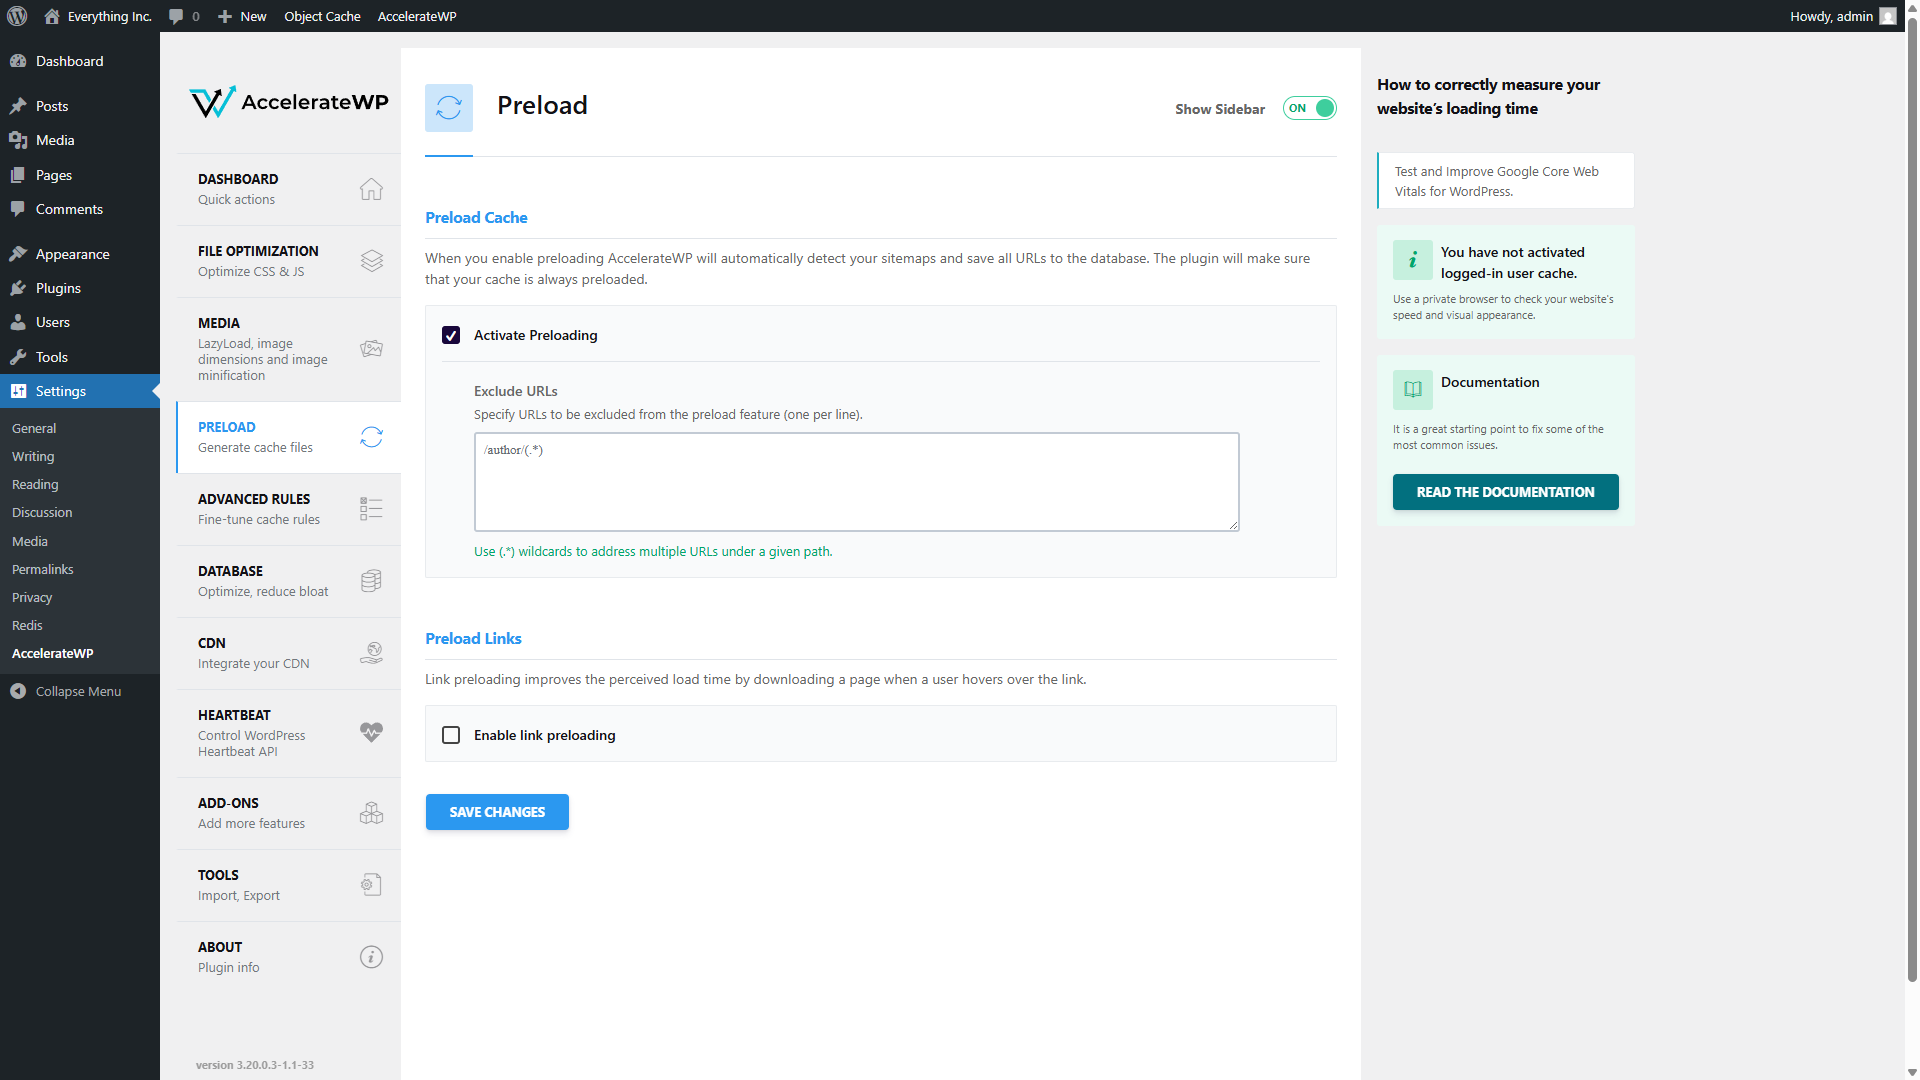
Activate Preloading should already be checked. When it’s on, AccelerateWP detects your sitemaps and saves all URLs to the database before anyone visits at all, then keeps the cache warm automatically.
The Exclude URLs box lets you skip pages that don’t need to be preloaded. The default /author/(.*) entry excludes the pages WordPress automatically creates to list each author’s posts. There can be a lot of these pages listing all old content. Because visitors rarely see them, there’s little benefit to proactively generating these pages in advance. (If someone does click on an author link, AccelerateWP will still cache it on-demand for the next person).
Enable link preloading is a separate option below. When turned on, AccelerateWP downloads pages in the background when a visitor hovers over a link. The page feels quicker when they click. It’s not always enabled by default because it creates extra background requests, but for most normal sites with internal navigation it’s worth turning on.
What ServeTheWorld manages for you through AccelerateWP
Depending on how you install WordPress, you might notice that some AccelerateWP sections in the WordPress admin, like Cache, File Optimization, and Advanced Rules, appear blank. In this case, the heavy lifting is handled through ServeTheWorld’s server-side configuration, so you get the benefit of those features without having to tune every setting yourself.
What you control from the WordPress side is the dashboard quick actions, preload settings, image optimization, database cleanup, and the Heartbeat API (the background system WordPress uses for autosaves and other recurring admin requests).
Caching on STW Shared Hosting
On shared hosting plans, page caching often comes from a WordPress plugin rather than AccelerateWP.
Two reliable options for shared hosting are:
- WP Super Cache is a free plugin from Automattic (the company behind WordPress.com). It generates static HTML files from your dynamic WordPress pages. It’s stable, well-maintained, and handles the basics without much configuration.
- W3 Total Cache is a free plugin with more granular control. It handles page caching, browser caching, and minification. The settings screen is more complex, but the defaults are reasonable for a shared-hosting site.
To install either one:
- Go to Plugins → Add New Plugin in your WordPress admin.
- Search for the plugin name.
- Click Install Now, then Activate.
- Follow the plugin’s setup wizard or go to its settings page to enable page caching.
The key setting to enable is page caching. Both plugins will walk you through it. Start with page caching only and leave the other options (minification, browser caching, CDN) alone until you’ve confirmed the site works correctly.
If you later move to an STW WordPress hosting plan, deactivate and remove any caching plugin before you enable AccelerateWP. Running two caching systems at once causes caching conflicts, including double-cached pages and stale content.
How to Tell If Caching Is Working
After setting up caching, whether through AccelerateWP or a plugin, check that it’s active.
The quick test
- Open your site in a private or incognito browser window. This avoids your logged-in session, which bypasses the cache.
- Load the homepage. Note how the page appears.
- Reload. If caching is working and you are not seeing a logged-in bypass, the second load will often feel quicker.
Speed testing tools
PageSpeed Insights, GTmetrix, and Pingdom’s website speed testing tool test your site from external servers and report performance metrics. Run a test before enabling caching and note what it says. Run it again after to get a concrete comparison.
These tools also flag other issues, like oversized images and render-blocking scripts. Caching addresses the server response time part of the equation. The rest comes from image optimization and CSS and JavaScript optimization.
When to Clear Your Cache
Most of the time, you can leave the cache alone. ServeTheWorld handles the cache lifetime behind the scenes, so you usually don’t need to clear it after every small edit or every normal post update.
Manual clearing is most useful when you make a visible front-end change and the old version still lingers. That usually means moments like when you:
- change your theme or customize your site’s design
- install, update, or remove a plugin that affects the front end
- make a significant layout or content change and still see the old version
- change permalink settings or site structure
On AccelerateWP, go to the AccelerateWP → Dashboard page and click Clear and Preload. The plugin purges the old cache and rebuilds it immediately.
Conclusion
Caching is the highest-impact performance change for most WordPress sites. It turns an expensive build process into a simple file delivery. On STW WordPress hosting, AccelerateWP handles this at the server level once you’ve enabled it in Plesk. On shared hosting, a plugin like WP Super Cache or W3 Total Cache can still give you a useful speed boost, though the setup is more manual and less integrated.
The next article covers object caching with Redis, which handles the database-level queries that page caching doesn’t reach.
Next steps: