
Introduction
If you followed our WordPress installation guide, WordPress is installed and you’ve got login credentials. Right now the site still has a stock theme, a post called “Hello world!”, a placeholder page, and a tagline that accurately reads “Just another WordPress site,” so there’s some cleanup to do before you start building anything real.
This tutorial walks through your first session inside the WordPress admin. You’ll log in, get a feel for where things are in the dashboard, and then work through ten practical steps that turn a generic WordPress install into a clean starting point for your actual project.
How to Log In to WordPress
Your site will have a WordPress admin login page at:
your-domain.com/wp-adminType that into your browser and you’ll land on the WordPress login screen. Enter the username and password you created during installation, and WordPress takes you straight to the dashboard.
Bookmark this address now. You’ll be typing it a lot, and it works no matter which hosting provider you’re on or how you installed WordPress.
On your first login, WordPress may ask you to confirm your administration email address. That’s normal. Confirm it and you’ll land on the main dashboard.
Can’t access /wp-admin? Quick fixes
- Try https://your-domain.com/wp-admin rather than http://.
- If you just changed the WordPress Address or Site Address, being logged out is normal. Log in again using the updated URL.
- If you see a placeholder site or the wrong site, WordPress files may not be in the expected folder. Recheck the manual install steps in Part 5.
- If you recently changed DNS, give it a little time and verify propagation before troubleshooting further.
Finding Your Way Around the Dashboard
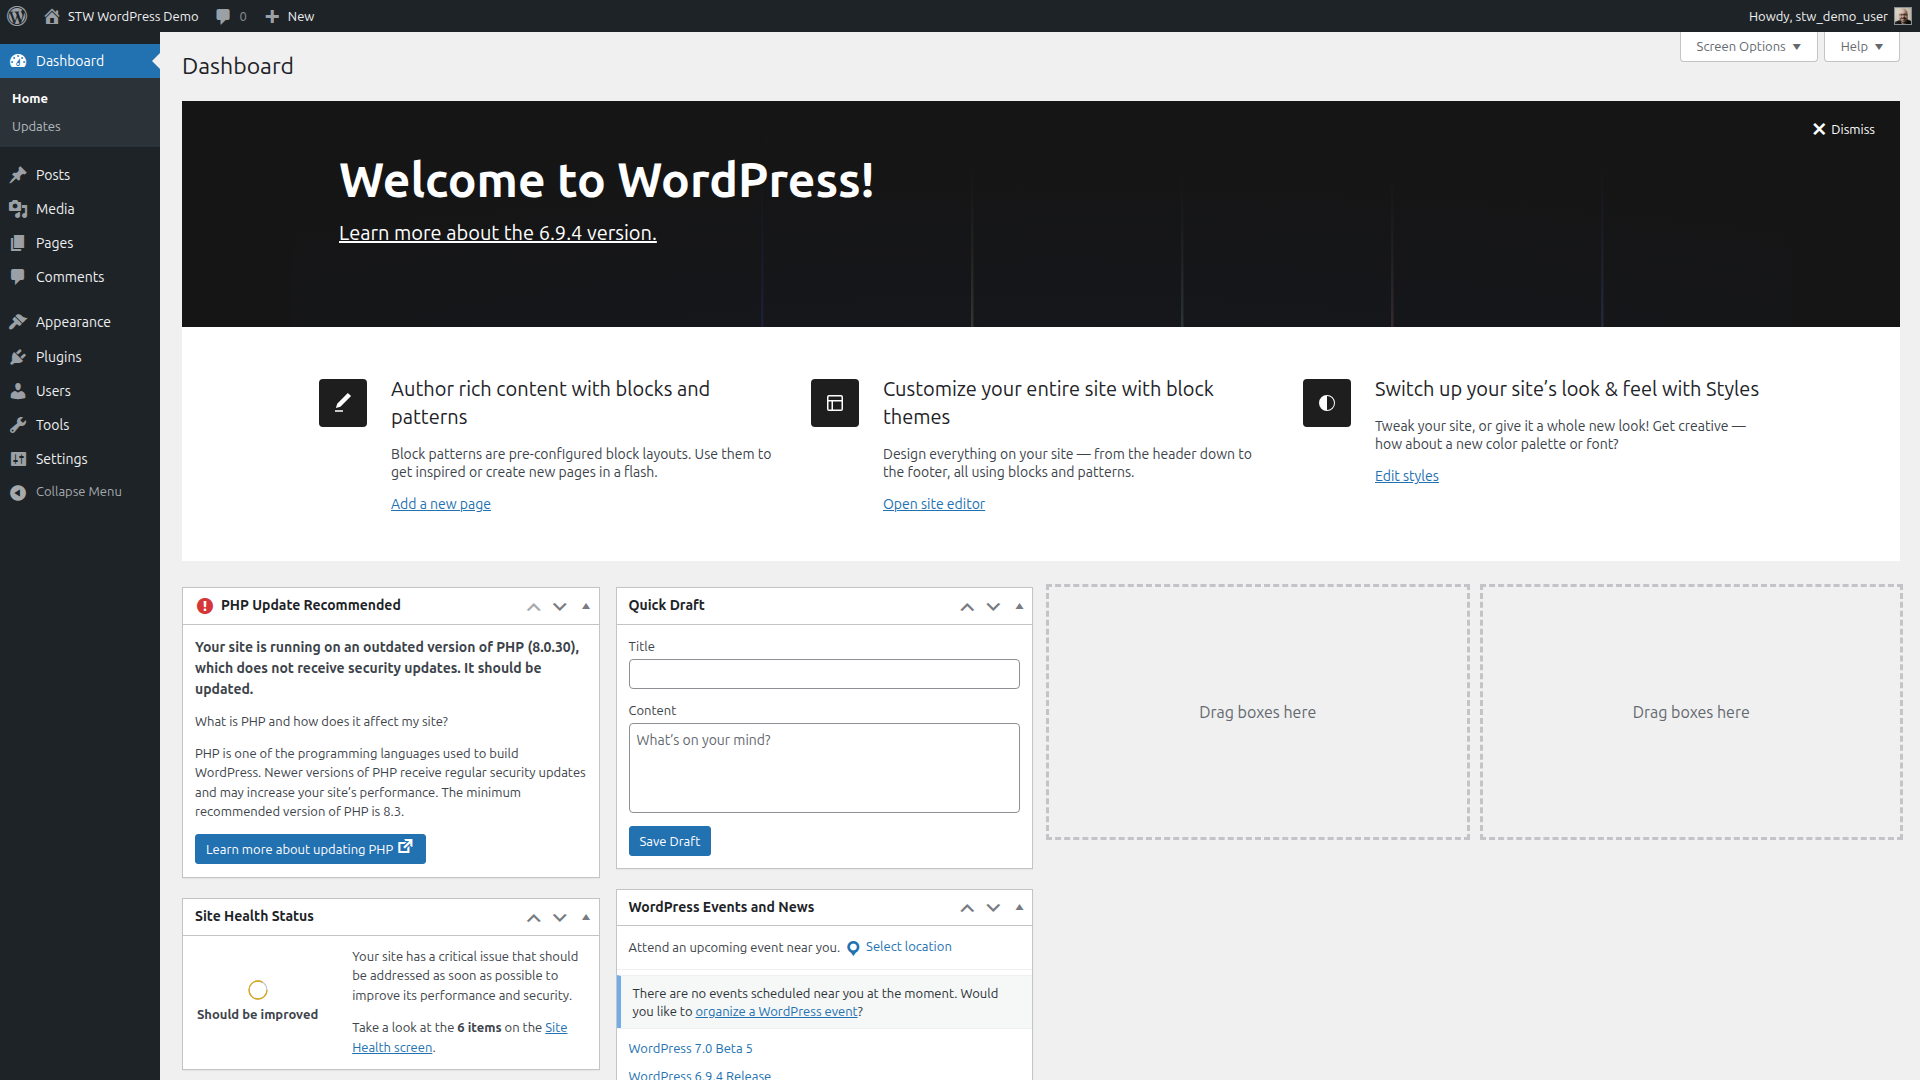
The dashboard can look busy on first login. A welcome banner stretches across the top, widgets show content summaries and health notices, and the left side of the screen has a long vertical menu. Before you change any settings, it helps to know where everything is laid out.
The Welcome panel that’s across the top offers quick-start links and can be dismissed by clicking the three-dot menu in its corner.
The toolbar
![]()
That thin bar running across the very top of every admin page is the toolbar. On the left side of the toolbar, your site name doubles as a quick toggle between the admin and the live site. Hover over it, click Visit Site, and you’ll see exactly what a visitor sees. Click the site name again from the front end and you’re back in the admin. Once you’re actively building pages, you’ll use this toggle to check how things look.
On the right side, the Howdy, [username] dropdown leads to your profile settings and the log out link. Between those two ends you’ll find a few shortcuts that save time. The + New button lets you create posts, pages, and media uploads without navigating through the left menu first, and the comment bubble shows a count of comments waiting for moderation.
Dashboard widgets

The main area of the dashboard home screen contains widgets that WordPress populates automatically. Most of these widgets are informational rather than things you need to act on today, but they give you a useful at-a-glance summary of the site’s state. Site Health Status flags anything that might need attention with your configuration, and it’s worth glancing at every time you log in. Activity shows recently published content and recent comments, which becomes more useful once you’ve been publishing for a while.
The left-hand menu
The left sidebar is where you’ll find the meat of the WordPress admin functionality. Here’s what each section handles:
- Dashboard is the home screen you’re looking at now. The Home sub-item brings you back here from anywhere, and Updates shows whether WordPress core, your theme, or any plugins need updating.
- Posts contains your blog entries. The default “Hello world!” post is in here, and we’ll delete it shortly.
- Media is the image and file library. Empty right now, but every image you upload to a page or post ends up stored here.
- Pages contains your site’s static pages, which differ from posts because they don’t appear in a chronological feed. Right now it has a “Sample Page” and a “Privacy Policy” draft. Your “About,” “Contact,” and “Services” pages will go here.
- Comments handles visitor comments on your posts. For a business site, you’ll probably turn comments off entirely in Step 6 of this tutorial.
- Appearance controls your site’s visual design.Themes lets you install and switch themes, and Editor opens the full site editor for block themes like the default Twenty Twenty-Five.
- Plugins is where you add and manage extra functionality. Two default plugins ship with every install, and we’ll deal with both of them later in this session.
- Users shows everyone who can log in to your site. Right now that’s just you.
- Tools contains utilities including Site Health, WordPress’s built-in diagnostic tool. You’ll run this at the end of the session.
- Settings is the big one for today. Most of the ten steps below happen here, across sub-pages that control your site’s identity, URLs, visibility, and comment behavior.
Step 1 — Confirm your Site is on HTTPS
Before changing anything inside WordPress, look at your browser’s address bar. You should see a padlock icon and the URL should start with https://. If you see http:// without the “s,” or a security warning, your SSL certificate isn’t active yet.
SSL (Secure Sockets Layer) is the encryption that protects the connection between your site and your visitors’ browsers. Every STW hosting plan includes a free certificate from Let’s Encrypt, an automated certificate authority.
If it’s not active, log in to my.servetheworld.net, go to Products → My Products → Manage → Plesk, then open Websites & Domains. Find your domain, click SSL/TLS Certificates, and issue a Let’s Encrypt certificate. While you’re there, enable the Redirect from http to https option so every visitor gets pushed to the secure version automatically.
Once the certificate is active, go to Settings → General in WordPress and check the two URL fields near the top. WordPress Address (URL) and Site Address (URL) should both start with https://. If they still say http://, update them and click Save Changes.

Note: Changing those URL fields while you’re logged in will log you out immediately. That’s expected behavior. Just log back in at https://your-domain.com/wp-admin.
Getting HTTPS right before doing anything else prevents mixed-content warnings down the road. Mixed content happens when images or scripts try to load over insecure HTTP on a page that’s otherwise encrypted, and browsers will flag your site as partially insecure. Fixing that retroactively once the site is full of content is tedious.
Step 2 — Set Your Site Title and Tagline
Stay on Settings → General. Two fields near the top control how your site identifies itself.
Site Title appears in browser tabs, search engine results, and usually somewhere in your theme’s header. On a fresh install this is often set to whatever you typed during installation, or it might just say “My Site.” Set it to the real name of your business or project.
Tagline defaults to “Just another WordPress site.” You’d be surprised how many live sites still have this showing up in Google results months after launch. Either write a short phrase that describes what the site is about, or clear the field entirely. Both are better than leaving the default.
Scroll down past the admin email, membership, and language settings. We’ll come back to timezone in a moment. Click Save Changes when you’re done with the title and tagline.
Step 3 — Set Your Timezone
Still on Settings → General, scroll down to the Timezone dropdown. A fresh WordPress install usually defaults to UTC+0, which is probably not where you or your audience are located.
Pick the city closest to your primary audience, or select the right UTC offset if your city isn’t listed. WordPress uses this setting for everything time-related. Scheduled posts go live based on this timezone, and the timestamps in your admin reflect it. If you run a business in Oslo and leave the timezone at UTC+0, a post scheduled for 9am will actually go out at 10am during Central European Summer Time.
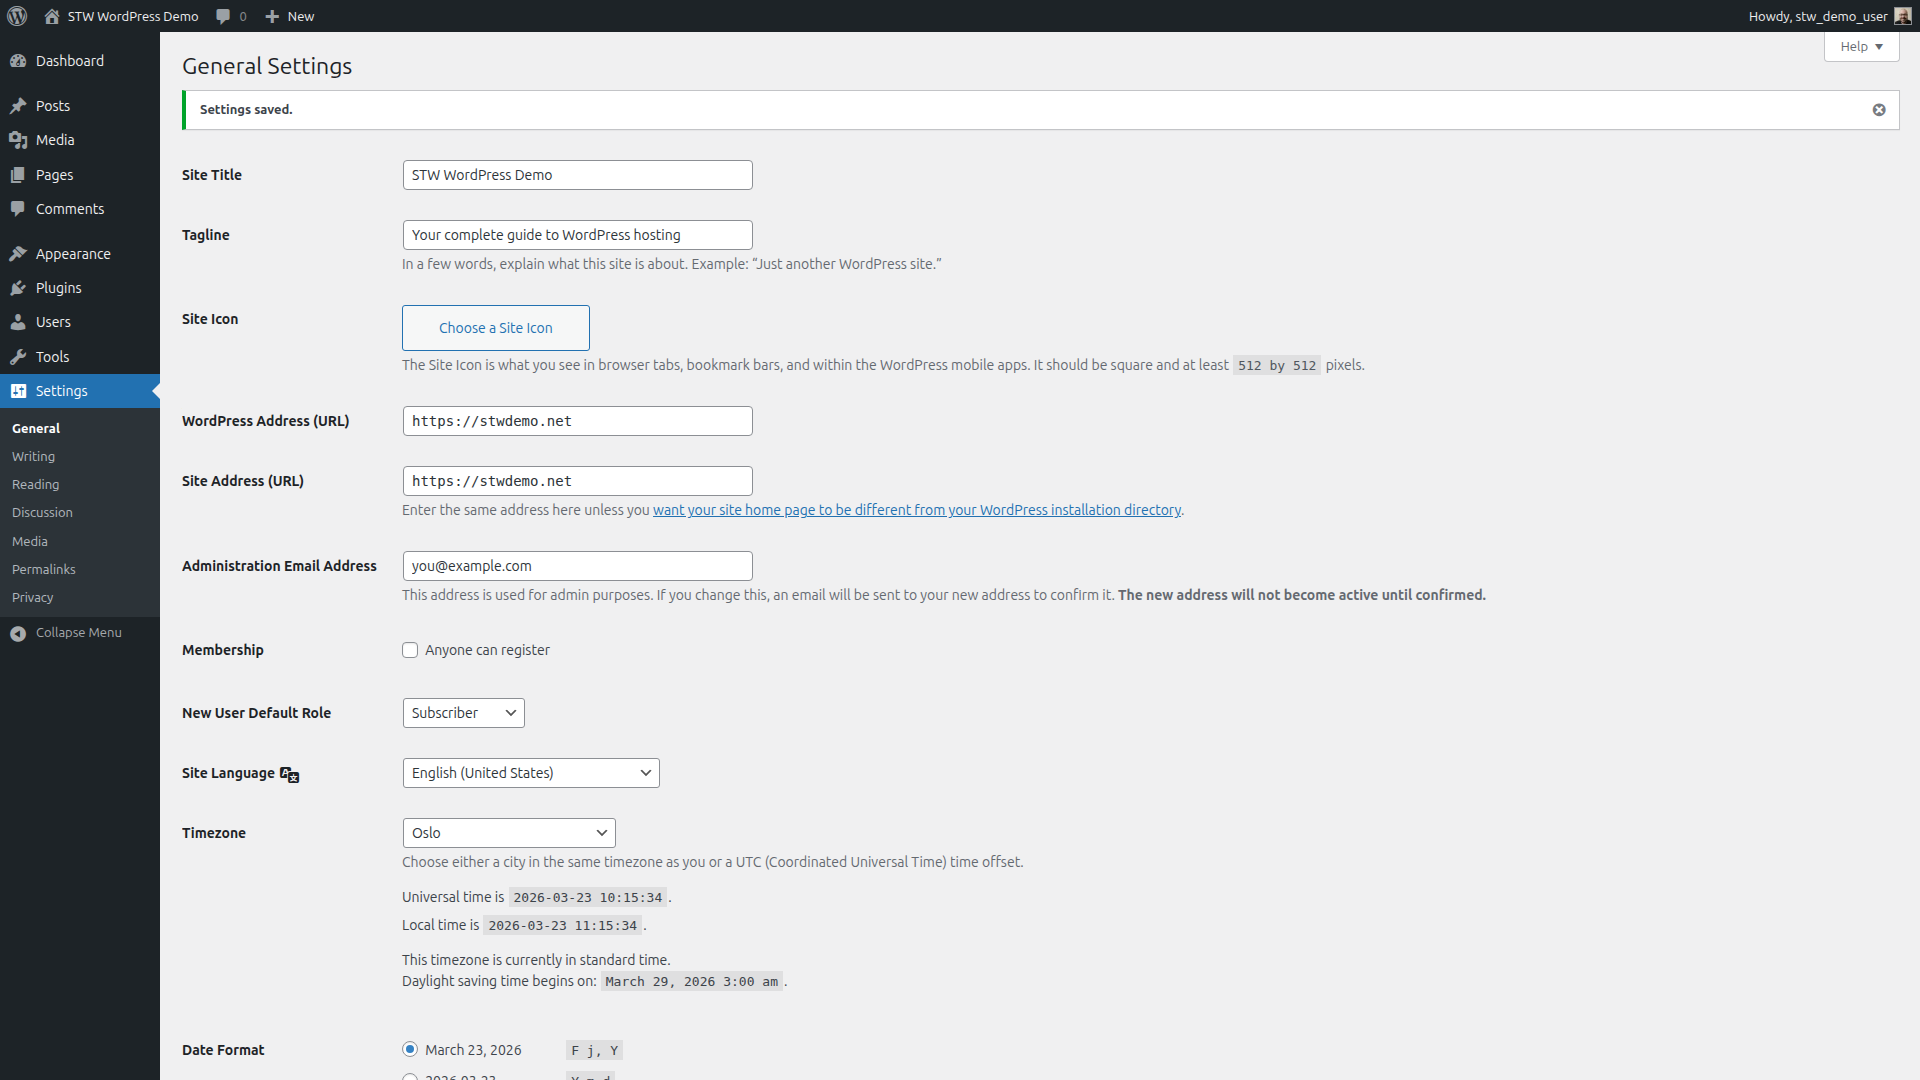
The date and time format settings on the same page control how dates appear across your admin and in your theme. The defaults are fine for most sites. Adjust them if your region prefers a different format.
Click Save Changes.
Step 4 — Fix Your Permalink Structure
Go to Settings → Permalinks. This is an important setting to change before you publish anything.
Permalinks are the permanent URLs for every page and post on your site. WordPress defaults to the Plain structure, which produces URLs like this.
your-domain.com/?p=123That URL tells visitors nothing and gives search engines nothing useful to work with. Select Post name instead, and your URLs will look like this.
your-domain.com/about/
your-domain.com/services/pricing/
Click Save Changes.
Why this matters so much so early. If you publish content with the default URL structure and change it later, every existing URL breaks. Links from other websites, bookmarks your visitors saved, pages Google has indexed will all return 404 errors unless you set up manual redirects for each one. Changing this now, before a single real page exists, costs you nothing. Changing it six months from now costs you hours of cleanup work.
Step 5 — Hide the Site from Search Engines
Go to Settings → Reading. Near the bottom of the page, look for the Search engine visibility checkbox labeled “Discourage search engines from indexing this site.”
Check this box while you’re building. You don’t want placeholder content, half-built pages, or “Hello world!” showing up in search results before the site is ready.
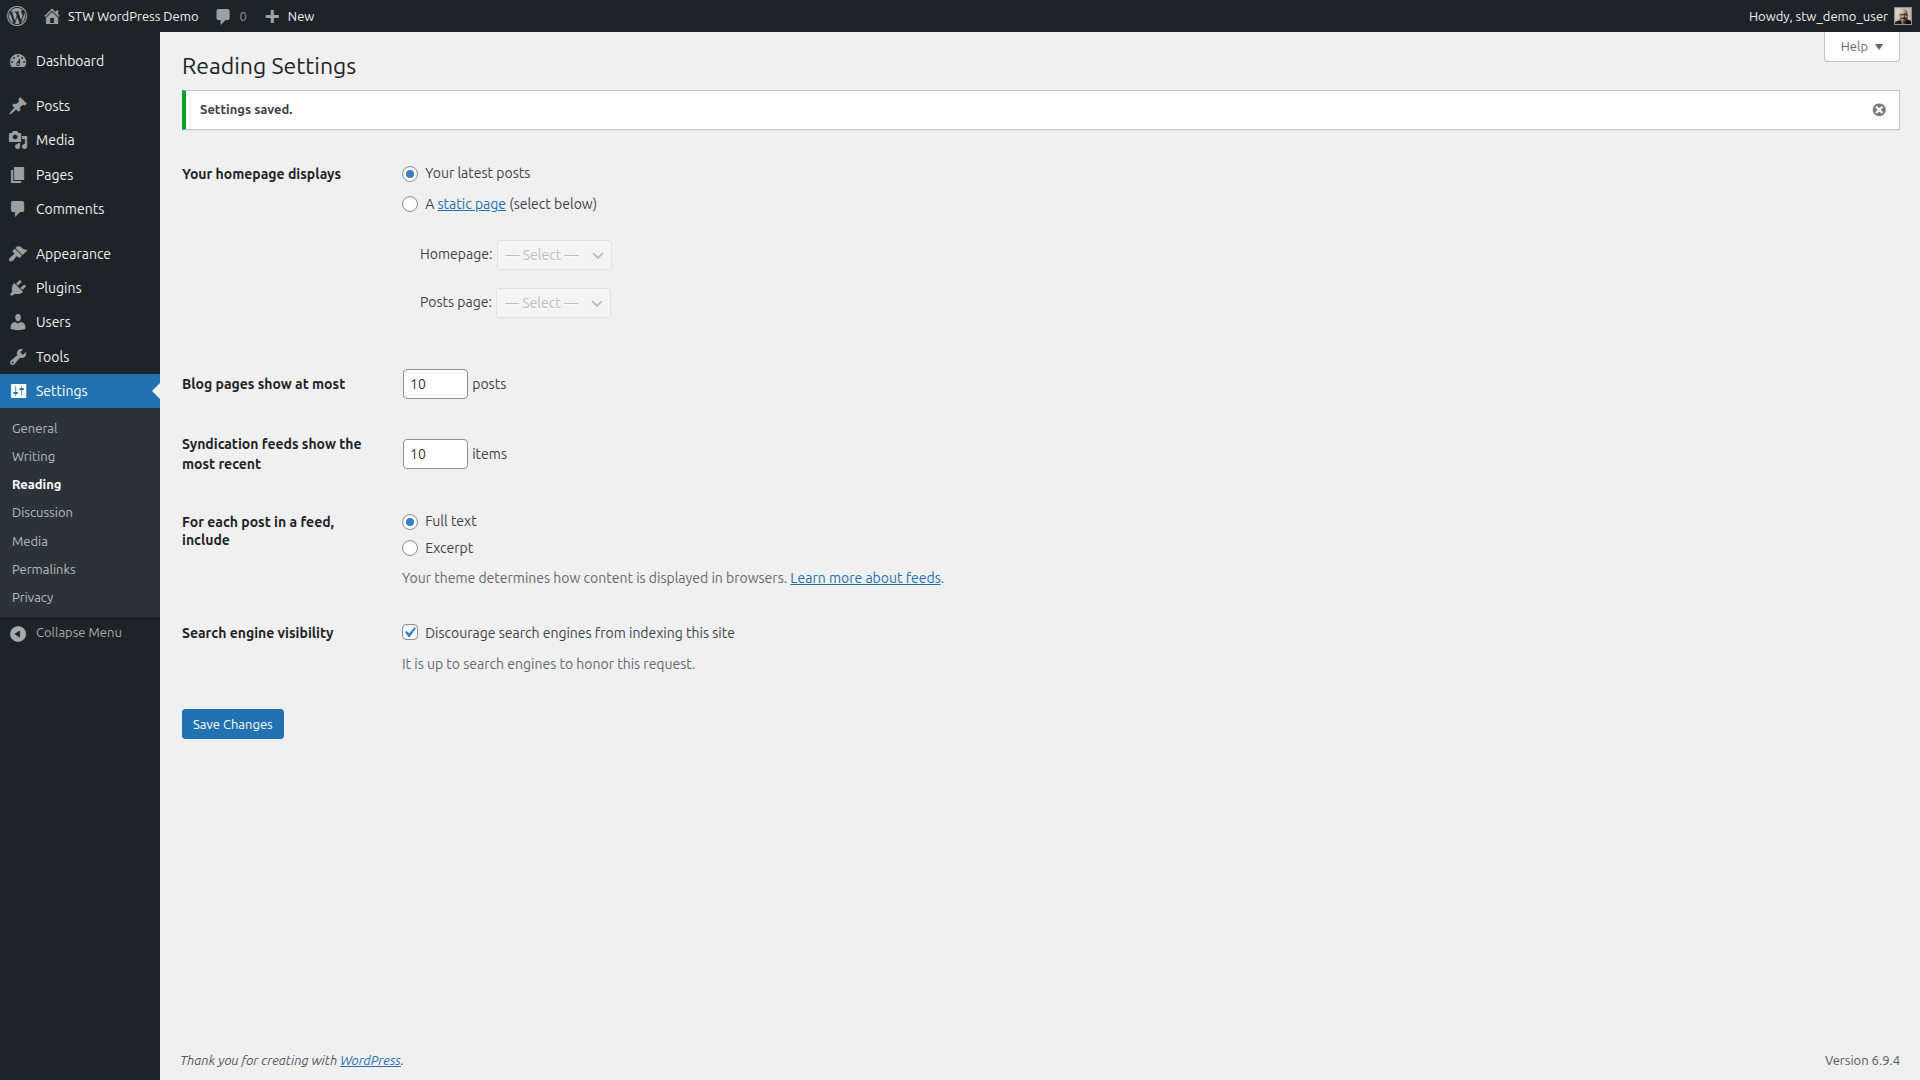
WordPress sends an advisory signal asking crawlers to stay away, and most major search engines respect it. Visitors who know the URL can still reach the site, but you’ll stay out of search results during construction.
Uncheck this box when your site is finished and ready for the world.
Step 6 — Configure Comments
Go to Settings → Discussion. This page controls how WordPress handles visitor comments.

Turning comments off
The first setting under Default post settings reads Allow people to submit comments on new posts, and it’s checked by default. If you’re building a business site, portfolio, or brochure site, you probably don’t need comments. Uncheck this box and click Save Changes. You can always turn them back on later for a blog section if your plans change.
If you want comments enabled
If your site will have a blog or community section where reader comments make sense, spend a few minutes in the rest of the Discussion settings before moving on. The defaults let anyone post a comment that appears on your site immediately without approval. That can work on a small personal blog, but it opens the door to spam and worse on anything with real traffic.
Under Other comment settings, the Comment author must fill out name and email box is already checked. Keep that on. Below it, Users must be registered and logged in to comment is unchecked. Checking this box locks commenting down to registered users only, which may be too restrictive for a public blog. A middle ground is leaving that unchecked but enabling manual approval instead.
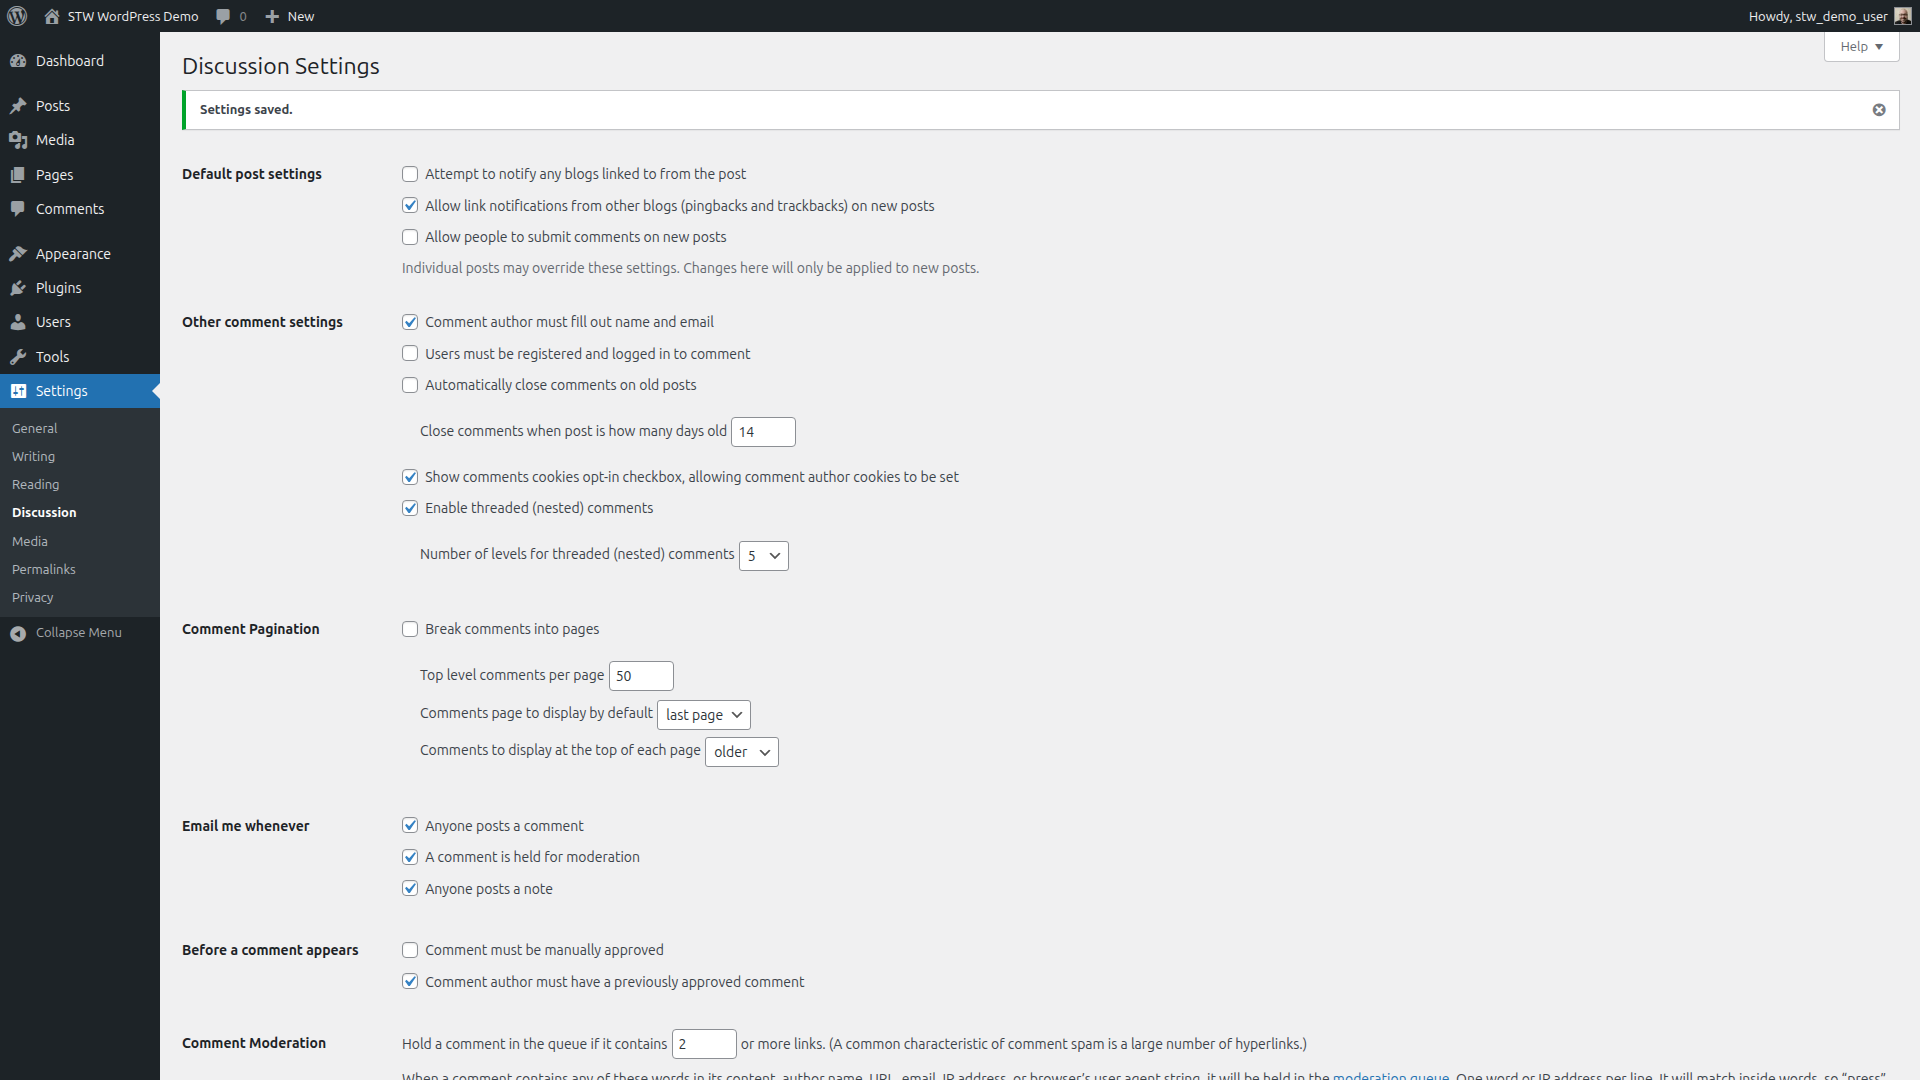
Under Before a comment appears, check Comment must be manually approved. With this enabled, every comment goes into a moderation queue and only shows up on the site after you’ve reviewed and approved it. That gives you full control over what appears publicly and keeps drive-by spam off your pages.
The Comment Moderation text box below lets you set up keyword-based auto-hold rules. Any comment containing a word from this list goes straight to moderation regardless of other settings. Common additions include obvious spam triggers.
Disallowed Comment Keys works differently. Comments matching any word in this list are automatically moved to the trash without moderation. Use it sparingly and only for terms that are never legitimate.
Step 7 — Review Your Admin Account
Go to Users → All Users. You’ll see the admin account you created during installation.
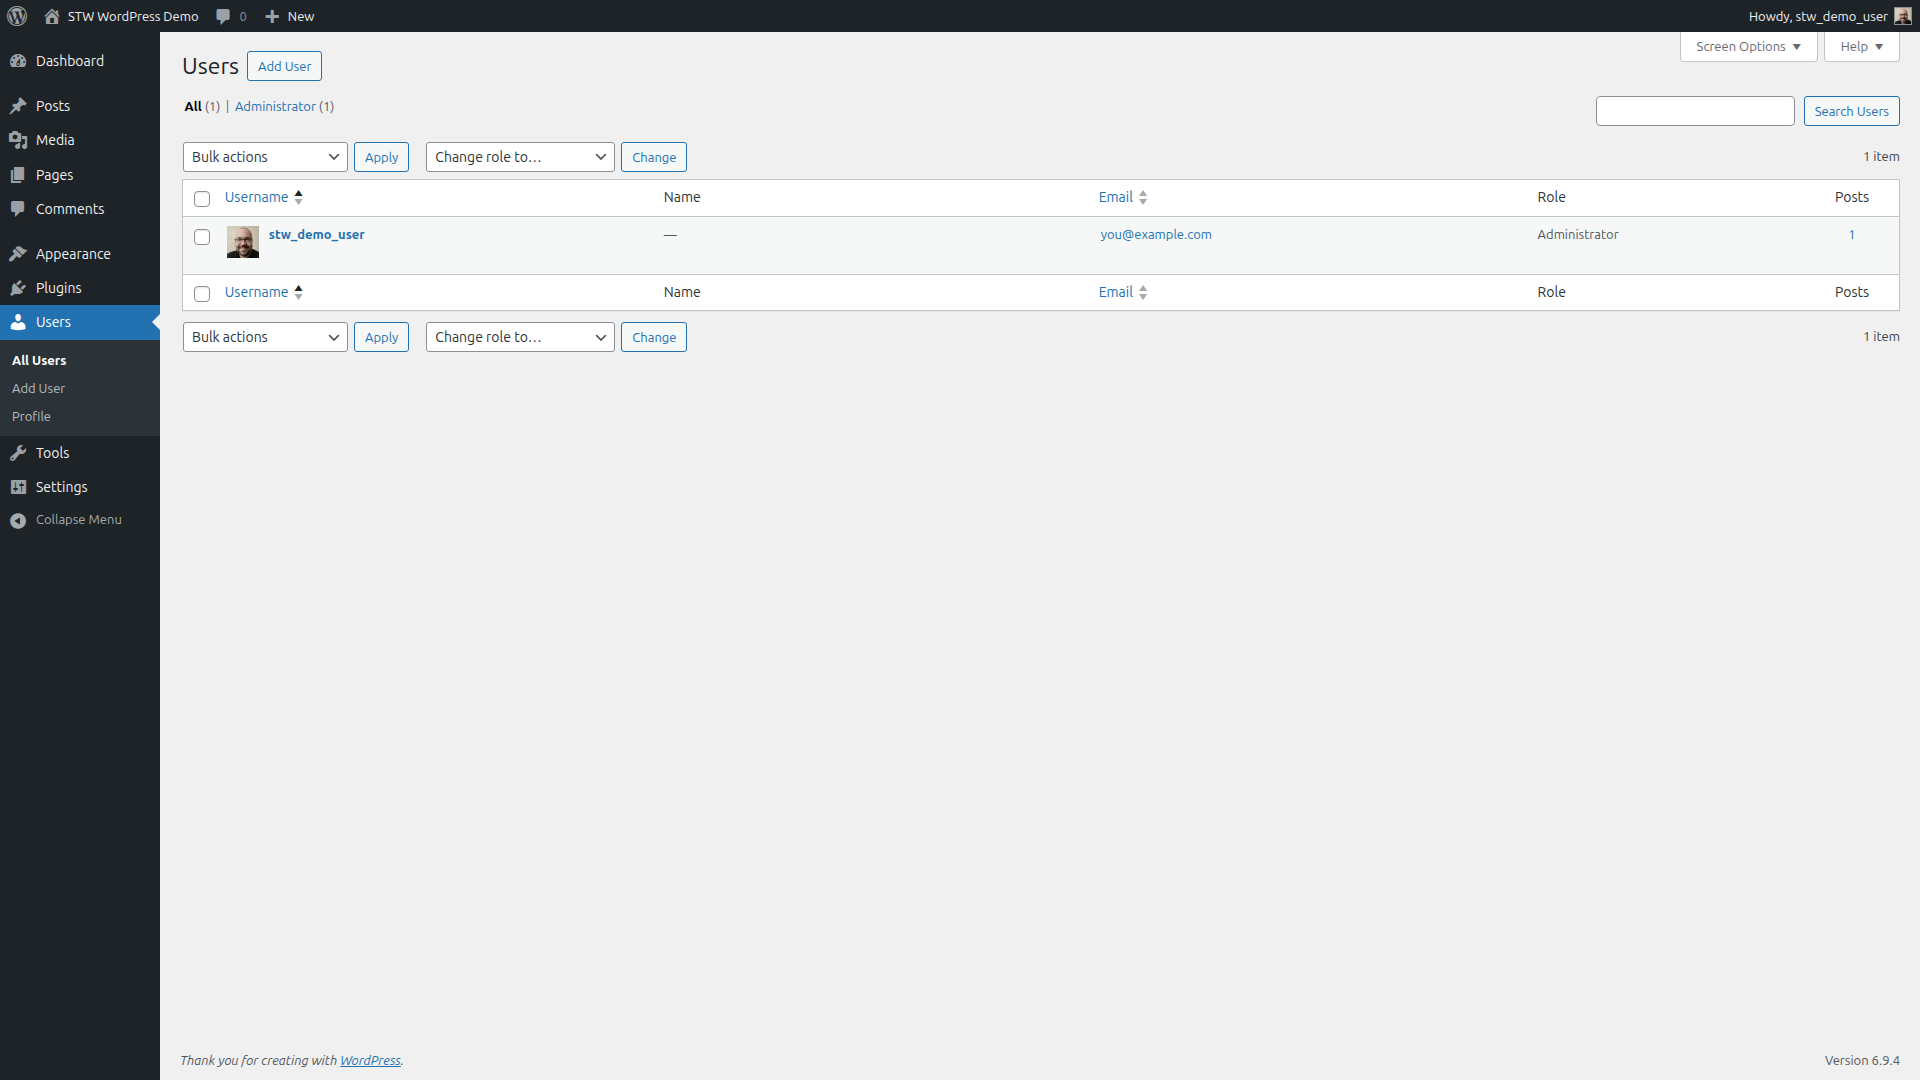
If your username is “admin,” that’s worth fixing right away. Automated bots try “admin” as the first username on every WordPress site they find. WordPress doesn’t let you rename a user, but the workaround is simple. Create a new user with Administrator role and a different username, log in with the new account, then delete the old “admin” account. WordPress will ask what to do with the old account’s content. Choose to attribute it to your new account.
Check your password while you’re here. WordPress has a built-in password generator under Users → Profile that produces strong random passwords. Use that or your password manager. A weak admin password on a site that faces the open internet is the single easiest thing for an attacker to exploit.
If anyone else will work on this site alongside you, give them their own user account with the minimum role they need. An editor writing blog posts doesn’t need Administrator access. A developer managing plugins probably does. Author and Editor are the two roles most collaborators actually need. Sharing one login among multiple people makes it impossible to tell who changed what, and much harder to revoke access when someone leaves the project.
Step 8 — Delete the Default Content
Search engines can index a brand-new WordPress site within hours of it going live, and the default placeholder content is exactly what you don’t want showing up in results. Cleaning this up takes less than a minute.
Go to Posts → All Posts. You’ll see “Hello world!” listed.

Hover over it, click Trash, then open the Trash view and click Delete Permanently.
Go to Pages → All Pages. You’ll see two items.
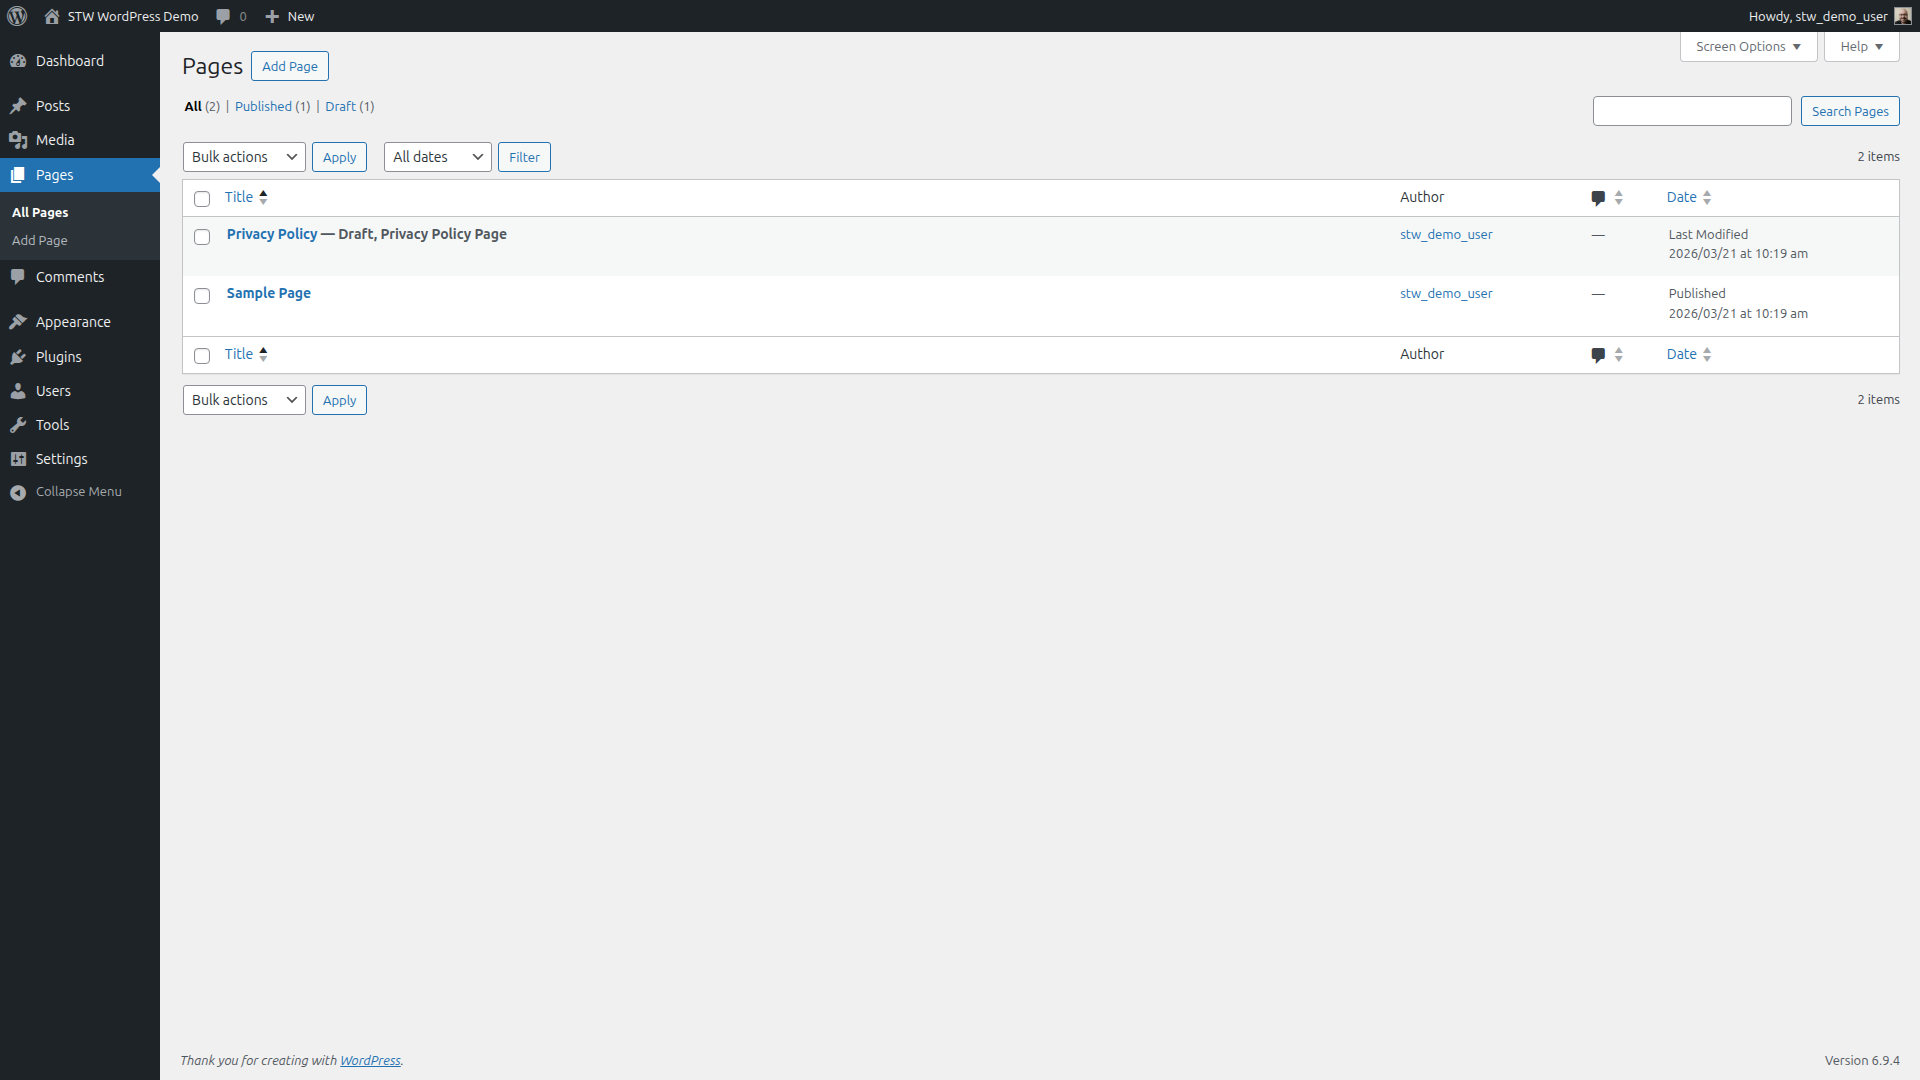
Sample Page is a published placeholder, similar to “Hello world!” Trash it and permanently delete it. Privacy Policy is a draft that WordPress generates automatically using a starter template. You’ll probably need a privacy policy page eventually, and having the template sitting in draft form saves you from starting from scratch later.
Step 9 — Clean Up Default Themes and Plugins
Themes you don’t need
Go to Appearance → Themes. A fresh install of WordPress typically comes with three themes.
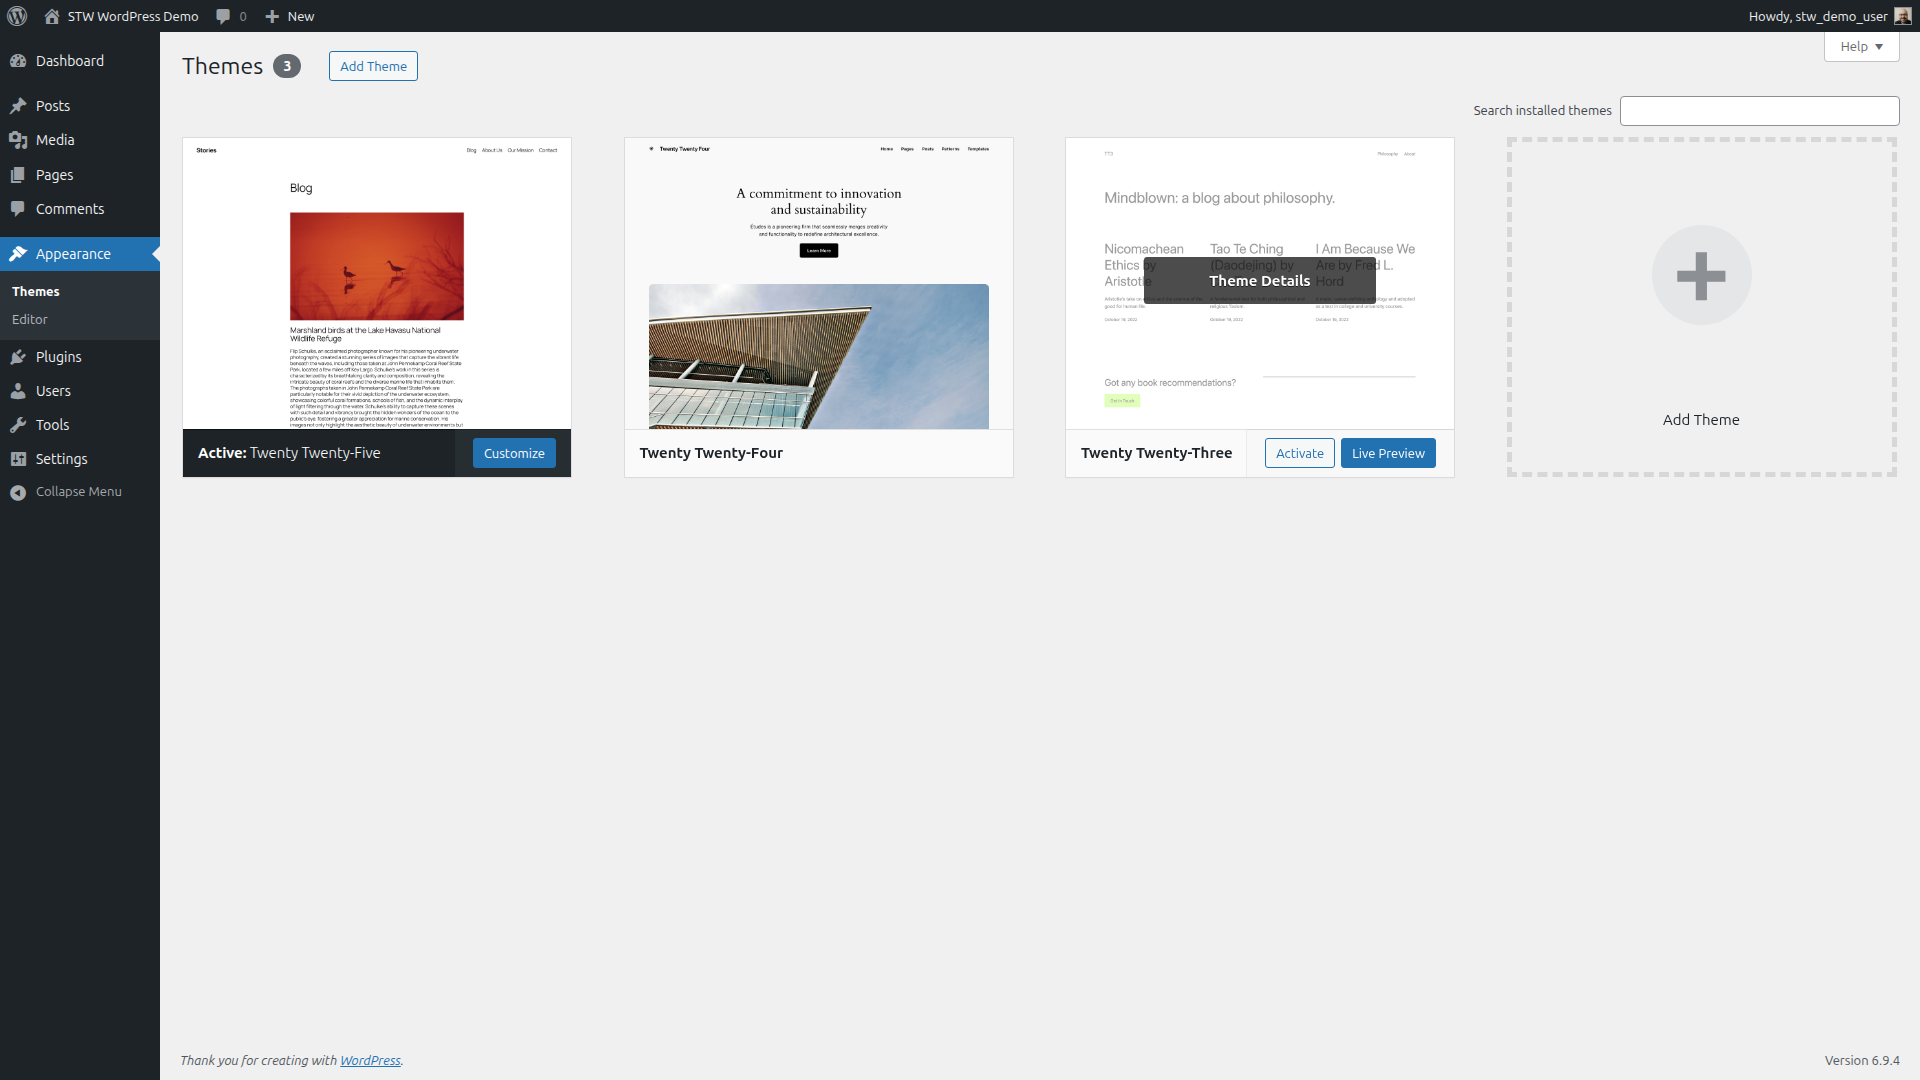
Twenty Twenty-Five is active, which is the current default. Twenty Twenty-Four and Twenty Twenty-Three are installed as fallbacks. You’ll install a proper theme in Part 7, but for now, keep Twenty Twenty-Five and delete the other two.
Click on an inactive theme to open its details, then click Delete in the bottom-right corner. WordPress asks for confirmation before removing it. Do the same for the other one.
Every theme installed on your server is a potential entry point if a vulnerability is found in its code, even one that isn’t active. WordPress Site Health flags inactive themes as a security concern, so removing them now clears that warning too.
Plugins you don’t need
Go to Plugins → Installed Plugins. Two plugins come pre-installed on every WordPress site.
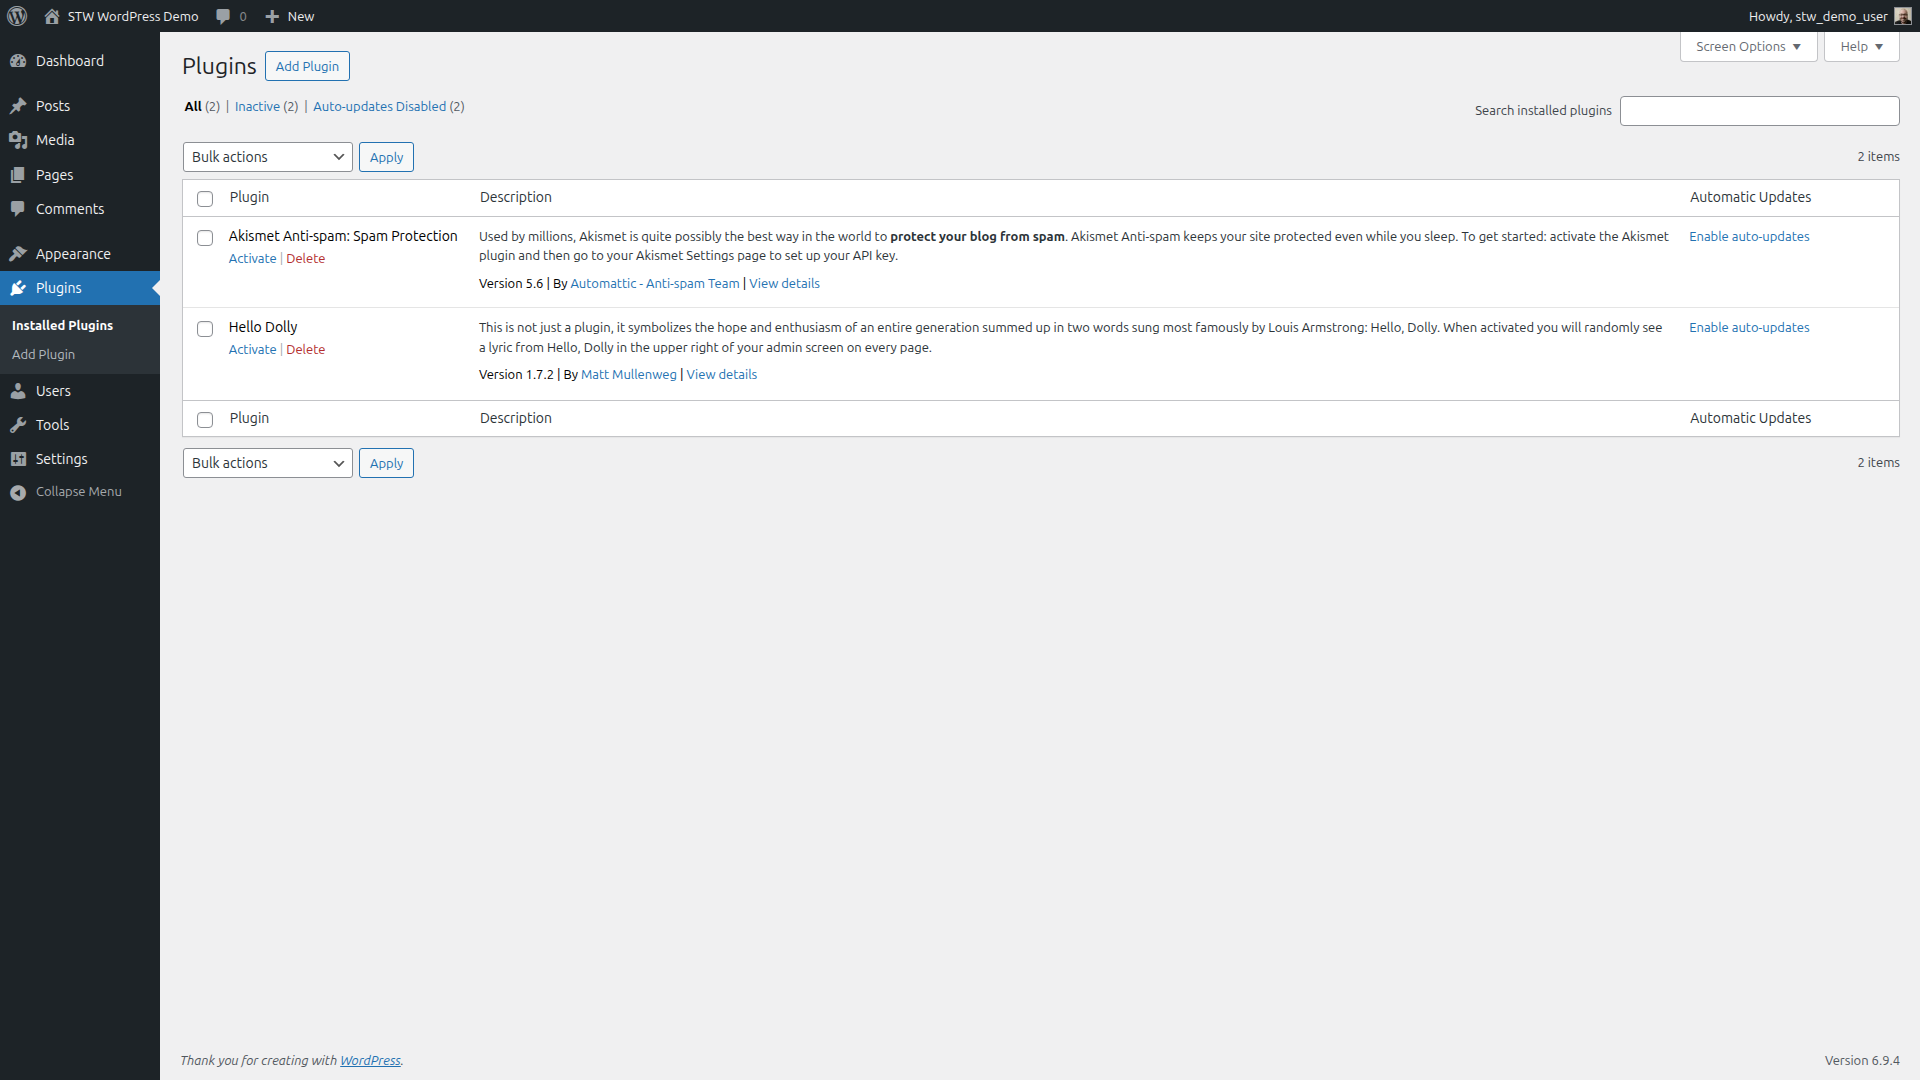
Hello Dolly displays a random lyric from the song “Hello, Dolly!” in your admin header when activated. It’s been shipped with every WordPress release since 2004. Click Delete to remove it, and WordPress will pop up a confirmation dialog asking if you’re sure.
Akismet Anti-spam: Spam Protection is a legitimate anti-spam service, but it requires a paid API key to work on commercial sites. If you already have an Akismet account, activate it and configure it now. If you turned off comments in Step 6 or plan to use a different spam solution, delete this plugin too.
An inactive plugin sitting on the server is the same story as an inactive theme. The code is still on the server and still a potential vulnerability if a flaw is discovered.
Step 10 — Run a Site Health Check
Go to Tools → Site Health. WordPress runs automated tests on your configuration and groups the results into critical issues, recommended improvements, and passed tests.
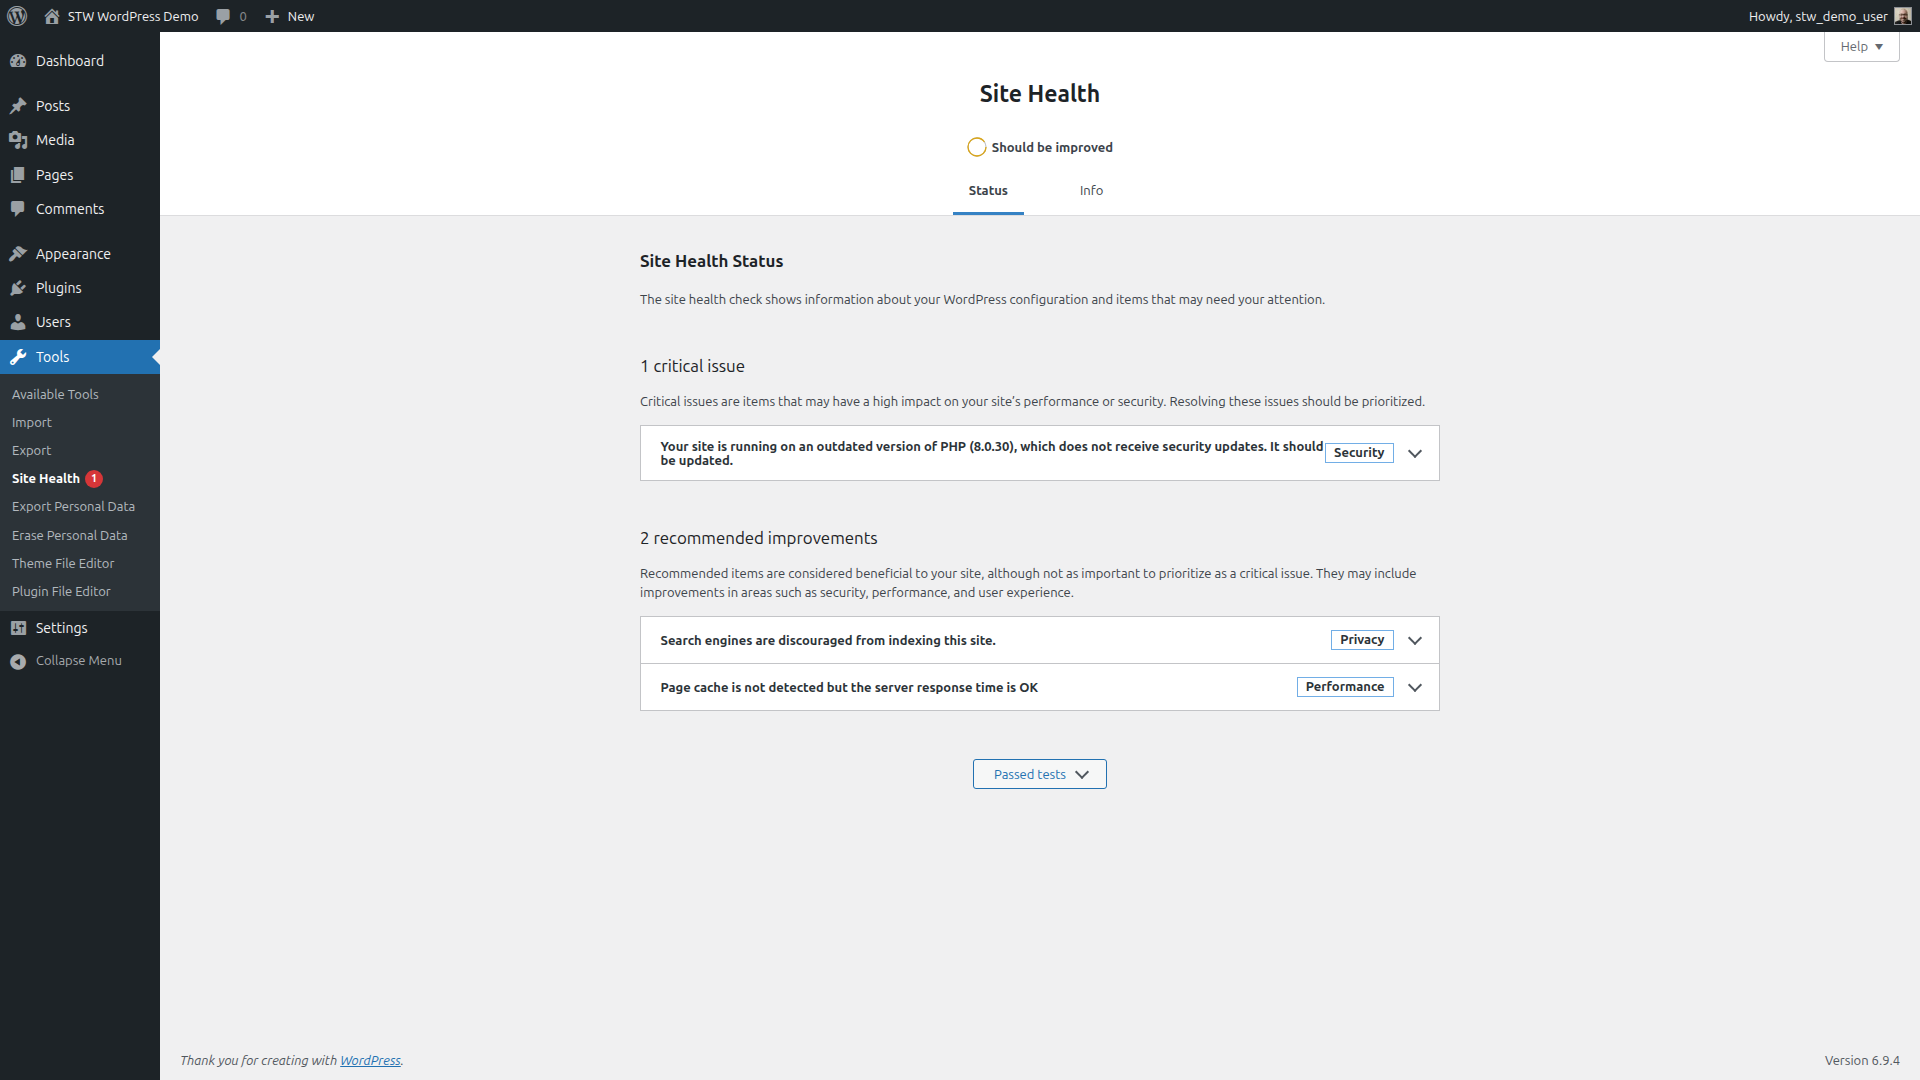
If your Site Health screen shows a PHP version warning, that’s a hosting-level change handled outside WordPress. Part 23 covers how to update PHP through your hosting control panel.
Read through the other recommendations. Some of them will only make sense after you’ve installed a theme and plugins, but the diagnostic tool is useful to revisit at the end of any major change session as a quick sanity check.
Conclusion
That’s the boring-but-essential groundwork finished. Your site is running on HTTPS, the title and timezone are set correctly, the URLs have a clean structure, search engines are staying away while you build, and the placeholder content and dead-weight plugins are gone. Everything you do from here builds on this foundation.
The next article covers choosing and installing a theme, which is where the site starts to actually look like yours.
Next steps: