
Introduction
Ubuntu 26.04 LTS is the next long-term support release for Ubuntu Server, with a newer kernel and refreshed package versions. If your VPS is running 24.04 LTS today, you have the option of upgrading in place rather than rebuilding from scratch.
This guide walks through the update process, end to end, on a typical ServeTheWorld VPS.
Should You Upgrade?
There are good reasons to move to 26.04.
- Support time. Ubuntu 24.04 has standard security maintenance until May 2029, but Ubuntu 26.04 extends that to May 2031.
- Kernel changes. The kernel moves from Ubuntu’s 6.8 series to 7.0. For most VPS workloads, this is mostly a maintenance benefit, keeping your server on Ubuntu’s current driver, networking, virtualization, and security baseline.
- Application versions. The common server stack upgrades versions of PHP, Python, Node.js, Go, Ruby, PostgreSQL, MySQL, Redis, and many others. These are useful upgrades when your applications support them, with security and performance benefits.
Pause before upgrading if any of these apply.
- You have no pressing need. Ubuntu 24.04 is still supported until May 2029. 24.04 LTS systems will be offered the normal automatic upgrade when 26.04.1 is released, scheduled for August 4, 2026. If the upgrade is just housekeeping, waiting for that path is the safer choice.
- Your applications run directly on Ubuntu. Check your application’s requirements against the 26.04 versions of PHP, Python, Node.js, Go, Ruby, and Java. Particularly check old PHP extensions, Python packages installed through apt, and native Node modules. If in doubt, test the upgrade on a staging copy first.
- A database runs directly on the VPS. PostgreSQL, MariaDB, and Redis need database-specific upgrade steps, so plan those before the OS upgrade. See the PostgreSQL upgrade path for PostgreSQL 16 to 18, MariaDB’s major-version upgrade process for MariaDB 10.11 to 11.8, and Redis’s Open Source upgrade guide for Redis 7.0 to 8.0.
Essentially, if your VPS runs hand-built services, older database versions, or custom system scripts, treat the upgrade like a migration to a new system. For those running older GP1 or GP2 servers, we recommend a fresh start instead. In this case, you order a new GP3 VPS or VD1 VDS, install your applications cleanly on 26.04, and migrate your data over. Get in touch if you’d like help planning that.
What You’ll Need
- A server running Ubuntu 24.04 LTS.
- Root access, or a user account that can run commands with
sudo. You can use SSH if you’ve set that up, or the noVNC web console in STW Manager. (noVNC is a browser-based console that gives you a direct keyboard and screen connection to the VPS) - A maintenance window. Services on the VPS will be unavailable during the install and reboot.
- At least 5 GB of free disk space. The download alone is around 1.3 GB, and the upgrade unpacks and installs everything on top of that before the old packages are cleaned up at the end.
- If you’re upgrading over SSH and you run a firewall, open TCP port 1022 before you start. The upgrader uses port 1022 as a backup SSH route in case the main port is briefly unavailable while OpenSSH itself is being replaced. On the default Ubuntu firewall, to open this port, run
sudo ufw allow 1022/tcp.
Step 1 — Snapshot and Back Up Your Data
Make a backup and/or snapshot before you do anything else. This is the rollback point you’ll fall back to if the upgrade goes wrong. This is easy on GP3 VPS plans:
- Log in to my.servetheworld.net.
- Go to Products → My Products.
- Click Manage on the GP3 VPS.
- Click Snapshots.
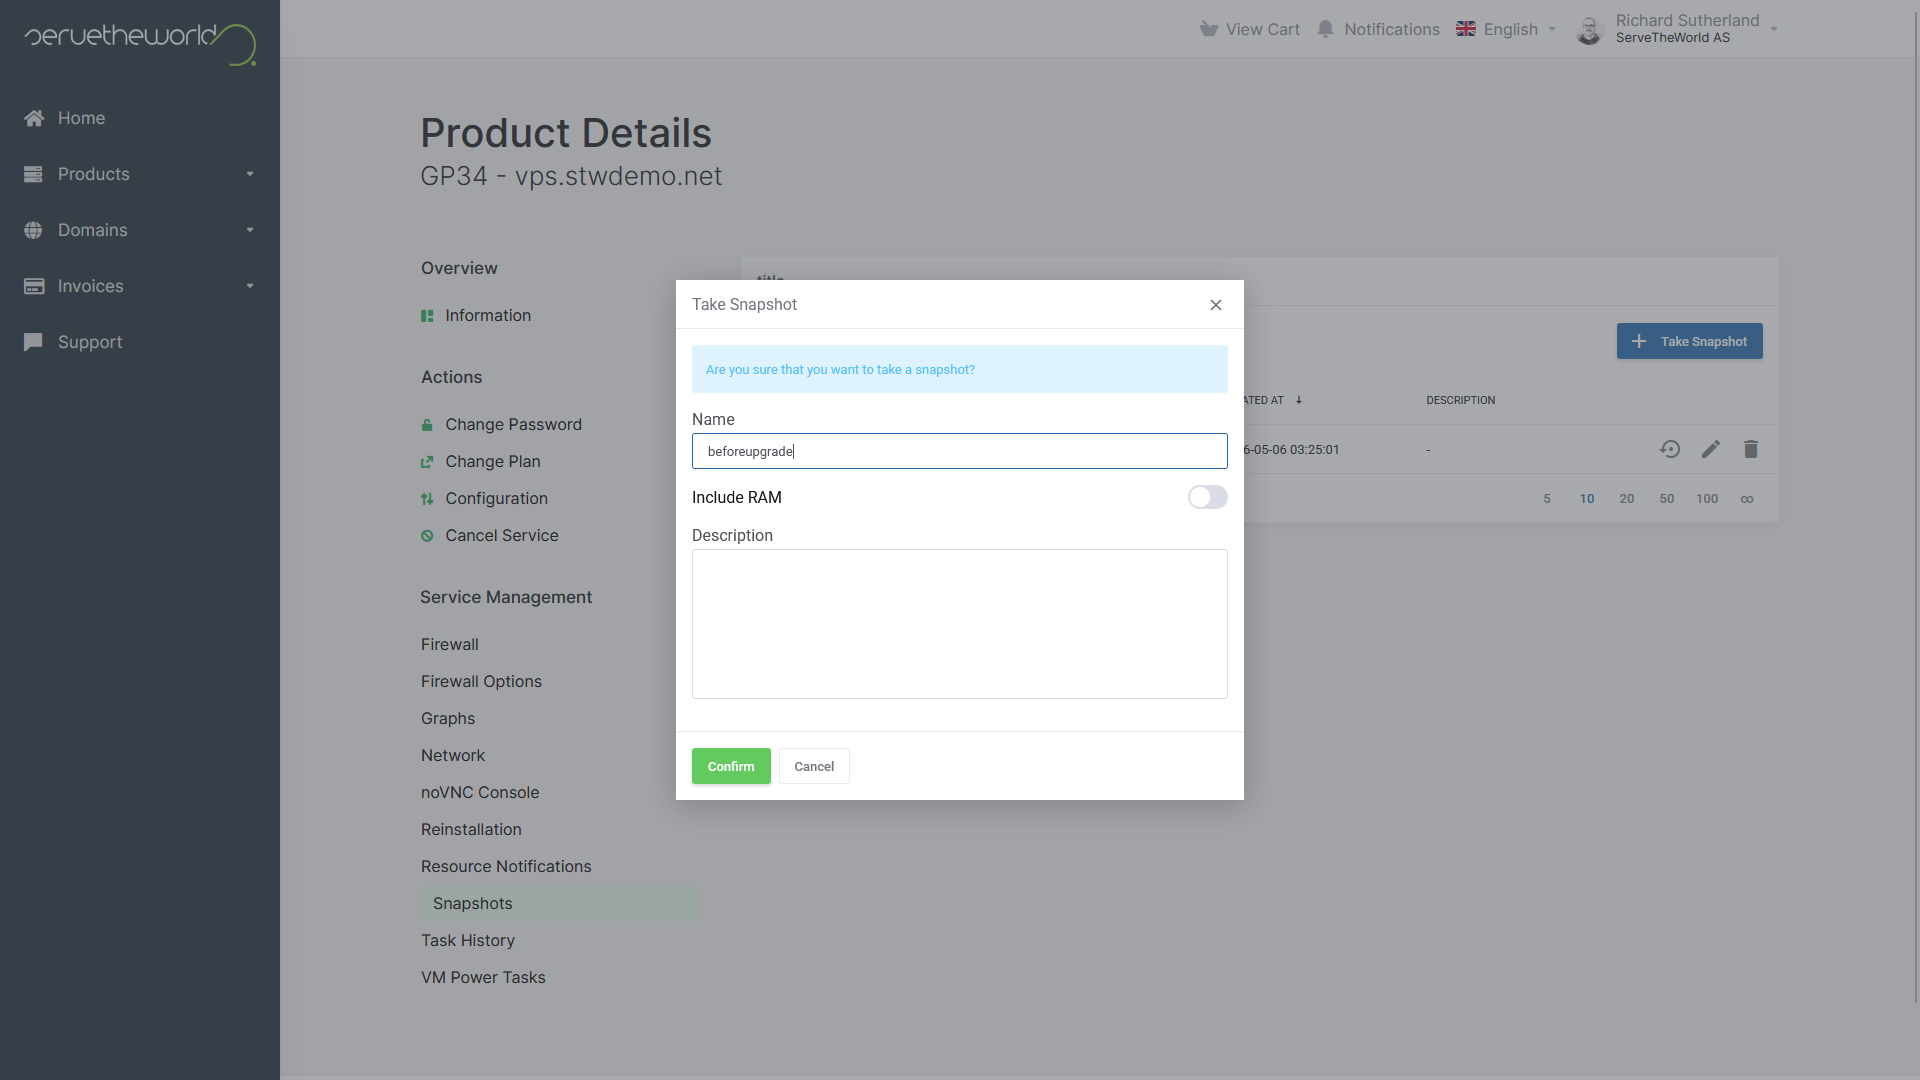
- Click Take Snapshot.
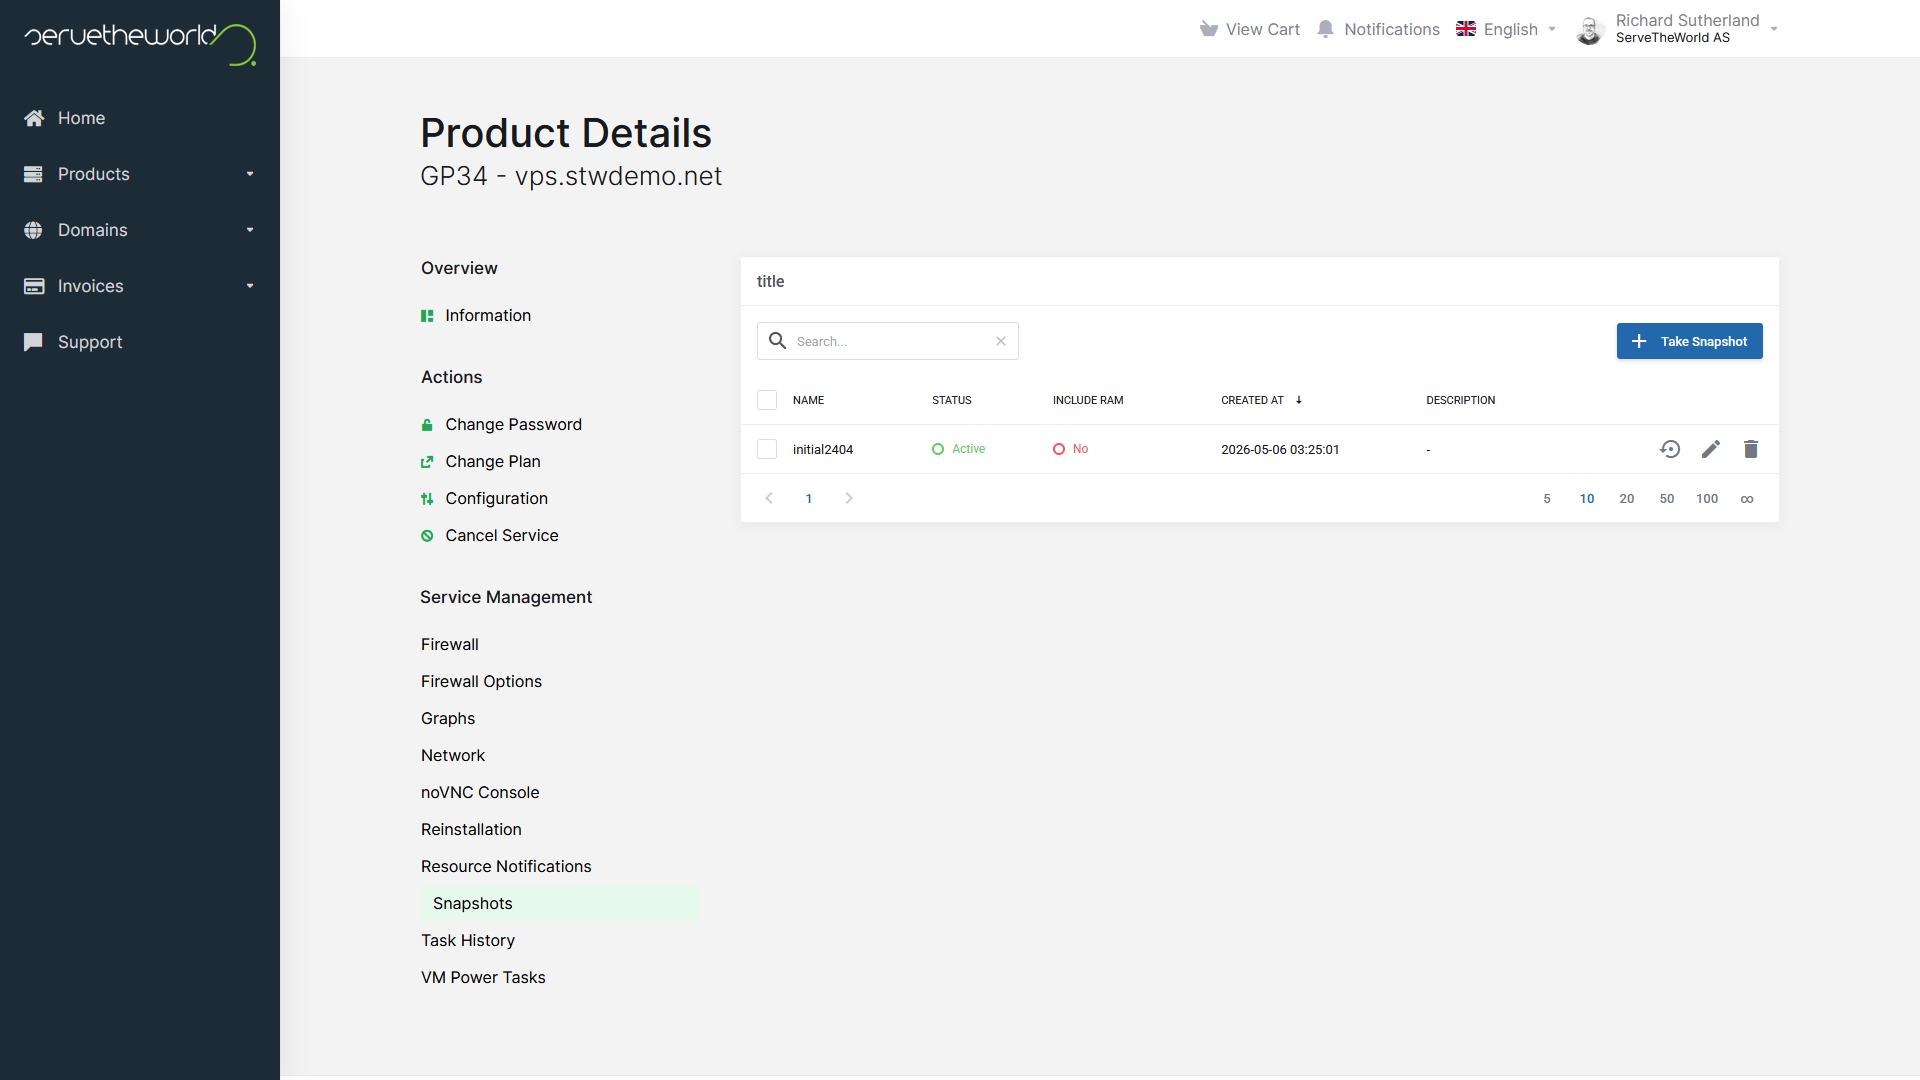
In the dialog that appears, give the snapshot a clear name like before-ubuntu-2604-upgrade. Leave Include RAM unchecked unless you have a specific reason to capture memory state, then click Confirm.
Wait until the snapshot shows as ‘active’ before continuing. If you ever need to roll back, return to the same page, select the snapshot, and use the restore option. The VPS will go offline briefly during the restore.
A snapshot is a fast rollback if the upgrade goes wrong, but it’s also worth keeping a copy of anything you’d hate to recreate (databases, site files, mail, custom config) somewhere off the server.
You don’t need to image the whole disk, just the data that matters. If you run databases directly on the VPS, for example, dump them with the database’s own tool (pg_dump,mysqldump, or ‘redis-cli --rdb‘ before you copy the data off, since file-level copies of running database files are often inconsistent.)
Step 2 — Connect to the VPS
You can do the upgrade either over SSH or through the noVNC console in STW Manager. If you’re using SSH, log in as root or as a user with sudo rights. On a typical VPS, that means running the below command in the terminal and entering your password:
ssh vps.example.com -l rootThe commands below use sudo where they change the system. If you’re logged in as root, sudo is optional.
Once you’re in, have a quick look at the starting state by running these commands:
lsb_release -a
df -h /
The first command should confirm you are running Ubuntu 24.04 LTS. The second shows how much free space you have on the root filesystem.
Step 3 — Update Your Current System
The release upgrader expects 24.04 to be fully patched before you move to 26.04, so bring everything up to date first:
sudo apt update
sudo apt full-upgrade
If you are asked to reboot at any point, run sudo reboot, reconnect, and run sudo apt full-upgrade once more. It should report nothing left to do.
Step 4 — Install and Configure the Release Upgrader
Make sure the release upgrader is installed.
sudo apt install ubuntu-release-upgrader-core update-manager-coreNow check that the upgrader is set to offer LTS upgrades.
grep ^Prompt /etc/update-manager/release-upgradesIt should print Prompt=lts. If it prints Prompt=never or anything else, open the configuration file and change it.
sudo nano /etc/update-manager/release-upgradesFind the line that starts with Prompt=, set it to Prompt=lts, save, and exit. (In nano, that’s Ctrl+O, Enter, Ctrl+X.)
Step 5 — Start the Release Upgrade
Ubuntu’s release upgrader doesn’t automatically offer a brand-new LTS to the previous LTS the day it ships. For the 24.04 to 26.04 jump, Canonical’s 26.04 release announcement says 24.04 LTS systems will be offered the normal automatic upgrade when Ubuntu 26.04.1 is released, scheduled for August 4, 2026. Until then, the plain do-release-upgrade command will say there is no new release.
If Ubuntu 26.04.1 is already out and the normal upgrade path is enabled, start the upgrade with this command.
sudo do-release-upgradeIf you’re upgrading before August 4, 2026 and you don’t want to wait for 26.04.1, use the early upgrade path.
sudo do-release-upgrade -dThe -d flag tells the upgrader it’s allowed to consider the development upgrade path.
The upgrader downloads its tools, shows you the 26.04 release announcement, and asks whether to continue. Type y to confirm.
Step 6 — The SSH Warning (SSH Only)
If you’re upgrading over SSH, the upgrader will pause with a warning that a remote upgrade is harder to recover from if your connection drops mid-upgrade:
This session appears to be running under ssh.
...
If you continue, an additional ssh daemon will be started at port '1022'.
Type y. Ubuntu will start a backup SSH server on port 1022, so if the main one on port 22 briefly stops responding while OpenSSH itself is being upgraded, you’ve still got a way back in. (This is also why we mentioned opening port 1022 in your firewall up in What You’ll Need. If you missed that, do it from a separate terminal now with sudo ufw allow 1022/tcp before you continue.)
The upgrader also runs itself inside a tool called screen, which keeps a process alive even if your terminal disconnects. So if your SSH connection does drop during the upgrade, don’t panic. You can reconnect (try port 22 first, then -p 1022 if 22 isn’t answering) and reattach to the upgrade session by running:
sudo screen -r ubuntu-release-upgrade-screen-windowA short SSH outage during the install is often expected, not a sign that something’s gone wrong.
Step 7 — Confirm the Upgrade Summary
After checking packages and repositories, the upgrader shows a summary that looks something like this on a clean 24.04 VPS:
4 packages are going to be removed. 117 new packages are going to be
installed. 639 packages are going to be upgraded.

You have to download a total of 1308 M.
Your numbers will differ depending on what you’ve installed. Type y and let it run. Expect the download to take a few minutes.
Step 8 — Answer the Configuration Prompts
As the installation progresses, a few packages will pause and ask whether to keep your existing configuration file or replace it with the new default. This happens with any file you’ve modified that the package also wants to update.
The rule of thumb is to keep your existing version. You can check what’s changed by selecting ‘show the differences between the versions’.

The two prompts you’re most likely to see:
/etc/ssh/sshd_configfromopenssh-server. Choose keep the local version currently installed./etc/cloud/cloud.cfgfromcloud-init-base. Press Enter (the defaultN) to keep your current version.
The install output is long. You’ll see package names scrolling past, kernel installation messages, GRUB updates, and systemd notices. Warnings about disabled services are normal. Wait for the upgrader itself to say it’s done.
Step 9 — Cleanup and Reboot
Near the end, the upgrader asks whether to remove obsolete packages. Old libraries, the previous Python stack, the older kernel. Type y.
Then it asks to reboot. Type y again. Your session will disconnect as the VPS restarts. Wait a minute or two, then reconnect.
If the VPS doesn’t come back, open the noVNC console from STW Manager to see what the system is doing on its way up. If something has truly broken, you can restore the snapshot from Step 1 and try again.
Step 10 — Verify the Upgrade
Your Ubuntu install is now upgraded.
A few quick checks to confirm the system is healthy:
lsb_release -a                  # should show 26.04 / resolute
uname -r                        # should show the new 7.0.x kernel
sudo apt update
sudo apt-get -s full-upgrade    # should report nothing left to upgrade
systemctl --failed              # should list no failed services
Finally, double check whatever your VPS actually runs – the website, API, mail, or whatever you use your server for. You’re now running the latest 26.04 Ubuntu LTS.
If Something Goes Wrong
Most upgrades go off without a hitch, but a few possible failures come up often enough to be worth knowing about. If none of them get you moving again, the snapshot and/or backup from Step 1 is your way back.
The upgrader refuses to start because of third-party repositories
This is the most common cause of a failed release upgrade. The upgrader disables unofficial deb sources before it begins, but if a third-party package has been installed and its repo conflicts with 26.04, the run can abort early.
Look in /etc/apt/sources.list.d for files belonging to third parties, comment out their lines, remove the packages they installed with sudo apt remove <package>, then run sudo apt update && sudo apt full-upgrade and try do-release-upgrade again.
Held or kept-back packages
If sudo apt full-upgrade in Step 3 reported packages “kept back”, the release upgrade will refuse to run. Show them with apt list --upgradable, then resolve them with sudo apt install <package> for each. Don’t move on until that list is empty.
dpkg was interrupted mid-upgrade
If the SSH session dropped or the upgrader was killed partway through, dpkg can be left in a half-configured state. Reconnect, the run:
sudo dpkg --configure -a
sudo apt -f install
sudo apt full-upgrade
That usually finishes whatever was in progress. If the release upgrade itself was interrupted, you can also reattach to the original screen session if it’s still alive:
sudo screen -r ubuntu-release-upgrade-screen-windowVPS doesn’t come back after reboot
Open the noVNC console from STW Manager so you can see what’s happening when it’s booting up. If you see A start job is running for..., let it time out (usually 90 seconds), and the boot will continue. Make a note of which service it was waiting on, since you’ll want to investigate that once you’re logged in.
If the boot fails entirely and GRUB shows a menu, pich Advanced options for Ubuntu and choose the previous kernel. If the VPS boots up on the old kernel but not the new one, the new kernel is the problem, and you can either troubleshoot it or restore the shapshot.
VPS booted, but something’s wrong
Once you’re back in (whether other SSH or via noVNC), these two commands tell you what didn’t start cleanly:
systemctl --failed
journalctl -b -p err
systemctl --failed lists units that failed to start. journalctl -b -p err shows error-level messages from the current boot. Between them, you’ll usually see exactly which service is unhappy and why.
SSH won’t connect but the VPS is up
Try port 1022 (ssh -p 1022 user@host), since the upgrader’s backup SSH daemon may stil be running. If that also fails, log in through noVNC and check sudo systemctl status ssh and your firewall (sudo ufw status).
Restoring the Snapshot
If you’ve worked through the above and the VPS still isn’t usable, you can always roll back to the snapshot from Step 1.
- Log in to my.servetheworld.net.
- Go to Products → My Products and click Manage on the GP3 VPS.
- Click Snapshots.
- Select your
before-ubuntu-2604-upgradesnapshot and click Restore. - Confirm. The VPS will go offline for a few minutes during the restore.
When it’s back, you’re on 24.04 again exactly as it was when you took the snapshot.
Next steps: