

Introduction
In an earlier tutorial we showed you how to set up UpdraftPlus with a schedule and remote storage so your WordPress backups run on their own.
This tutorial will walk you through the actual process of creating backups and restoring using UpdraftPlus, WordPress Toolkit, and Acronis, which all are available on ServeTheWorld WordPress hosting. Each tool works at a different level. WordPress Toolkit in Plesk gives you quick on-demand snapshots of your WordPress installation. UpdraftPlus handles backup and restore from inside the WordPress admin, and Acronis keeps daily recovery points of your entire hosting account, including files, databases, and email.
These work as layers, each covering ground the others don’t. By the end of this tutorial you’ll know how to use all three.
Choosing the Right Tool for the Job
Before we get into the step-by-step for each method, here’s a quick reference for which tool fits which situation. There is certainly overlap in their functionality, but in general:
- WordPress Toolkit is best for quick manual snapshots before updating plugins, switching themes, or making any change you might want to undo.
- UpdraftPlus is best for scheduled off-site backups, restoring specific components (e.g., just plugins or just the database), and migrating to a different server.
- Acronis is best for full hosting account recovery, restoring when you didn’t take a manual backup first, and recovering email or non-WordPress files.
Method 1 — WordPress Toolkit Back Up / Restore in Plesk
WordPress Toolkit is the fastest way to take a manual backup of your WordPress site before making changes. The backup captures your entire WordPress installation in one click, and it typically finishes in under a minute on a small site. Think of it as a save point you can reload if a change goes sideways. Here’s the process on ServeTheWorld hosting:
Getting to the backup screen
- Log in to my.servetheworld.net.
- Go to Products → My Products and click Manage for your hosting package.
- Click WP Toolkit to open the control panel in Plesk.
- Click Back Up / Restore in the WordPress Toolkit action row corresponding to your WordPress site.
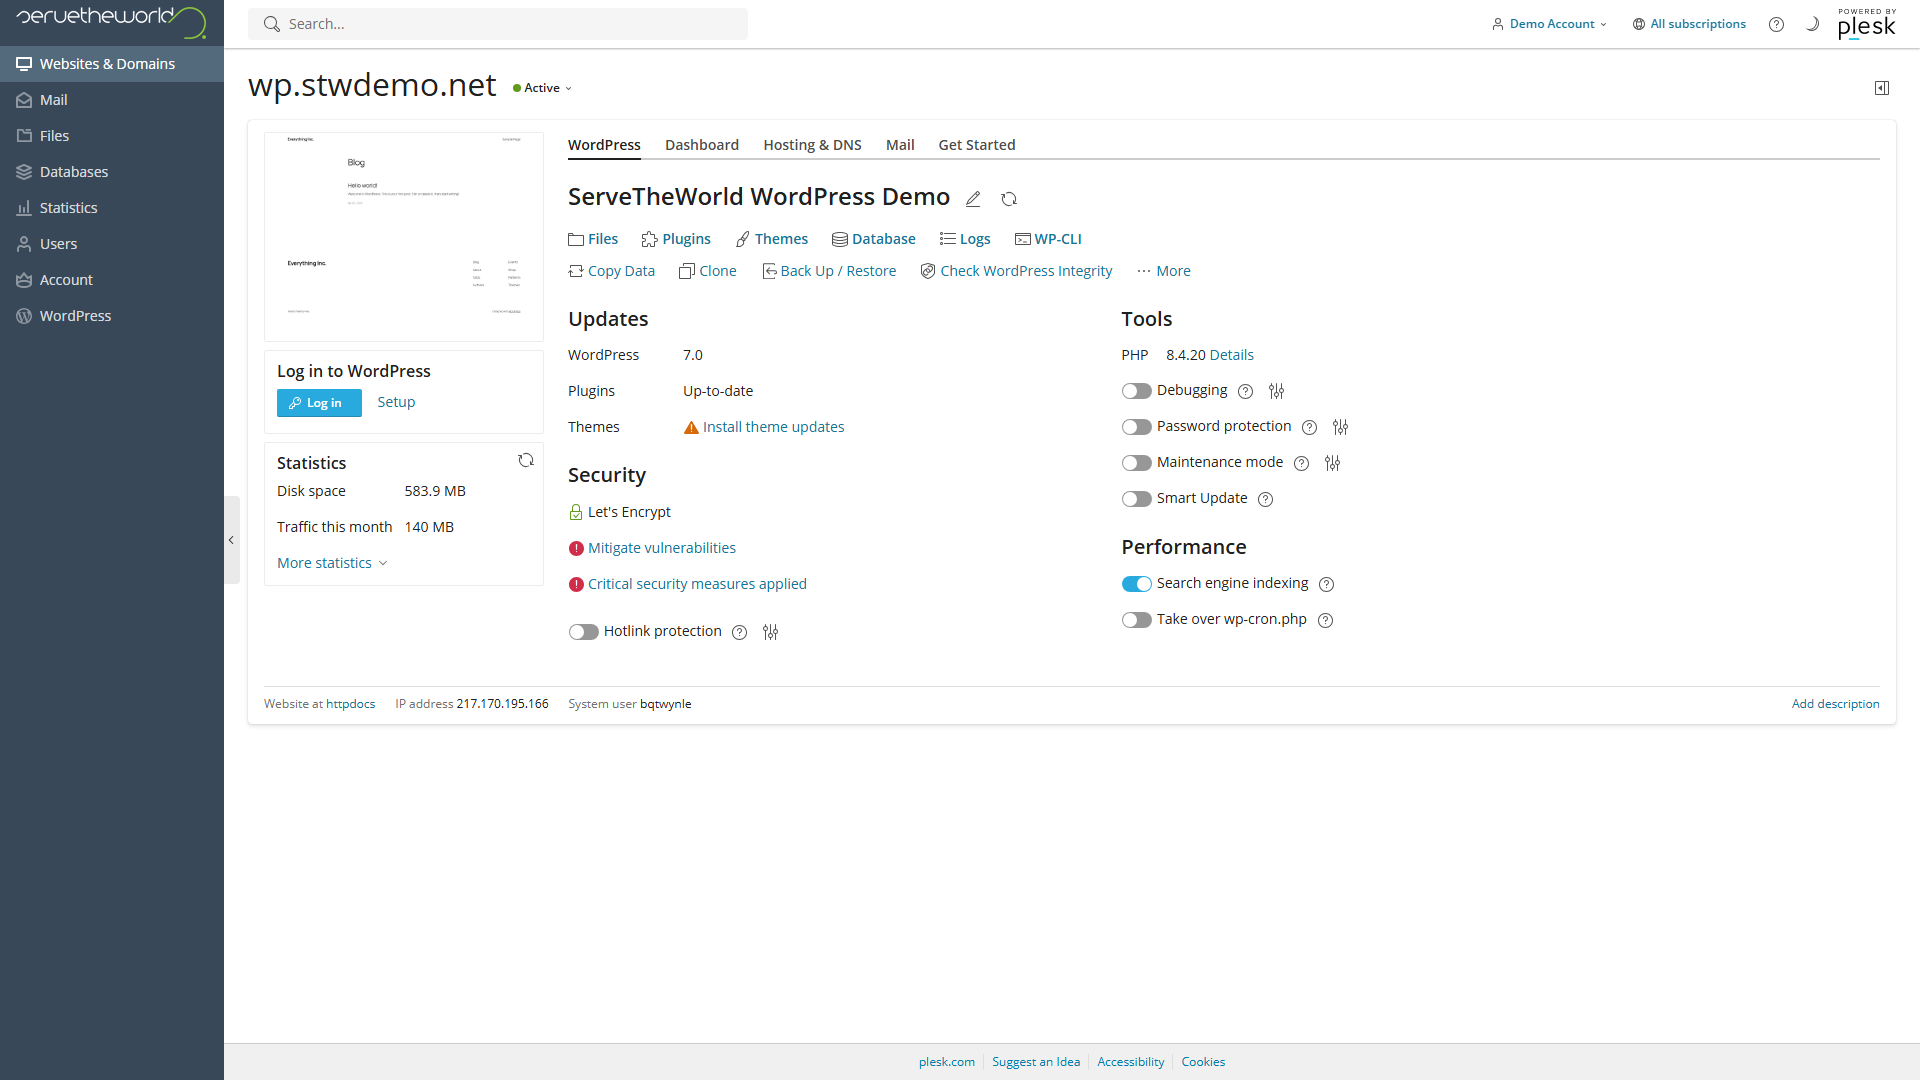
The Backup and Restore drawer opens with a list of any existing backup archives. Each row shows the creation date, file size, and archive filename. Backups are stored on your hosting account under wordpress-backups.
Creating a backup
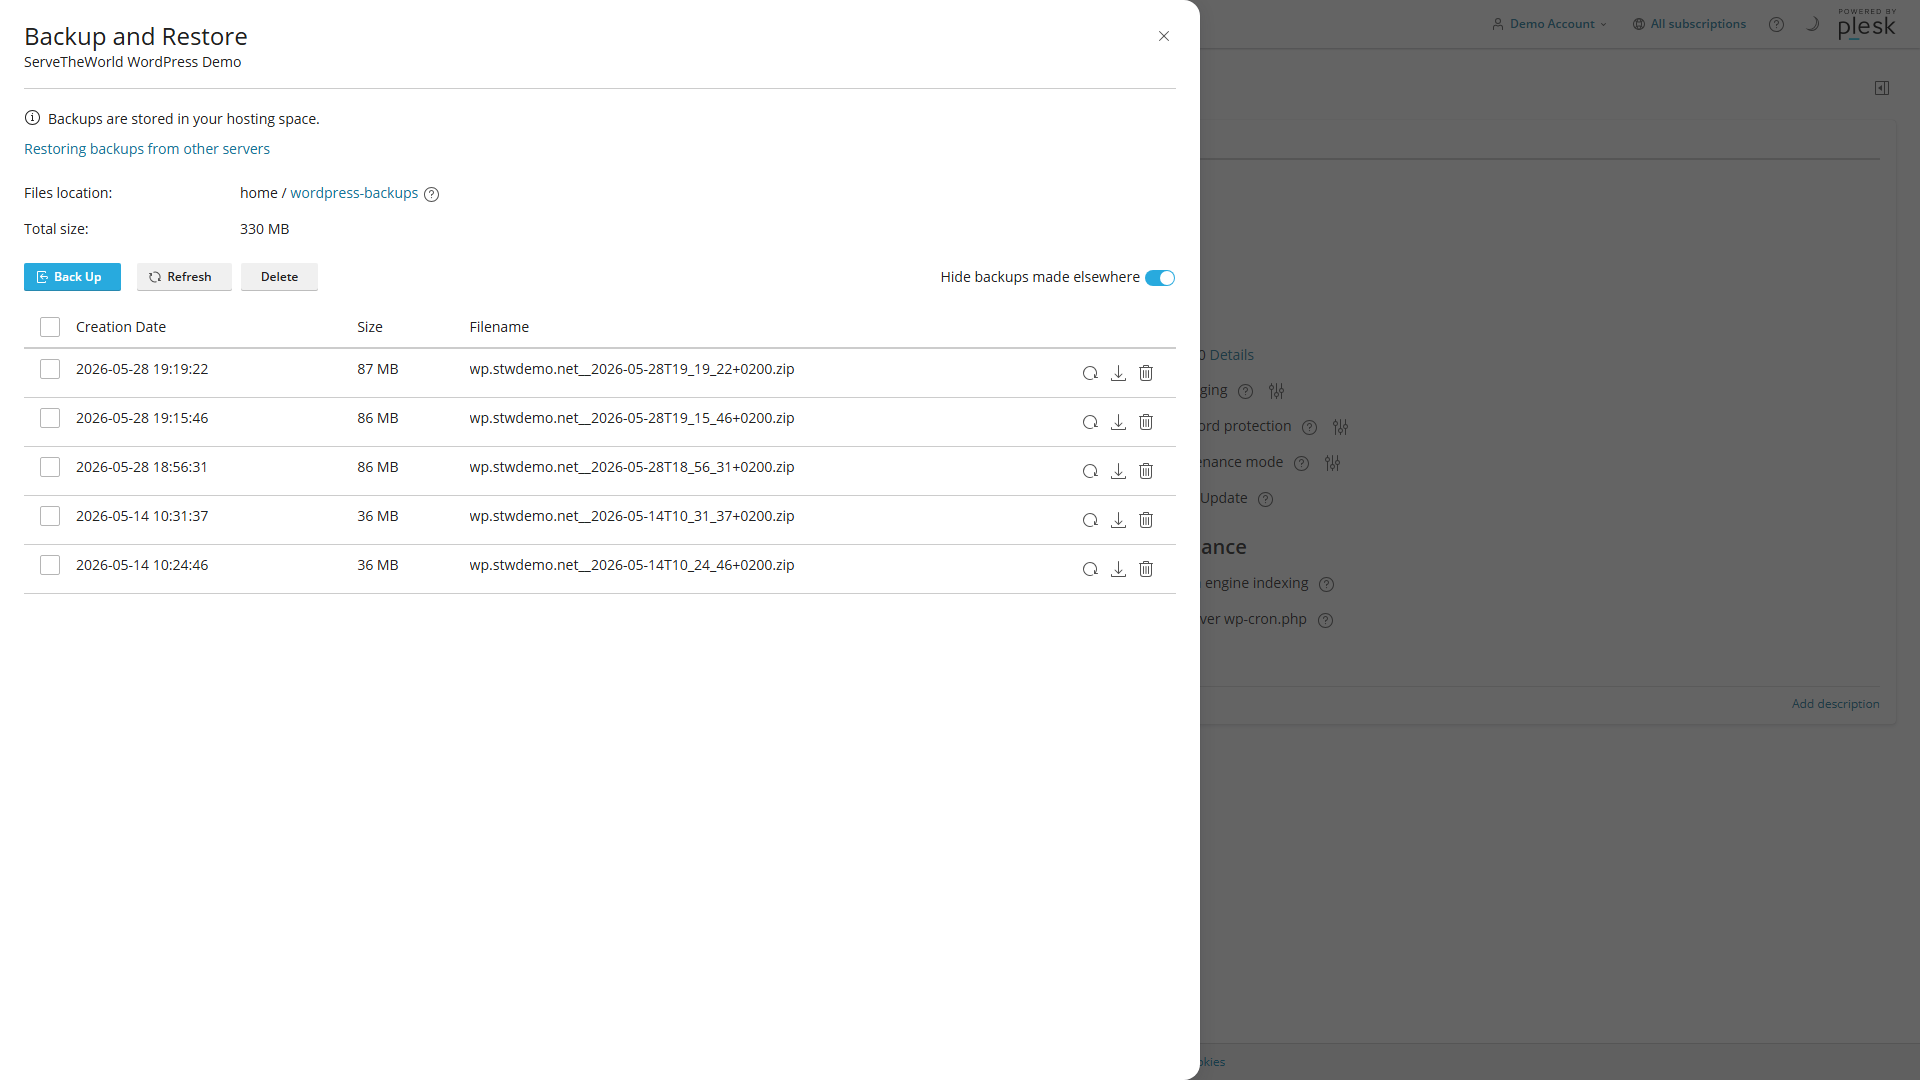
Click the Back Up button and the backup starts right away. There’s no configuration dialog or settings to choose. WordPress Toolkit packages your database, themes, plugins, uploads, and configuration files into a single compressed archive. Larger sites with big media libraries will take a bit longer, but you can keep working in Plesk while it runs.
Once the backup finishes, a new entry appears at the top of the list with the creation timestamp, file size, and archive filename. You can download any backup using the download icon next to that row, which is worth doing before major changes so you have a copy outside your hosting account too. Each archive is a self-contained zip file, so it’s easy to store.
Restoring from a WordPress Toolkit backup
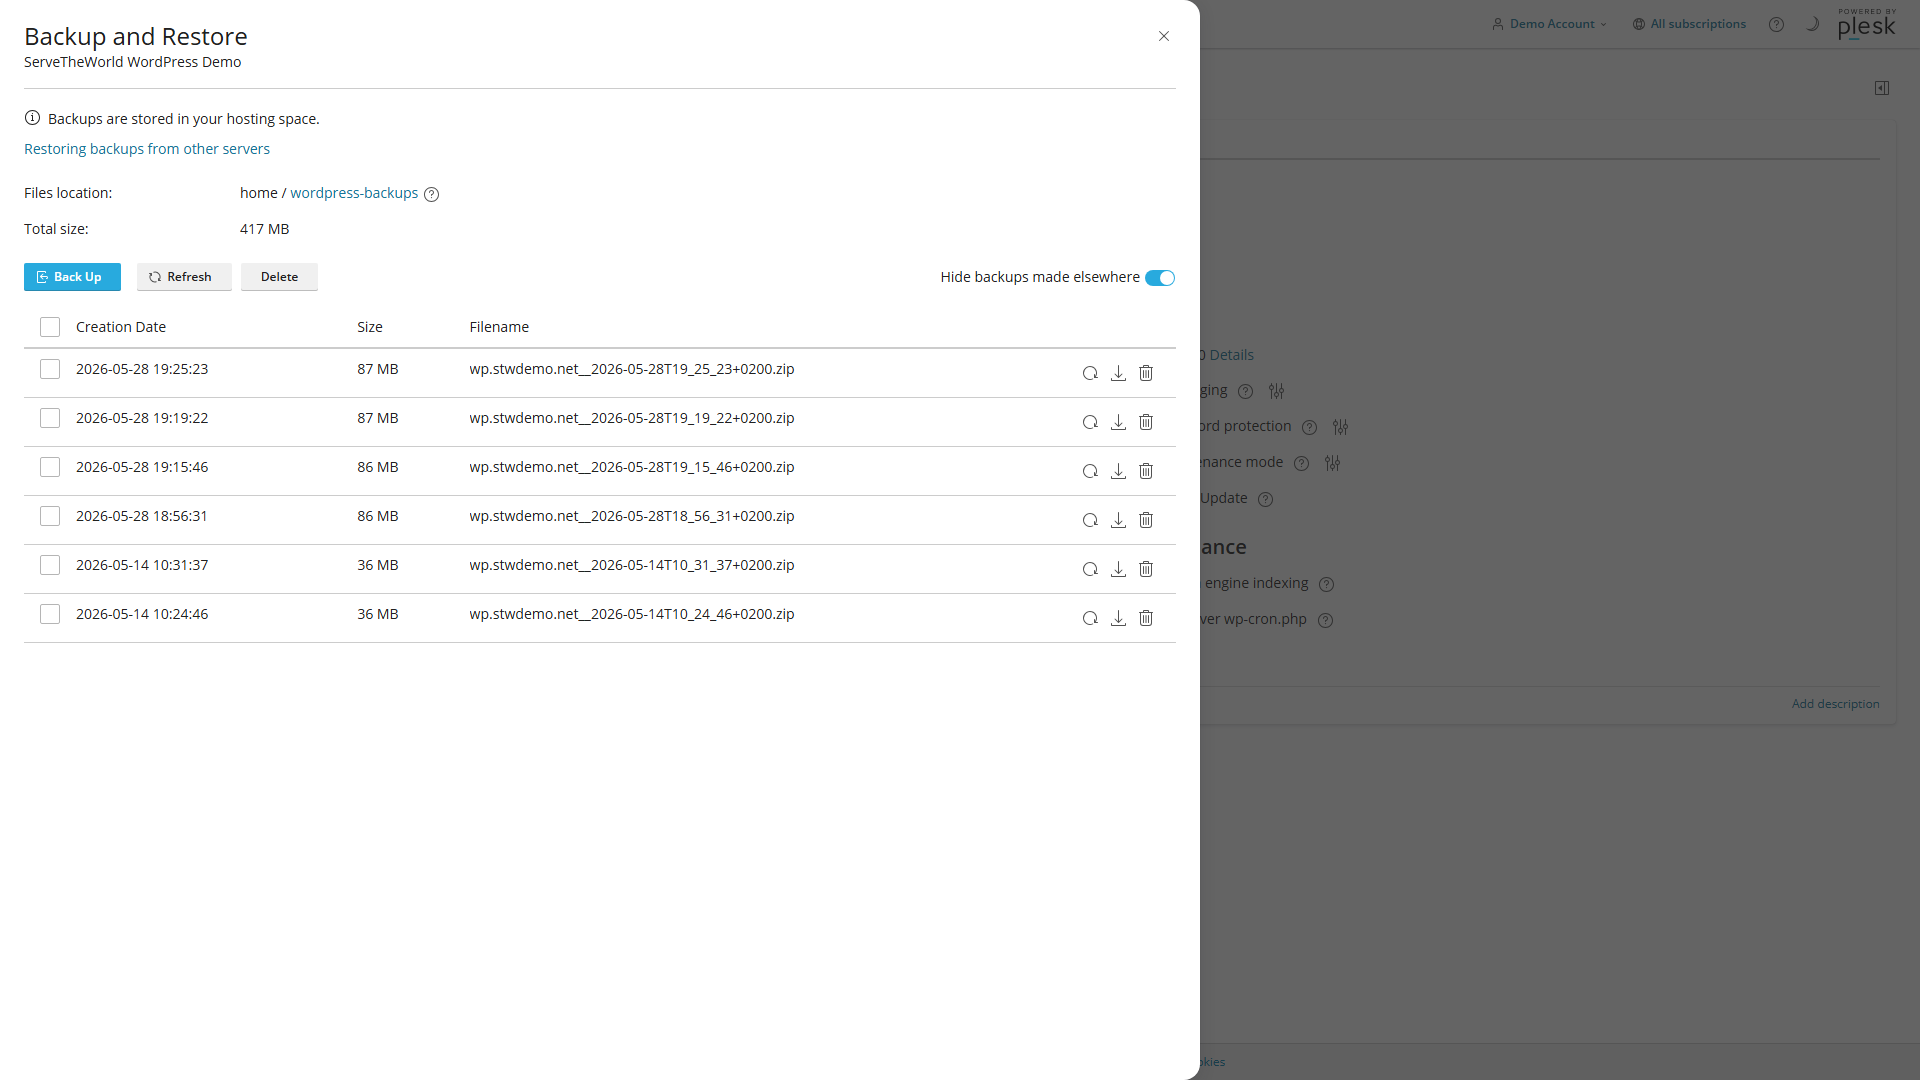
Click the restore icon on the backup row you want to roll back to. A confirmation dialog asks whether you want to restore the site to that backup’s timestamp. The Delete existing data before restoring checkbox is enabled by default, which means the restore replaces your current site with the archived version.
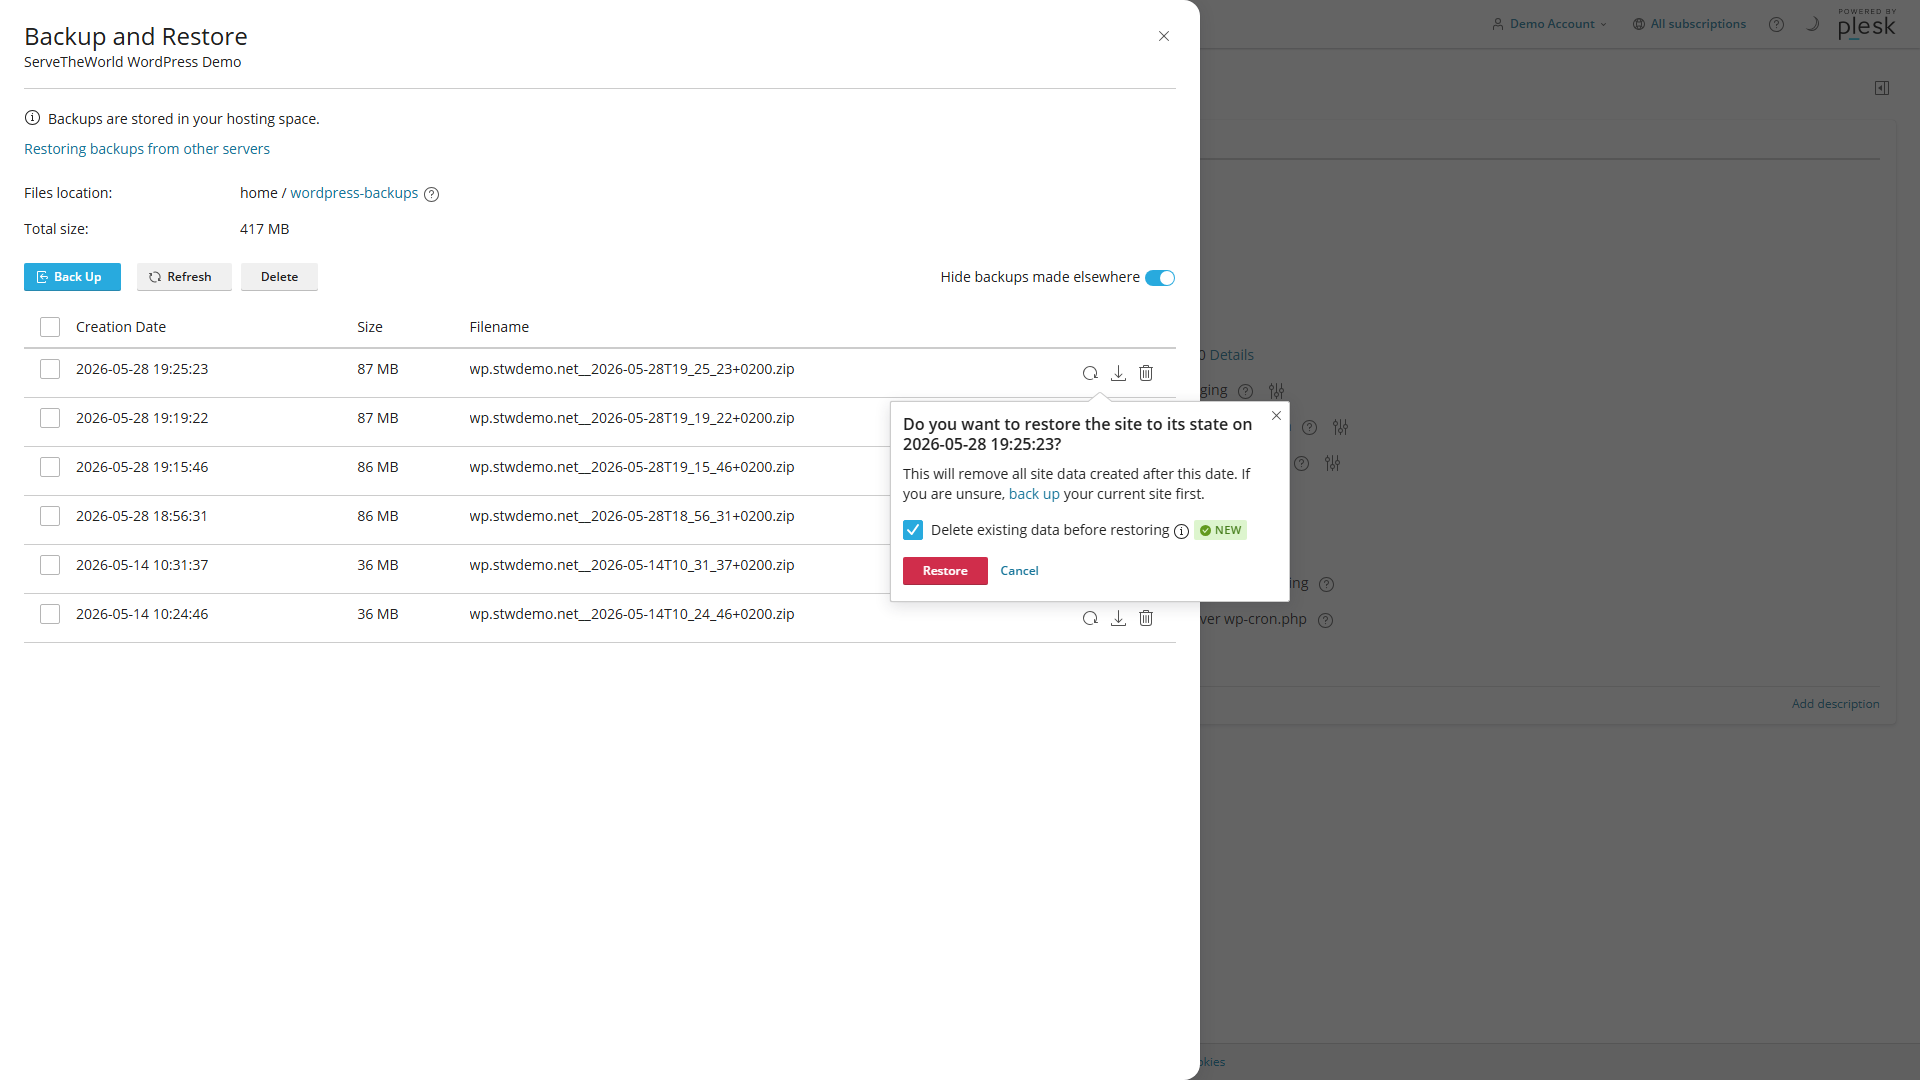
If you’ve published new content since the backup you’re restoring from, it’s worth creating a fresh backup of the current state first. That way you still have access to any recent work. Once you’re ready, click Restore and WordPress Toolkit handles the rest.
Method 2 — UpdraftPlus Backup and Restore
If you followed the UpdraftPlus setup in Part 19, your site is already creating scheduled backups and sending them to remote storage. UpdraftPlus also runs manual backups and handles restores from inside the WordPress admin.
One big strength of UpdraftPlus is you can choose exactly what gets backed up, where copies go, and which components to restore. Because backups are stored on your own cloud storage (Google Drive, Dropbox, or wherever you configured it), they exist independently of your hosting account. That also makes UpdraftPlus good for server migrations, since you can download a backup and restore it onto a completely different host.
Running a manual backup
In WordPress, select UpdraftPlus in the left sidebar. The plugin opens on the Backup/Restore tab, which shows your scheduled backup status and any existing backups.
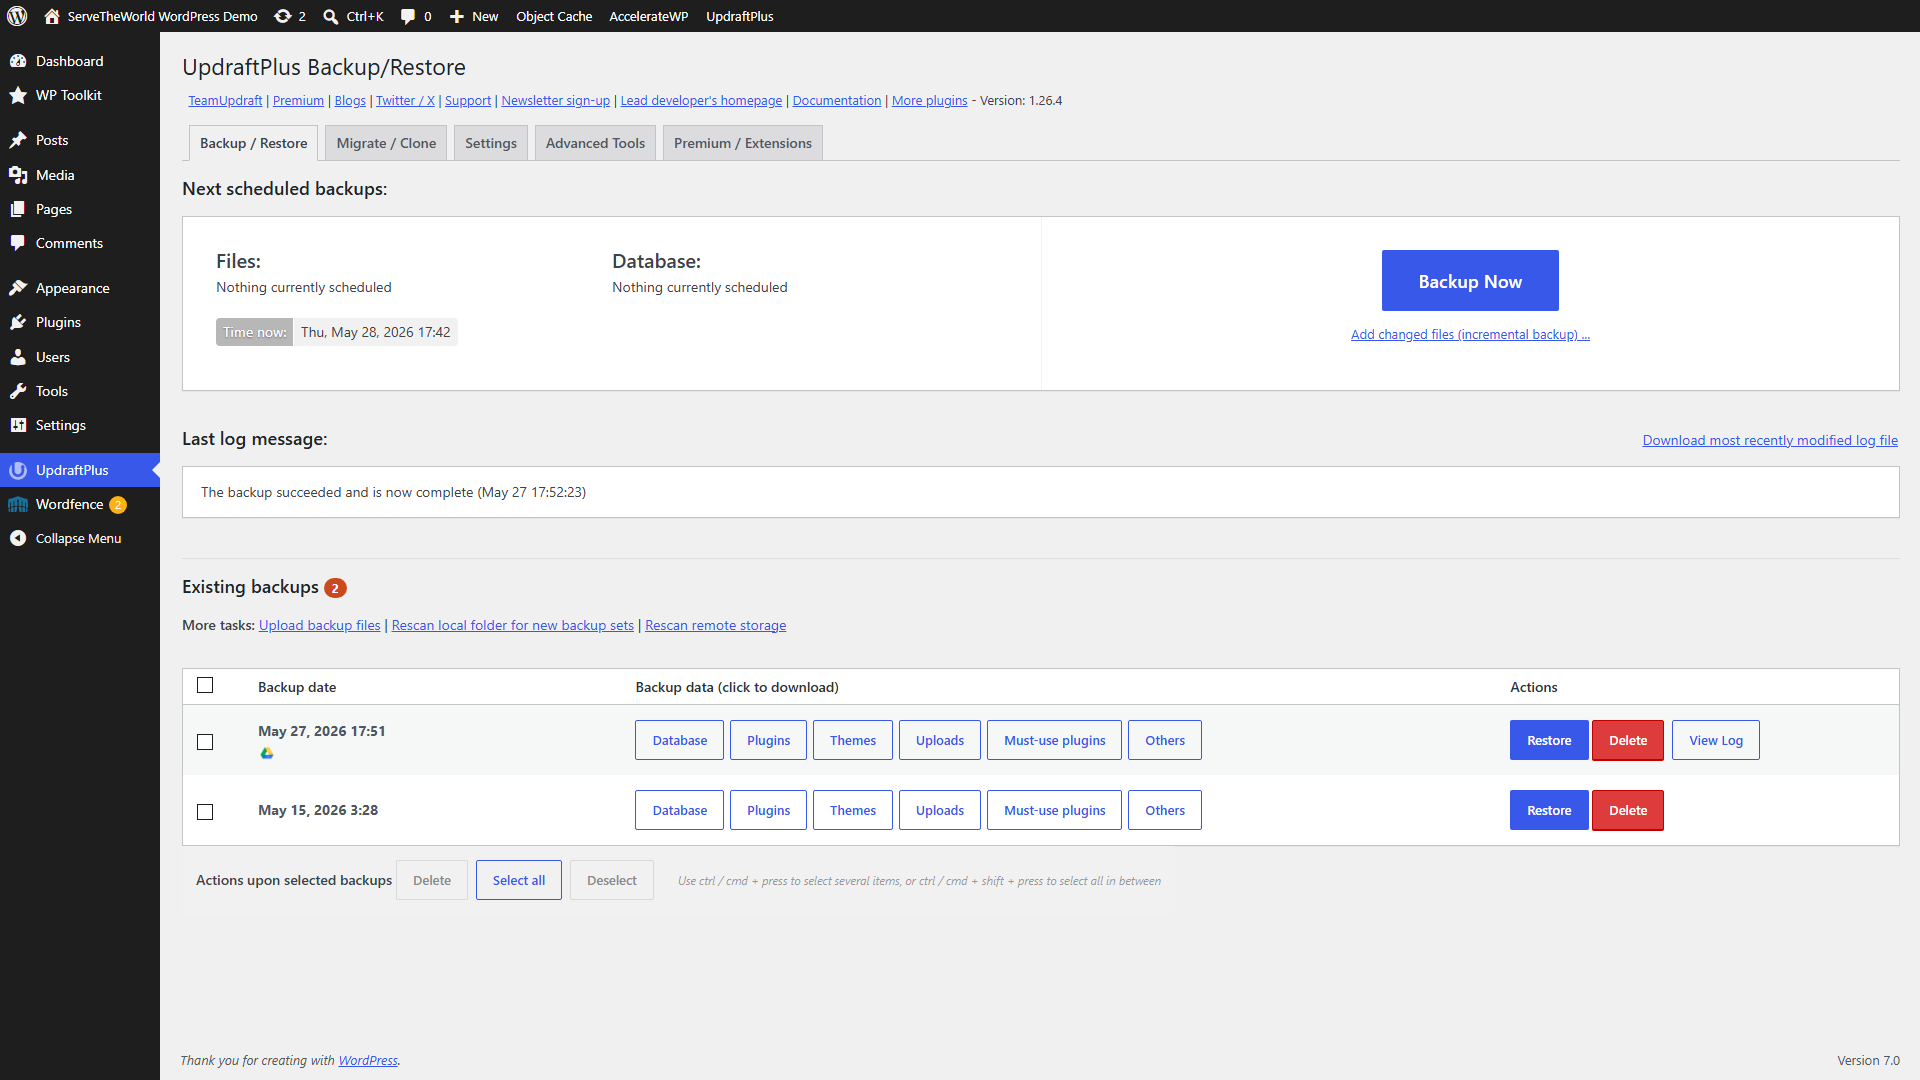
Click Backup Now to open the backup dialog. Three checkboxes control what happens.
- Include your database in the backup captures every post, page, comment, user account, and plugin setting.
- Include your files in the backup captures themes, plugins, uploads, and configuration files.
- Send this backup to remote storage pushes the archives to whatever remote destination you configured in Part 19 (Google Drive, Dropbox, or another service).
Keep all three checked for a complete backup. For a quick local snapshot, you can skip the remote storage upload.
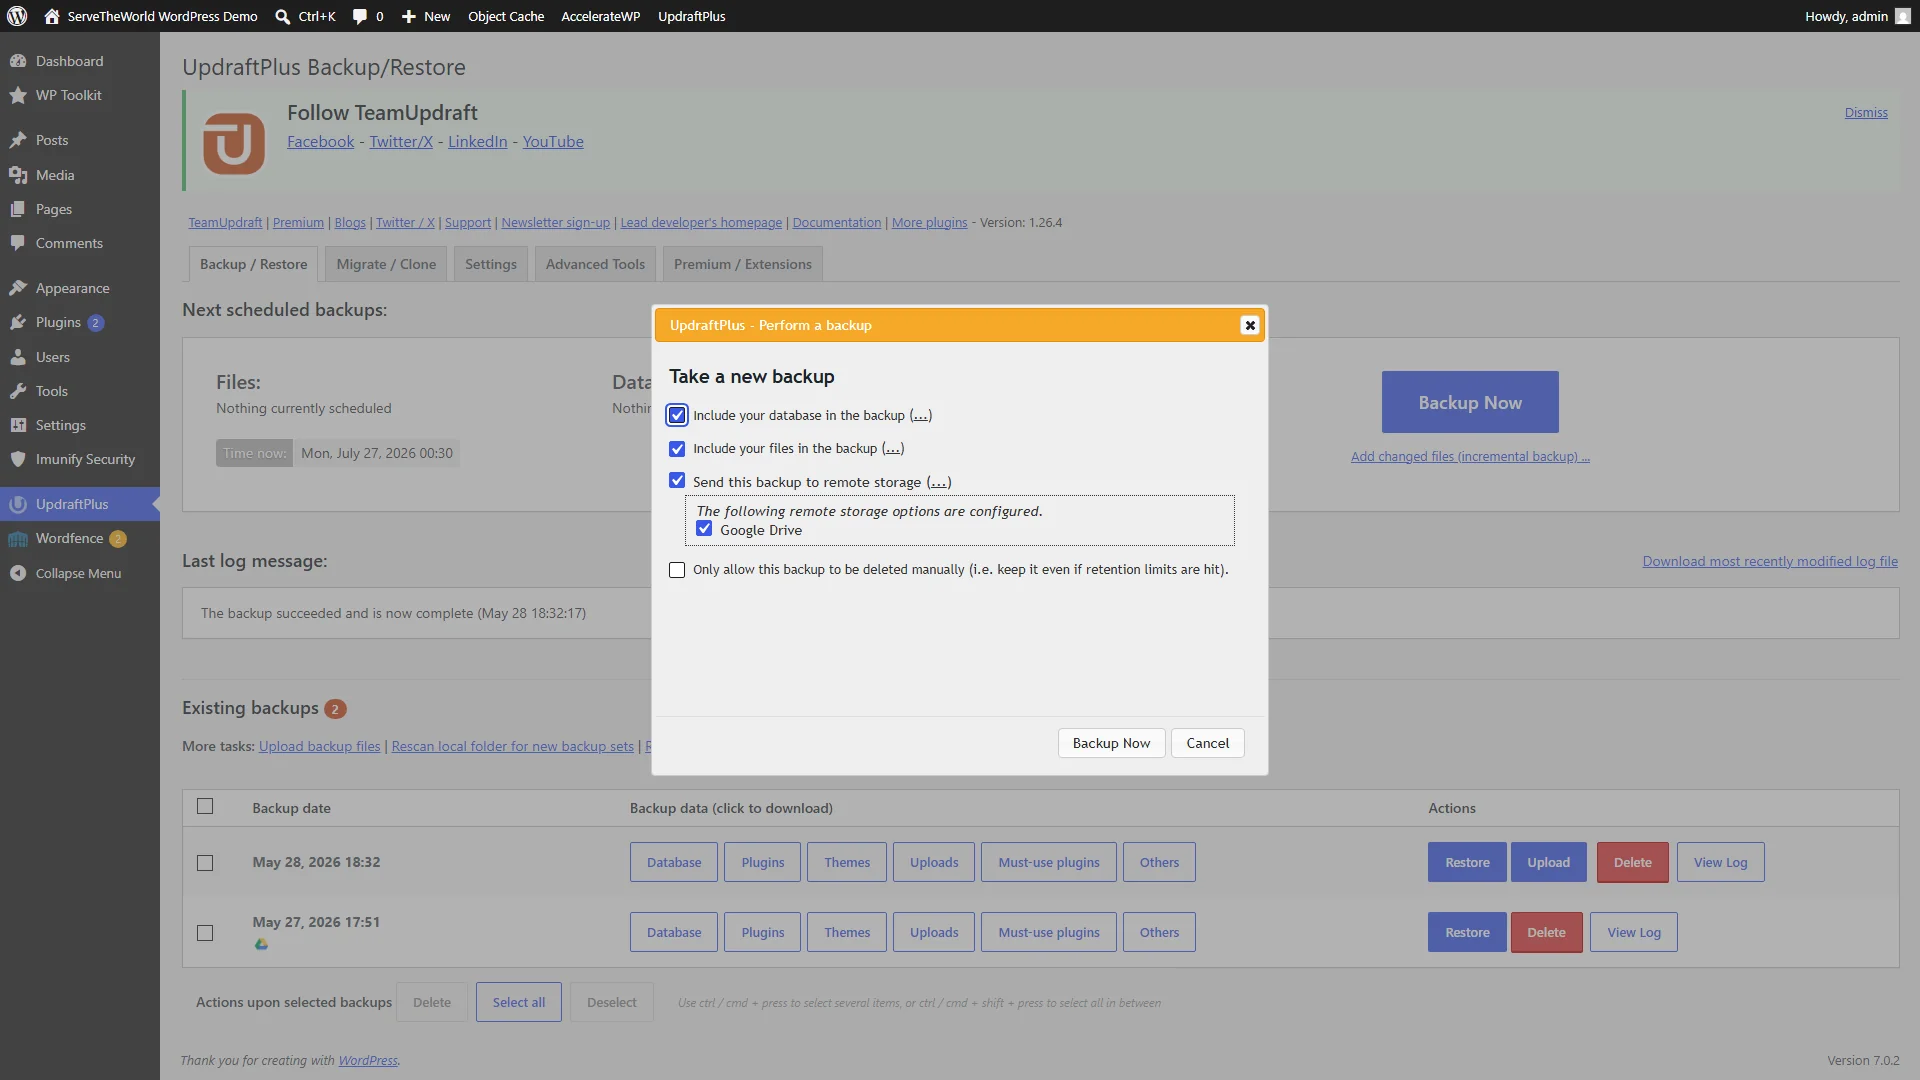
Click Backup Now to start. When the backup finishes, a new entry appears in the Existing backups list with separate buttons for each component: Database, Plugins, Themes, Uploads, Must-use plugins, and Others. If you’ve set up remote storage, check your Google Drive (or chosen service) to confirm the archives arrived. Each complete backup produces several files, one per component type.
Restoring with UpdraftPlus
Find the backup you want to restore from in the Existing backups list and click Restore. UpdraftPlus opens a component selection screen where you pick which parts of the site to roll back.
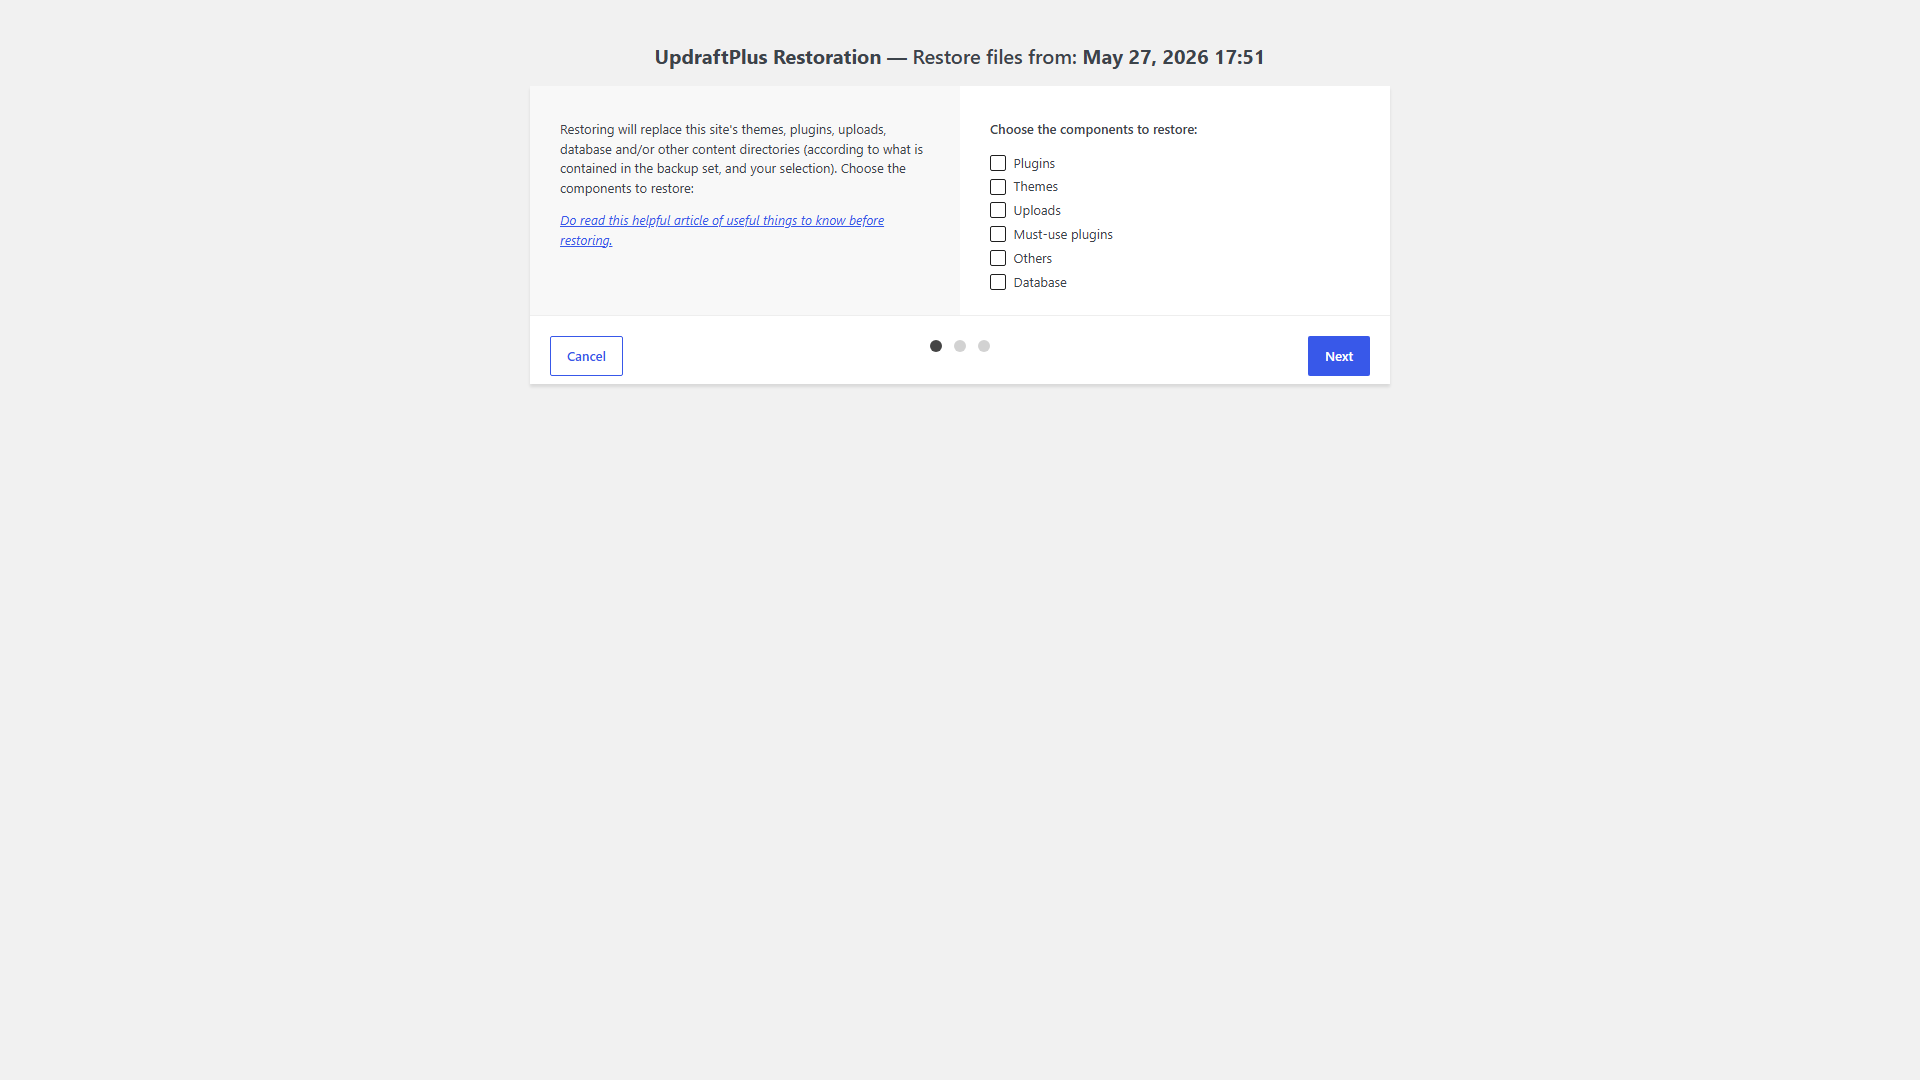
The available components are Plugins, Themes, Uploads, Must-use plugins, Others, and Database. You can restore everything at once or just the pieces you need. If a plugin update caused a problem, restoring Plugins and Database might be all it takes. A theme issue? Restoring Themes alone could fix the layout without touching your content.
Select the components you need, click Next, and UpdraftPlus walks you through the rest. Once it finishes, check the site’s front end to confirm everything looks right. This component-level control is what sets UpdraftPlus apart from the other two methods. A targeted restore is faster and leaves the rest of your site untouched.
Method 3 — Acronis Recovery Points
Acronis is the automated backup system that many hosts, including STW, run at the hosting level. It creates daily recovery points of your entire hosting account, and you can access them through Plesk. The backups happen automatically on a schedule, so there’s always a recent recovery point available without you having to remember to create one.
Acronis also has the broadest coverage of the three tools. It captures your WordPress files and database, but also email accounts, server configuration, and any non-WordPress files on your hosting account. And because it runs through Plesk at the server level, you can reach your recovery points and restore from them regardless of what state WordPress is in. That makes Acronis the strongest safety net of the three.
Finding your recovery points
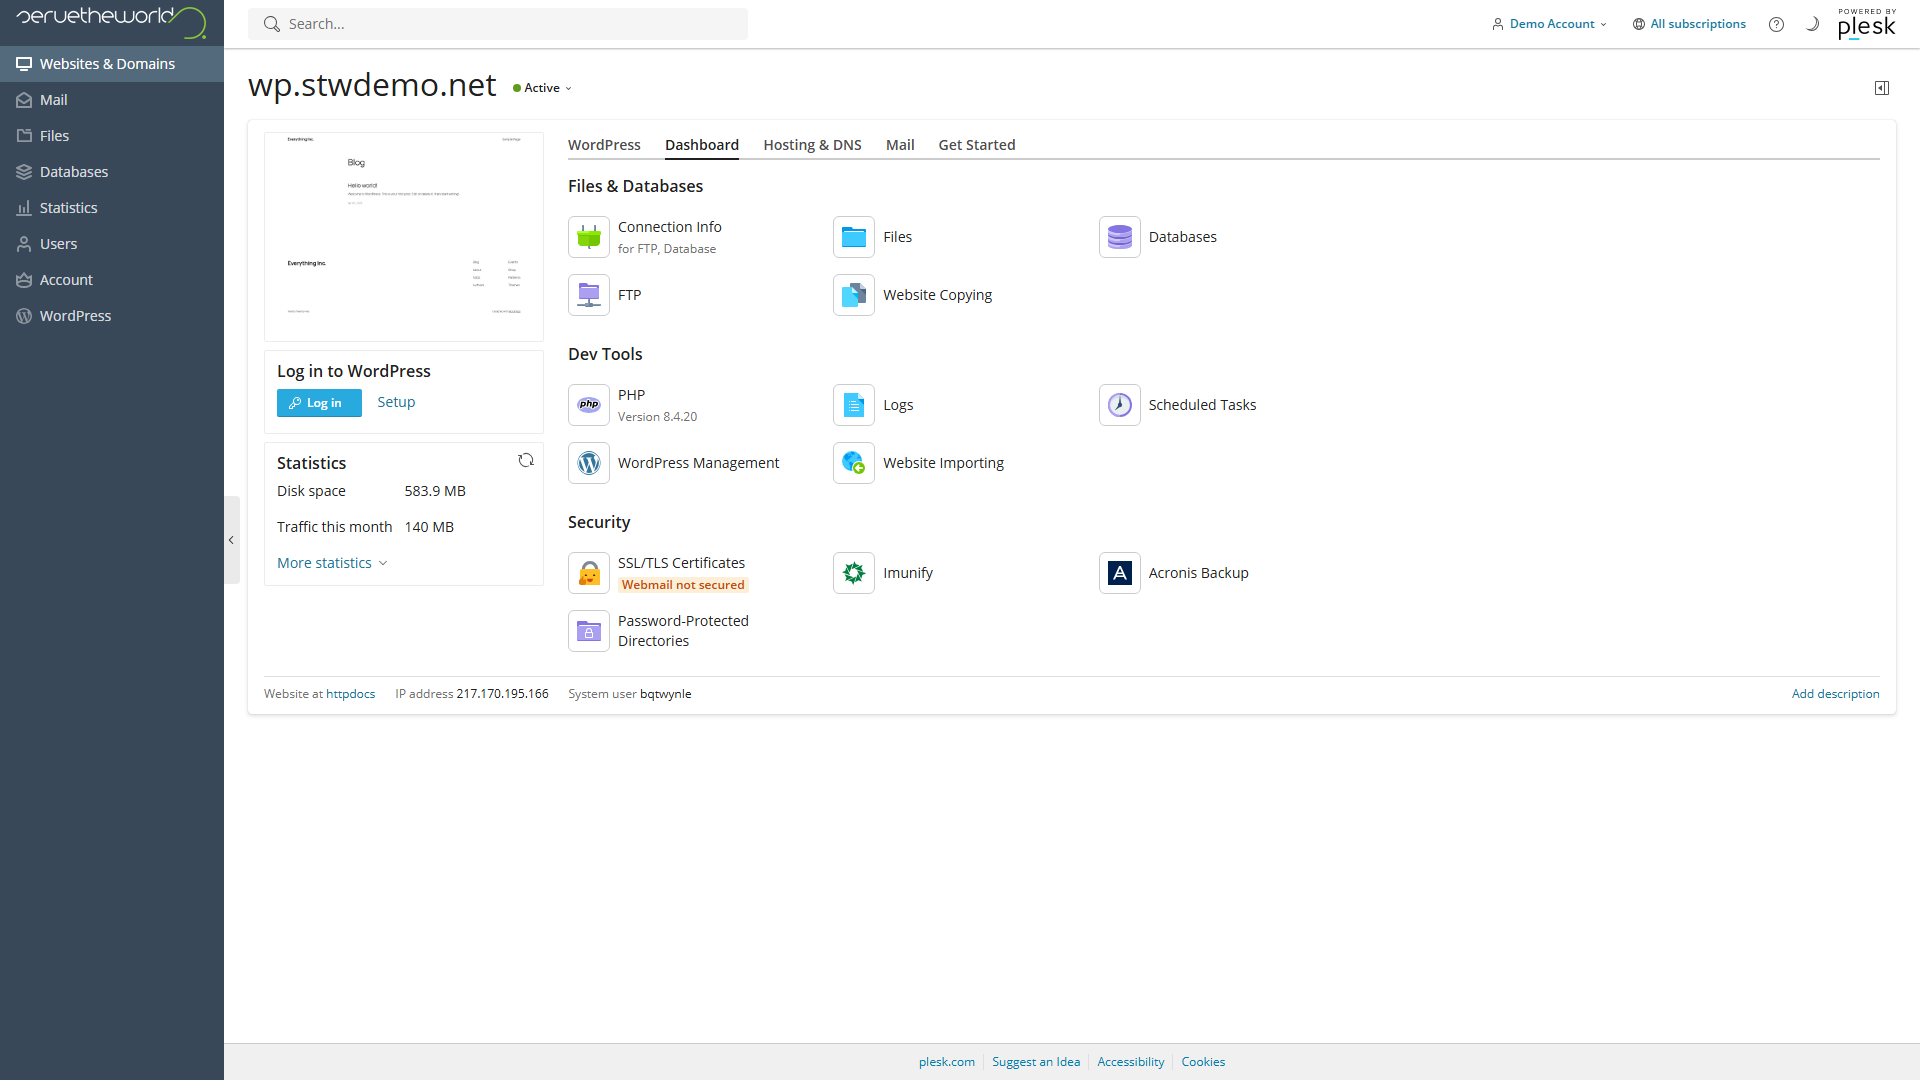
- In Plesk, select your domain and click the Dashboard tab.
- Under the Security section, click Acronis Backup.
Acronis opens a list of available recovery points, each stamped with a creation date. A host’s automated schedule typically produces daily recovery points, with older ones thinned out over time. In the screenshot you can see daily entries for recent dates and weekly entries further back, covering several weeks of history. That gives you a good range of dates to choose from if you need to roll back to a specific point.
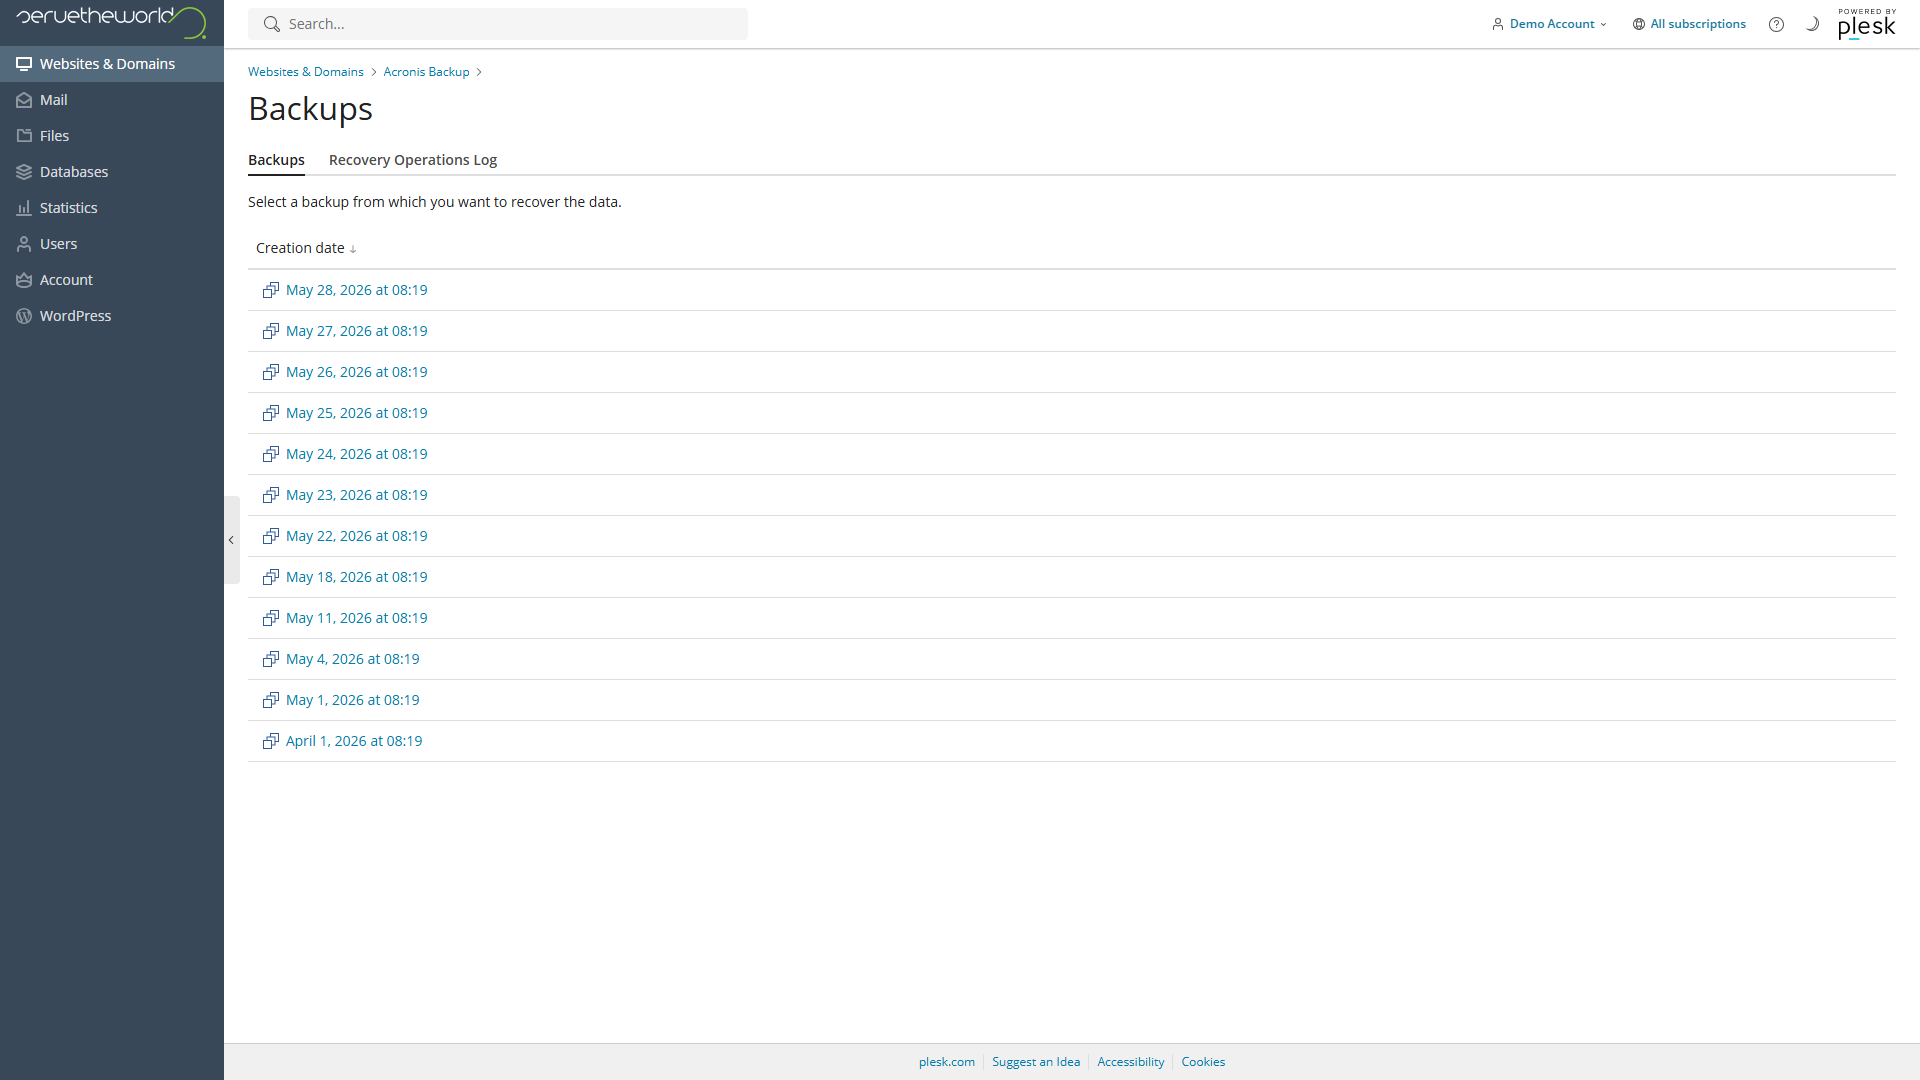
Restoring files or databases
Click a recovery point date to open its contents. You’ll see three categories: Databases, Domains, and Files. There’s also an Export the account option for downloading a full account archive.
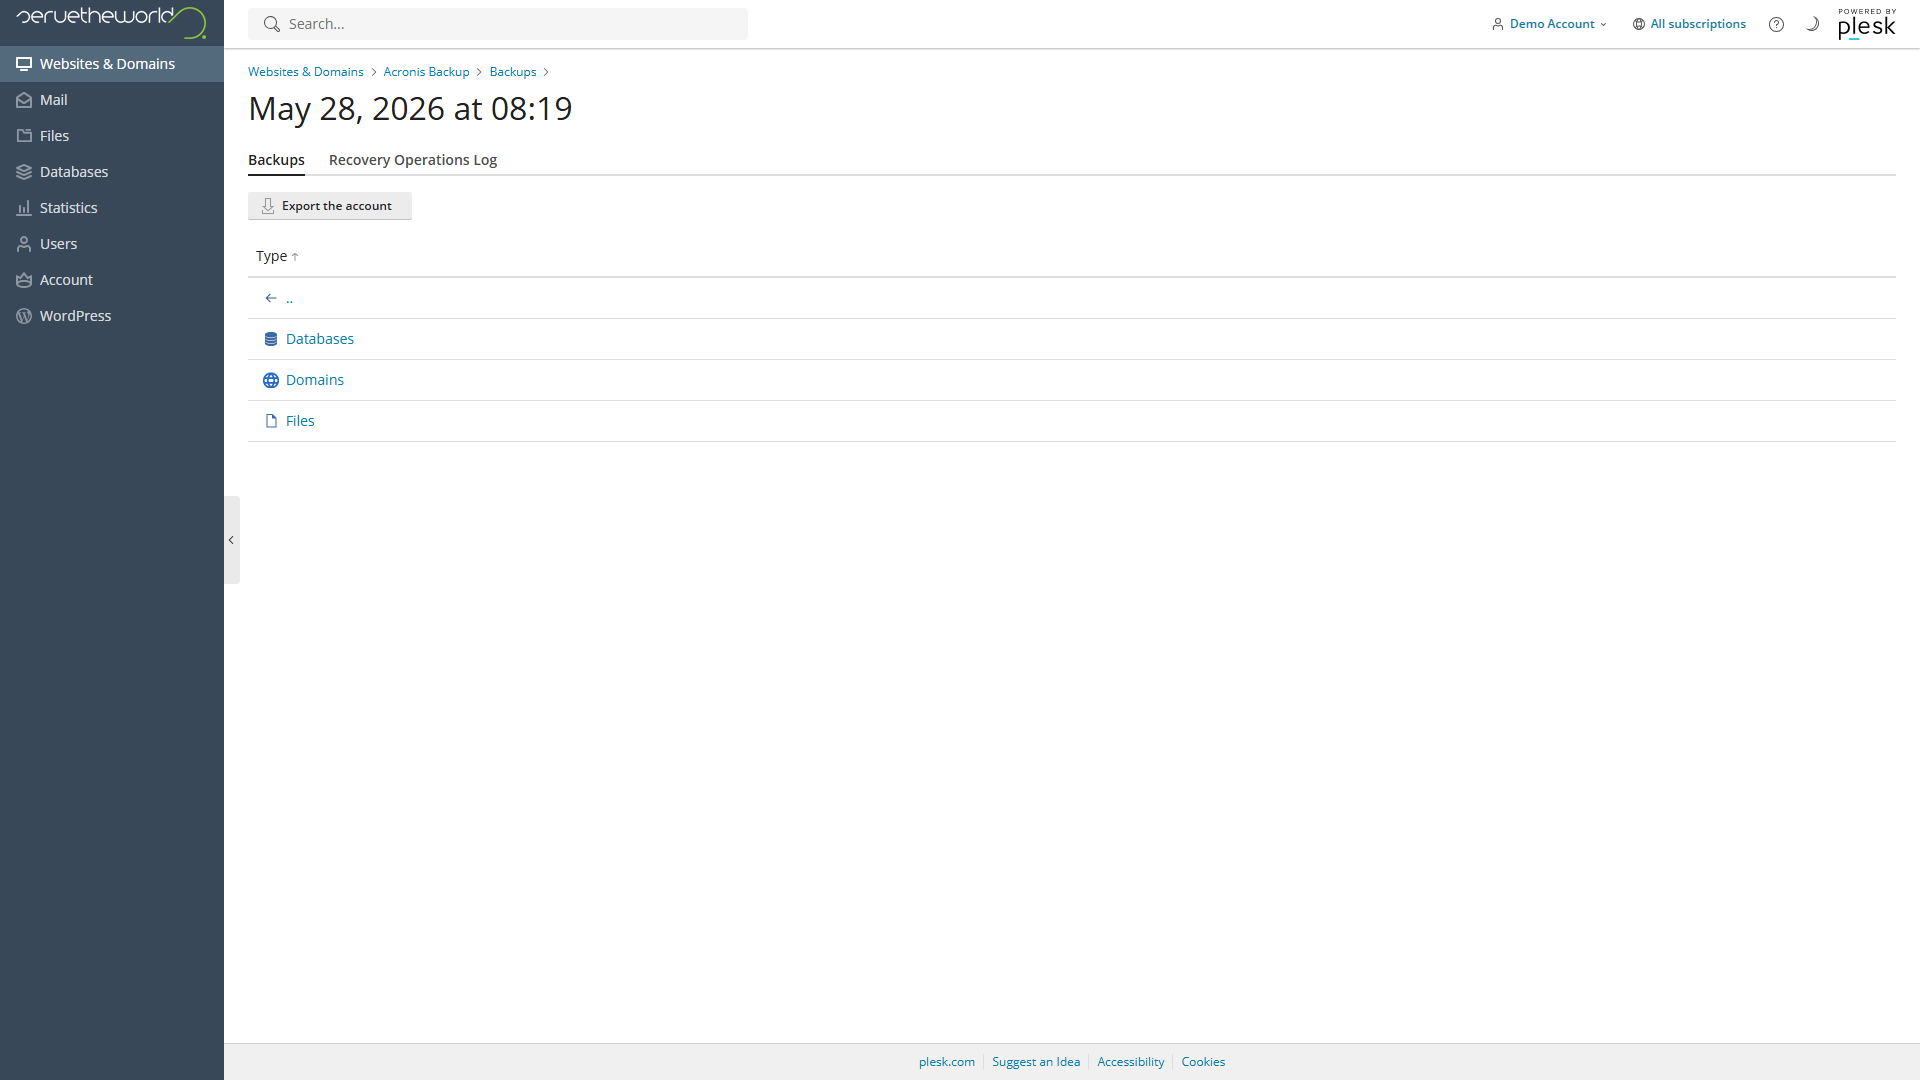
Click Files to browse the hosting account’s file system as it existed at that recovery point. You’re looking at a snapshot of every file on your hosting account at that date and time. Select the folders or files you want to recover, and two buttons appear at the top: Recover (which restores them back to the server) and Download (which saves a copy to your computer). For a WordPress restore, look for the httpdocs folder, which is where your site’s files live (sometimes, you’ll find this in a folder named after your subdomain instead).
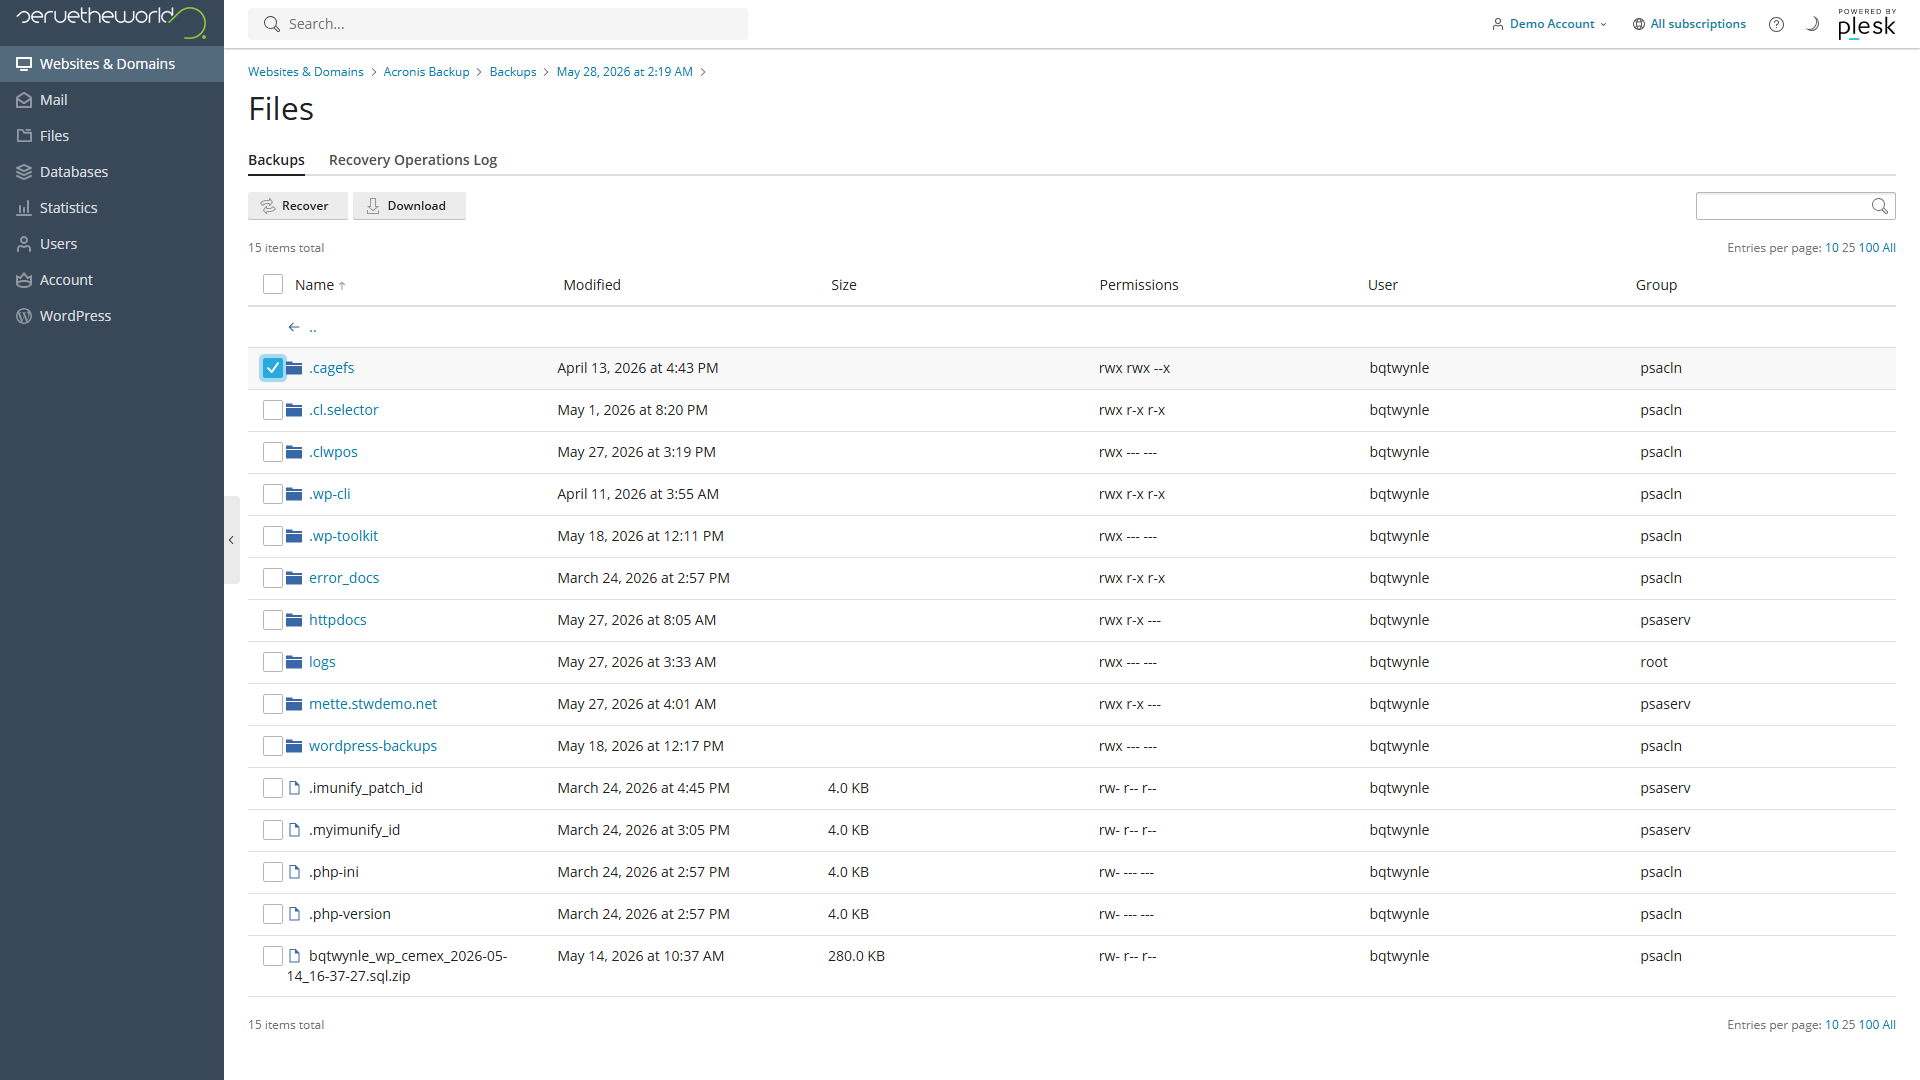
The Databases section works the same way. Select the WordPress database and click Recover. We recommend checking the Recover database users box during database recovery so that the database login credentials are restored alongside the data. Acronis puts the database back to exactly the state it was in at that recovery point.
For a complete WordPress restore, recover both the files and the database from the same recovery point date so everything matches. You can also use the Download option on either files or databases to save a local copy before recovering, which gives you an extra safety margin.
The Export the account button on the recovery point contents page is useful if you need a full archive of your hosting account. That covers everything, your WordPress site, email, and any other files on the hosting account, bundled into a single downloadable export.
Conclusion
With three backup tools available at different levels, your WordPress site on good hosting has excellent coverage. WordPress Toolkit gives you fast manual snapshots in Plesk, UpdraftPlus keeps scheduled off-site copies you can restore with precision, and Acronis maintains daily recovery points of your entire hosting account automatically. Next up, we’ll look at how to keep WordPress updated.
Next steps: