

Introduction
Coolify is an open-source, self-hosted Platform-as-a-Service (PaaS) that simplifies deploying applications, databases, and services on your own infrastructure. Think of it as running your own Heroku or Netlify, but with complete control over the underlying server. In this tutorial, you’ll deploy a production-ready WordPress site with a MariaDB database using Coolify’s web interface, complete with automatic SSL certificate provisioning via Let’s Encrypt.
Coolify is particularly useful for WordPress deployments thanks to its automated handling of Docker networking, environment variables, and SSL certificates. You won’t need to manually configure nginx, set up database connections, or worry about certificate renewal because Coolify manages all of this through its web interface.
Prerequisites
- A Ubuntu server with at least 2GB RAM (4GB preferred) and 20GB storage
- Root access to the server (via SSH)
- A domain name with DNS A record pointing to your server’s IP address (e.g.,
example.com→203.0.113.50) - Basic familiarity with SSH and command-line operations
We’ve tested this process on both 24.04 LTS and 26.04 LTS. For the latest information on supported OS versions, refer to the Coolify documentation and changelog.
Example terminology
Throughout this tutorial, replace the following placeholders with your actual values:
- Domain:
<example.com>(replace with your actual domain, e.g.,myblog.com) - Server IP:
<203.0.113.50>(replace with your server’s actual IP address)
Step 1 – Prepare the Ubuntu Server
Before installing Coolify, you need to prepare your Ubuntu server with basic security configurations and ensure necessary ports are open for web traffic.
Connect to your server via SSH as the root user:
ssh root@<203.0.113.50>Update the system packages to ensure you have the latest security patches:
apt update && apt upgrade -yNext, configure the firewall using UFW (Uncomplicated Firewall). Coolify needs three ports open: SSH (port 22) so you maintain access, HTTP (port 80) for initial Let’s Encrypt verification, and HTTPS (port 443) for secure traffic:
ufw allow 22/tcp
ufw allow 80/tcp
ufw allow 443/tcp
ufw --force enable
Verify the firewall configuration:
ufw statusYou should see output confirming ports 22, 80, and 443 are allowed. The firewall will now block unauthorized traffic while permitting web access and your SSH connection.
Step 2 – Install Coolify
Coolify provides an automated installation script that installs Docker Engine, Docker Compose, and the Coolify application, along with necessary supporting services like Redis and PostgreSQL.
Run the installation script:
curl -fsSL https://cdn.coollabs.io/coolify/install.sh | bashThe installation takes approximately 2-5 minutes. You’ll see output as the script installs Docker, pulls container images, and starts Coolify services.
When installation completes, you’ll see a success message:
Your instance is ready to use!

You can access Coolify through your Public IPV4: http://<203.0.113.50>:8000

If your Public IP is not accessible, you can use the following Private IPs:

http://10.0.0.1:8000
http://10.0.1.1:8000
Verify that Coolify is running:
docker psYou should see several containers with “Up” status, including coolify, coolify-db, coolify-redis, and coolify-realtime.
Step 3 – Complete the Setup Wizard
With Coolify installed, you need to create an admin account and complete the initial setup wizard, which will automatically configure your server and create your first project.
Open your web browser and navigate to http://<203.0.113.50>:8000 (replace with your actual server IP). You’ll see the Coolify welcome screen prompting you to create an admin account.
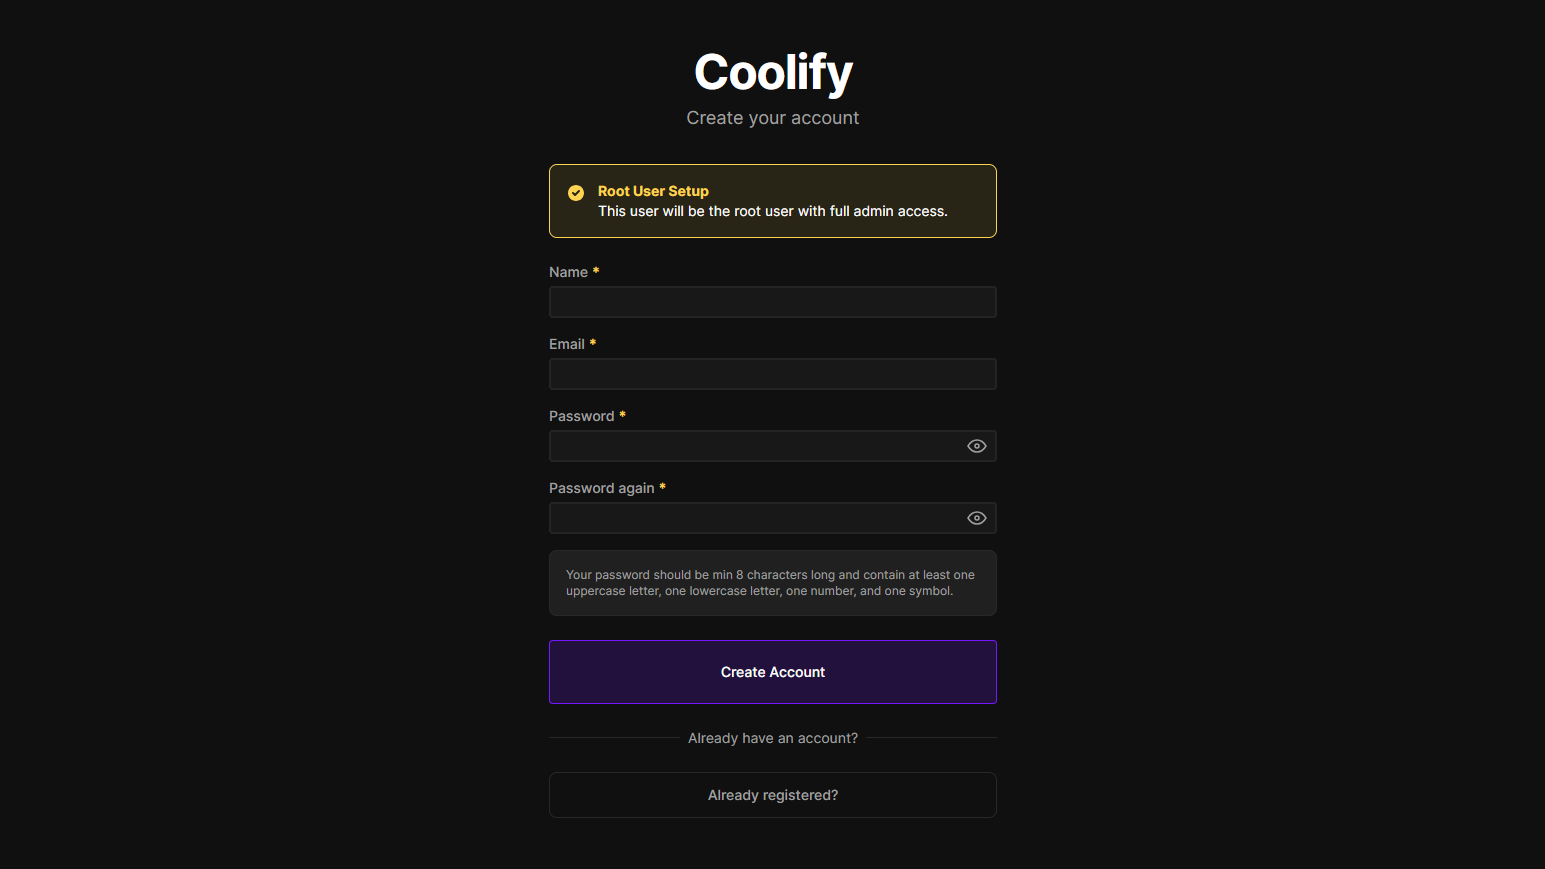
Create your admin account:
- Name: Your full name or username
- Email: Your email address (this will receive Let’s Encrypt certificate notifications)
- Password: A strong, unique password
Click “Create Account”.
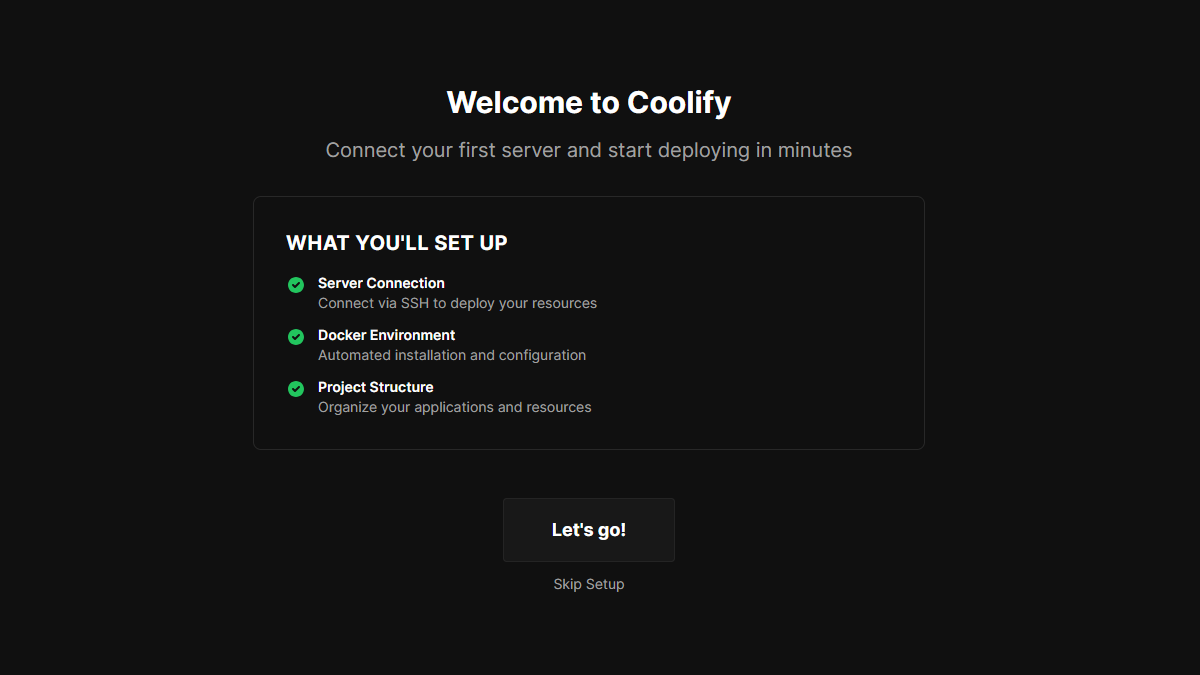
You’ll see a welcome page. Click “Let’s go!” to start the setup wizard. The wizard will guide you through three steps: server configuration, Docker environment setup, and project structure.
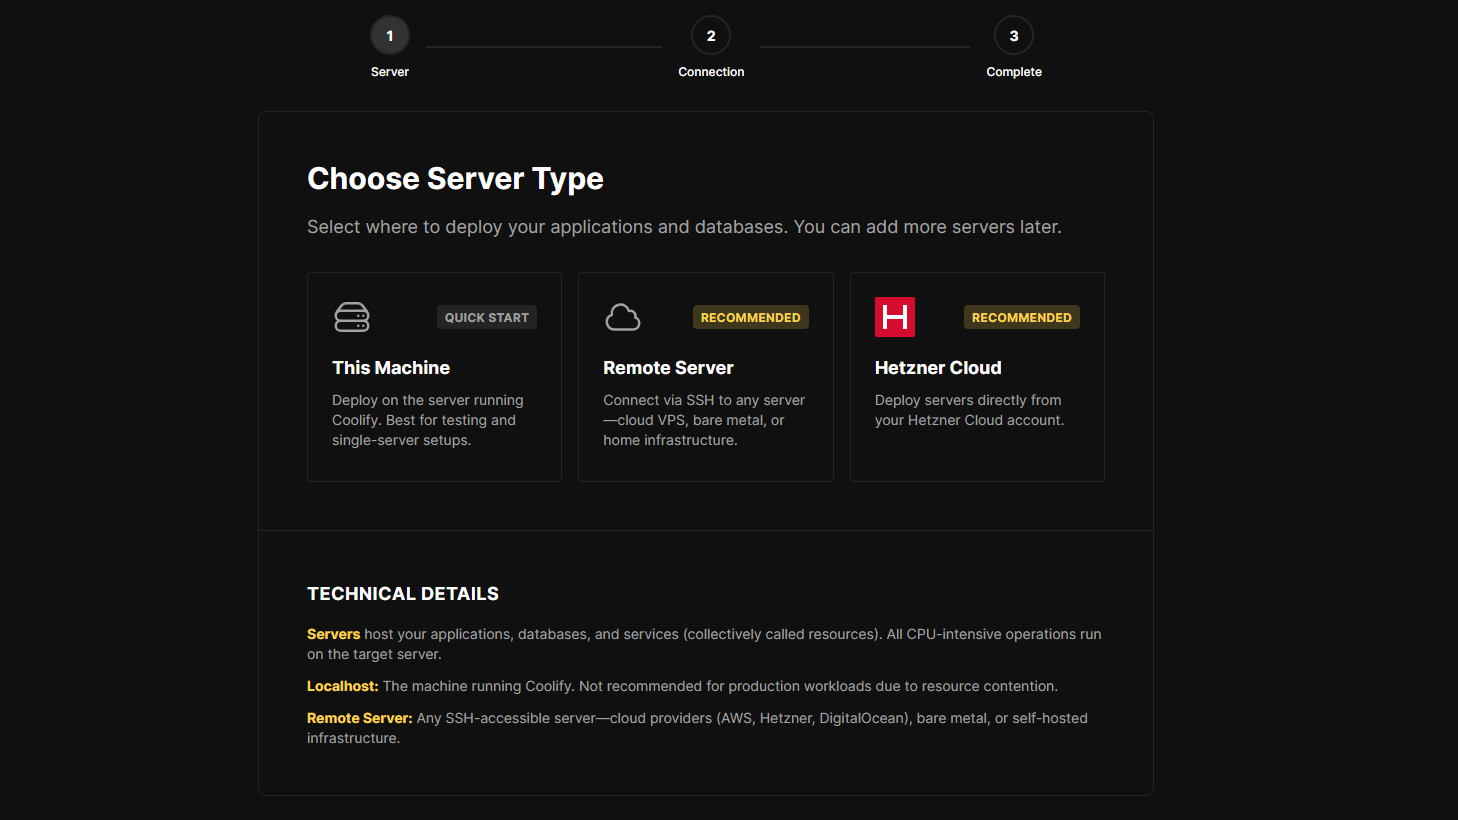
Step 3.1 – Choose Server Type
The wizard first asks where you want to deploy applications. Since you’re deploying WordPress on the same server where Coolify is installed, click “This Machine”.
Step 3.2 – Create Your First Project
The wizard will then prompt you to create your first project. Click “Create ‘My First Project'” to automatically set up a project with a production environment.
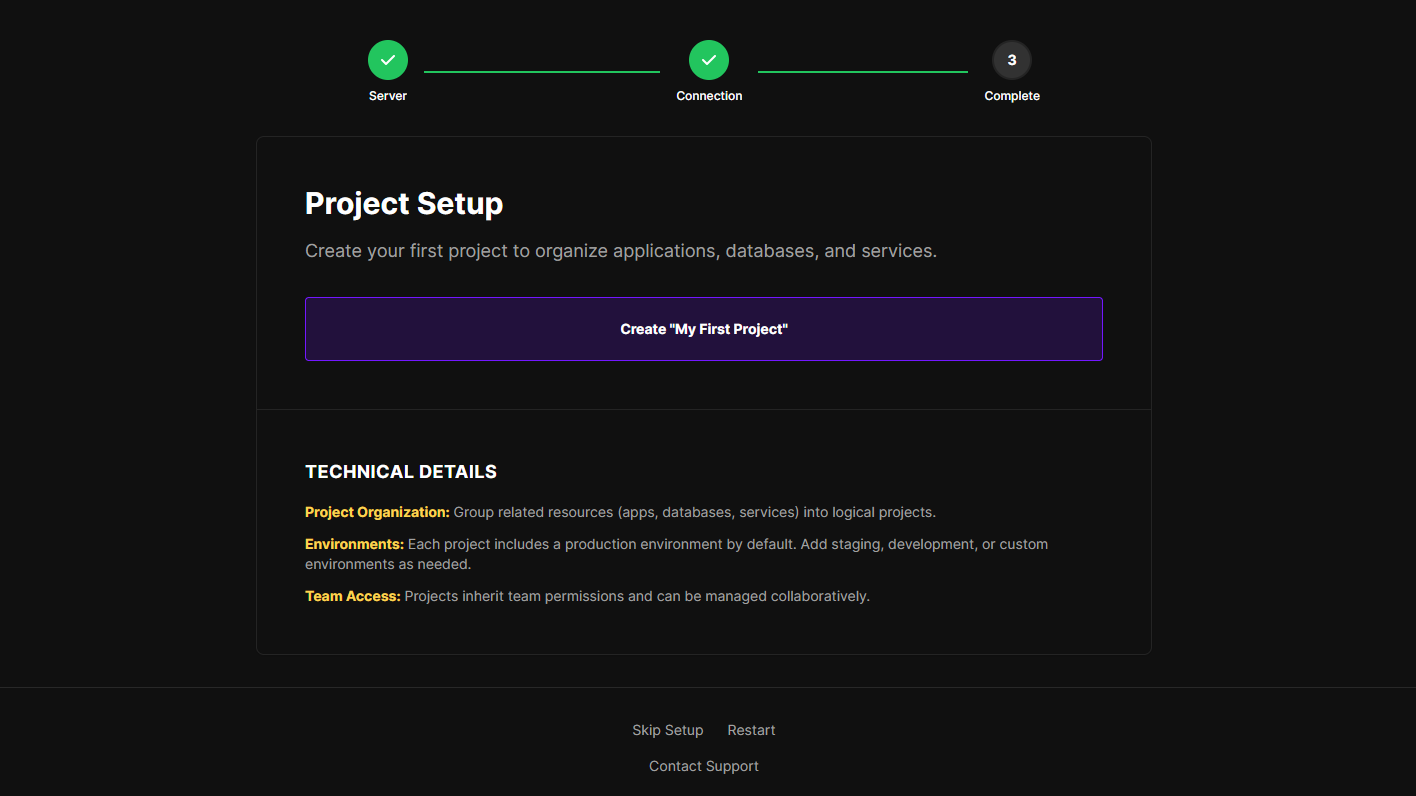
The wizard completes the configuration and shows you a summary. Your localhost server is now connected, Docker is configured, and your project is ready.
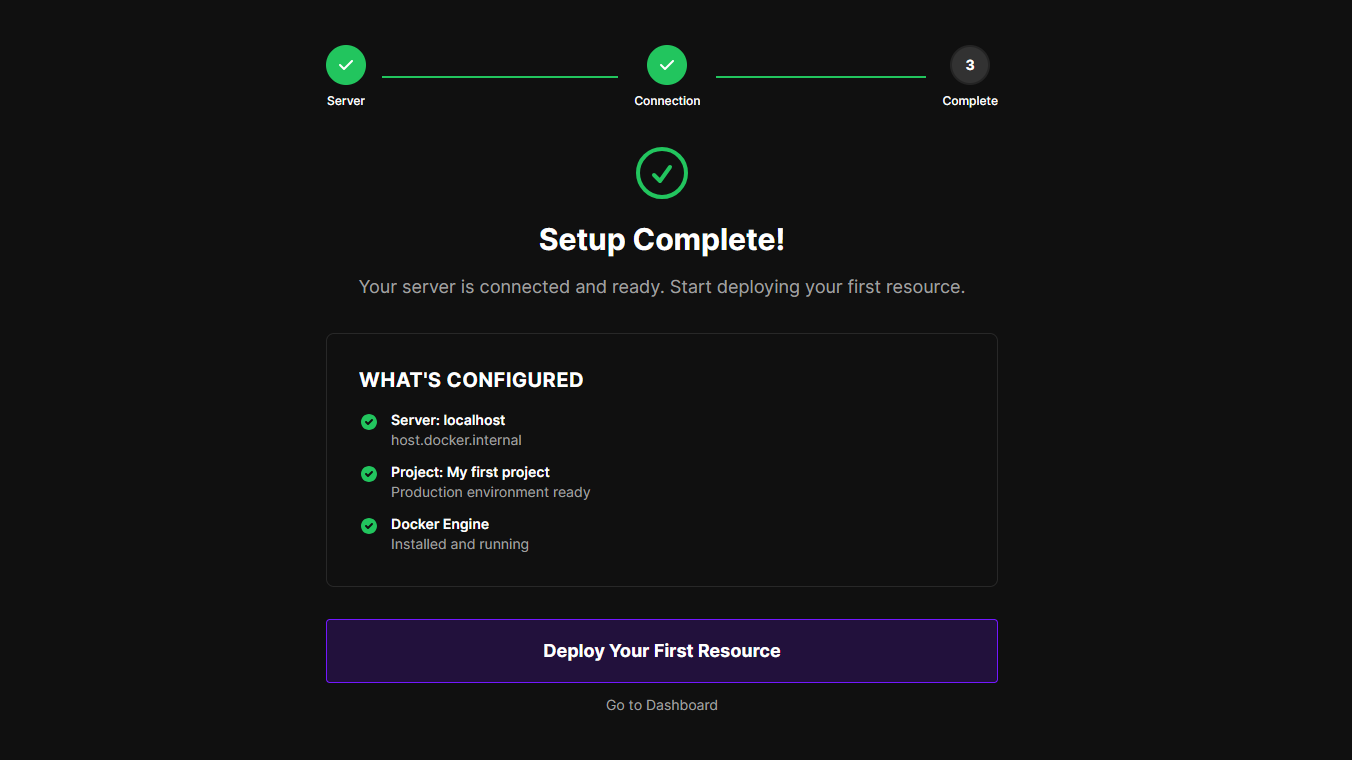
From the setup complete screen, click “Deploy Your First Resource”.
Step 4 – Deploy WordPress with MariaDB
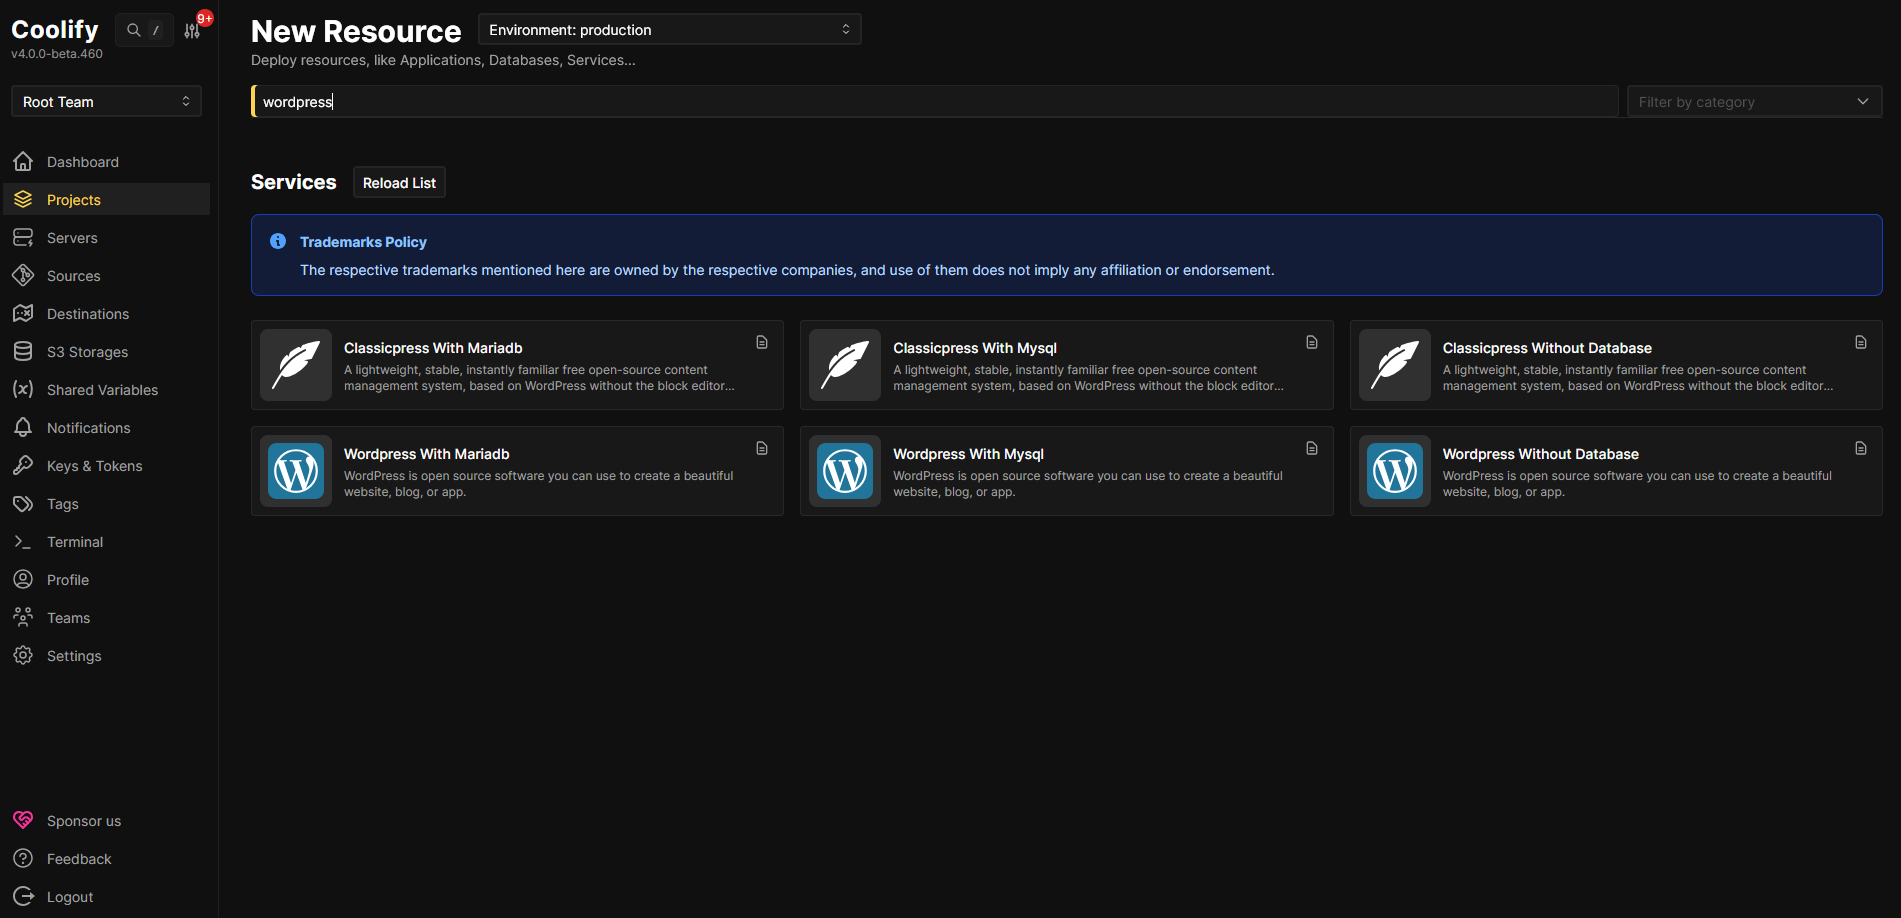
Coolify offers WordPress as a pre-configured service that handles all the Docker orchestration, networking, and database configuration automatically.
You’ll see a catalog of services. Search for “WordPress”, choose “WordPress with MariaDB”, and click on it to select the WordPress service with a MariaDB database.
Step 4.1 – Configure Service and Domain
After you select the WordPress service, Coolify displays a configuration page. This is where you’ll set up both the service settings and your domain.
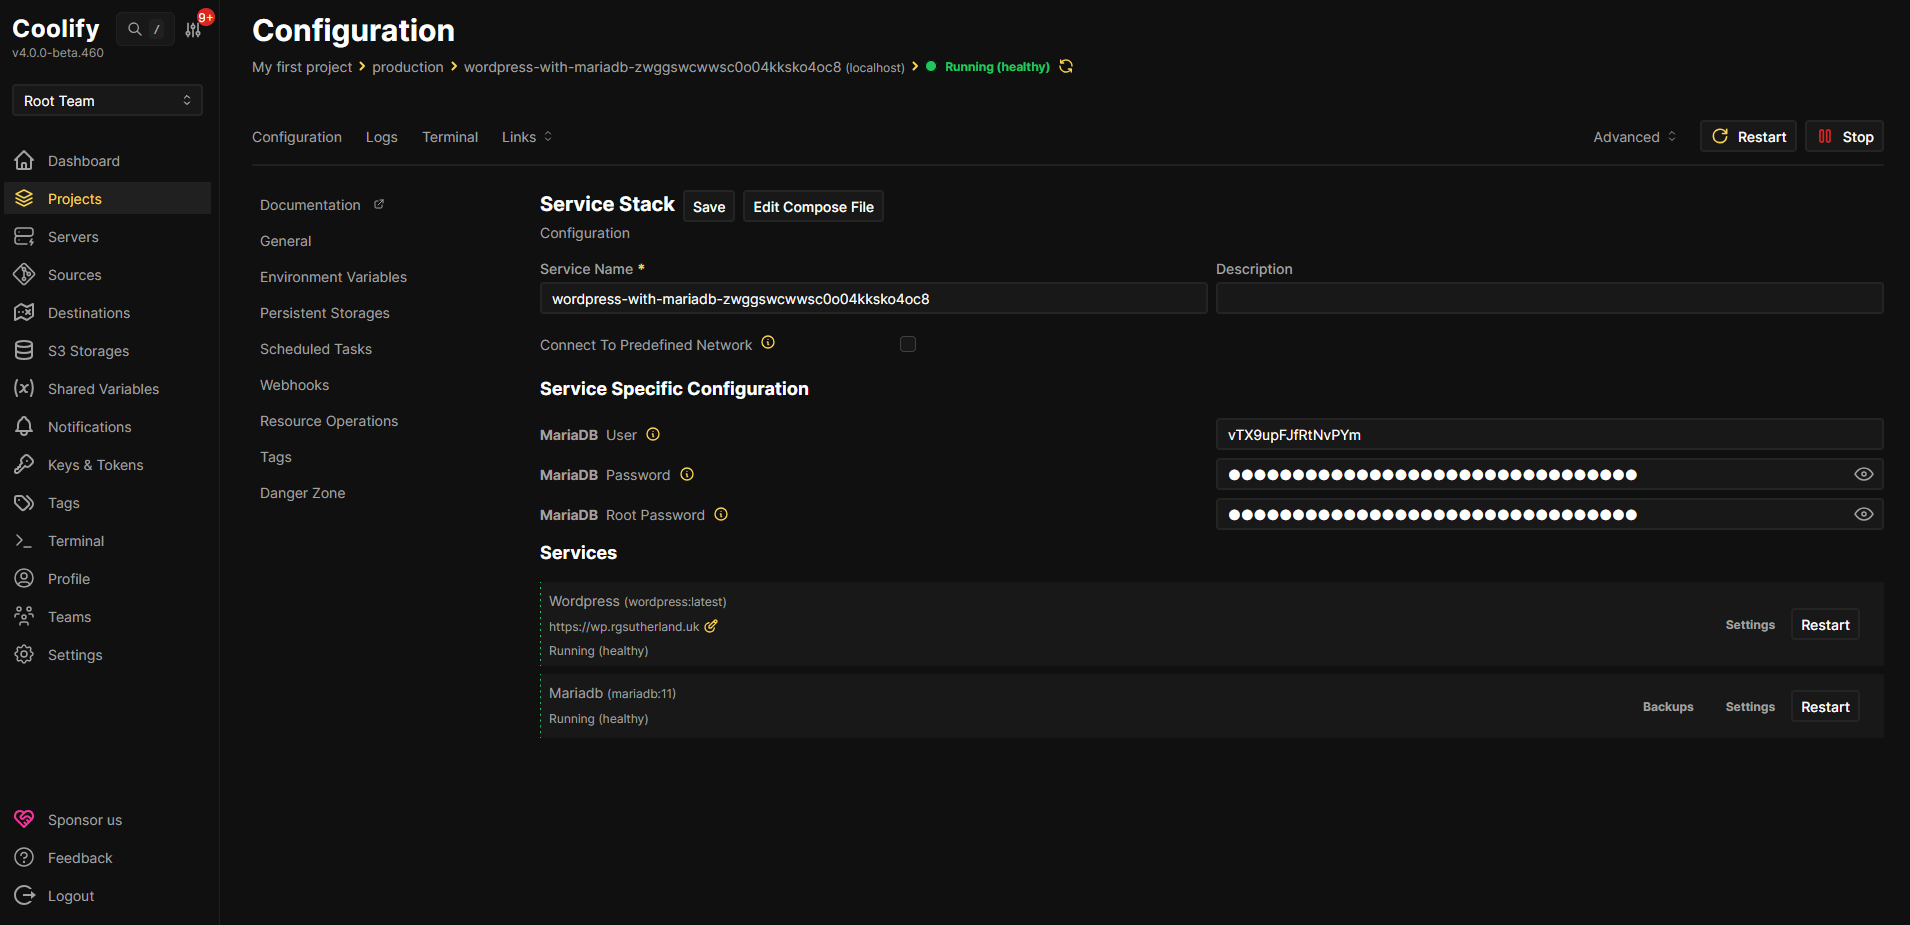
The configuration page shows environment variables for both containers. Coolify has automatically generated secure passwords and configured the database connection, and for most people, these are fine.
Scroll down to the Services section and replace the WordPress URL with your actual domain:
https://<example.com>Important: Include https:// at the beginning. This tells Coolify to automatically provision a Let’s Encrypt SSL certificate when it deploys.
Once you’ve set your domain, click “Deploy” at the top-right.
Coolify will now pull the WordPress and MariaDB Docker images, create an isolated Docker network, start both containers, request an SSL certificate from Let’s Encrypt, and run health checks. This takes 1-2 minutes on the first deployment.
Step 5 – Check HTTPS status
Once the deployment completes, open a new browser tab and navigate to your domain:
https://<example.com>Your browser should display a padlock icon in the address bar, indicating a secure HTTPS connection. You can click the padlock to view certificate details and confirm it was issued by Let’s Encrypt (the certificate authority will show as “Let’s Encrypt” or similar).
If you see a certificate warning or error, wait another minute and refresh the page. Let’s Encrypt verification can occasionally take longer during periods of high demand. If the error persists, verify that your domain’s DNS A record correctly points to your server’s IP address using a tool like dig or an online DNS checker, and confirm that ports 80 and 443 are open in your firewall.
Step 6 – Complete WordPress Installation
With the domain configured and HTTPS working, you can now complete the WordPress installation wizard. This is the standard WordPress setup process where you configure your site’s basic settings and create an admin account.
Navigate to https://<example.com> in your browser. You’ll see the WordPress language selection screen.
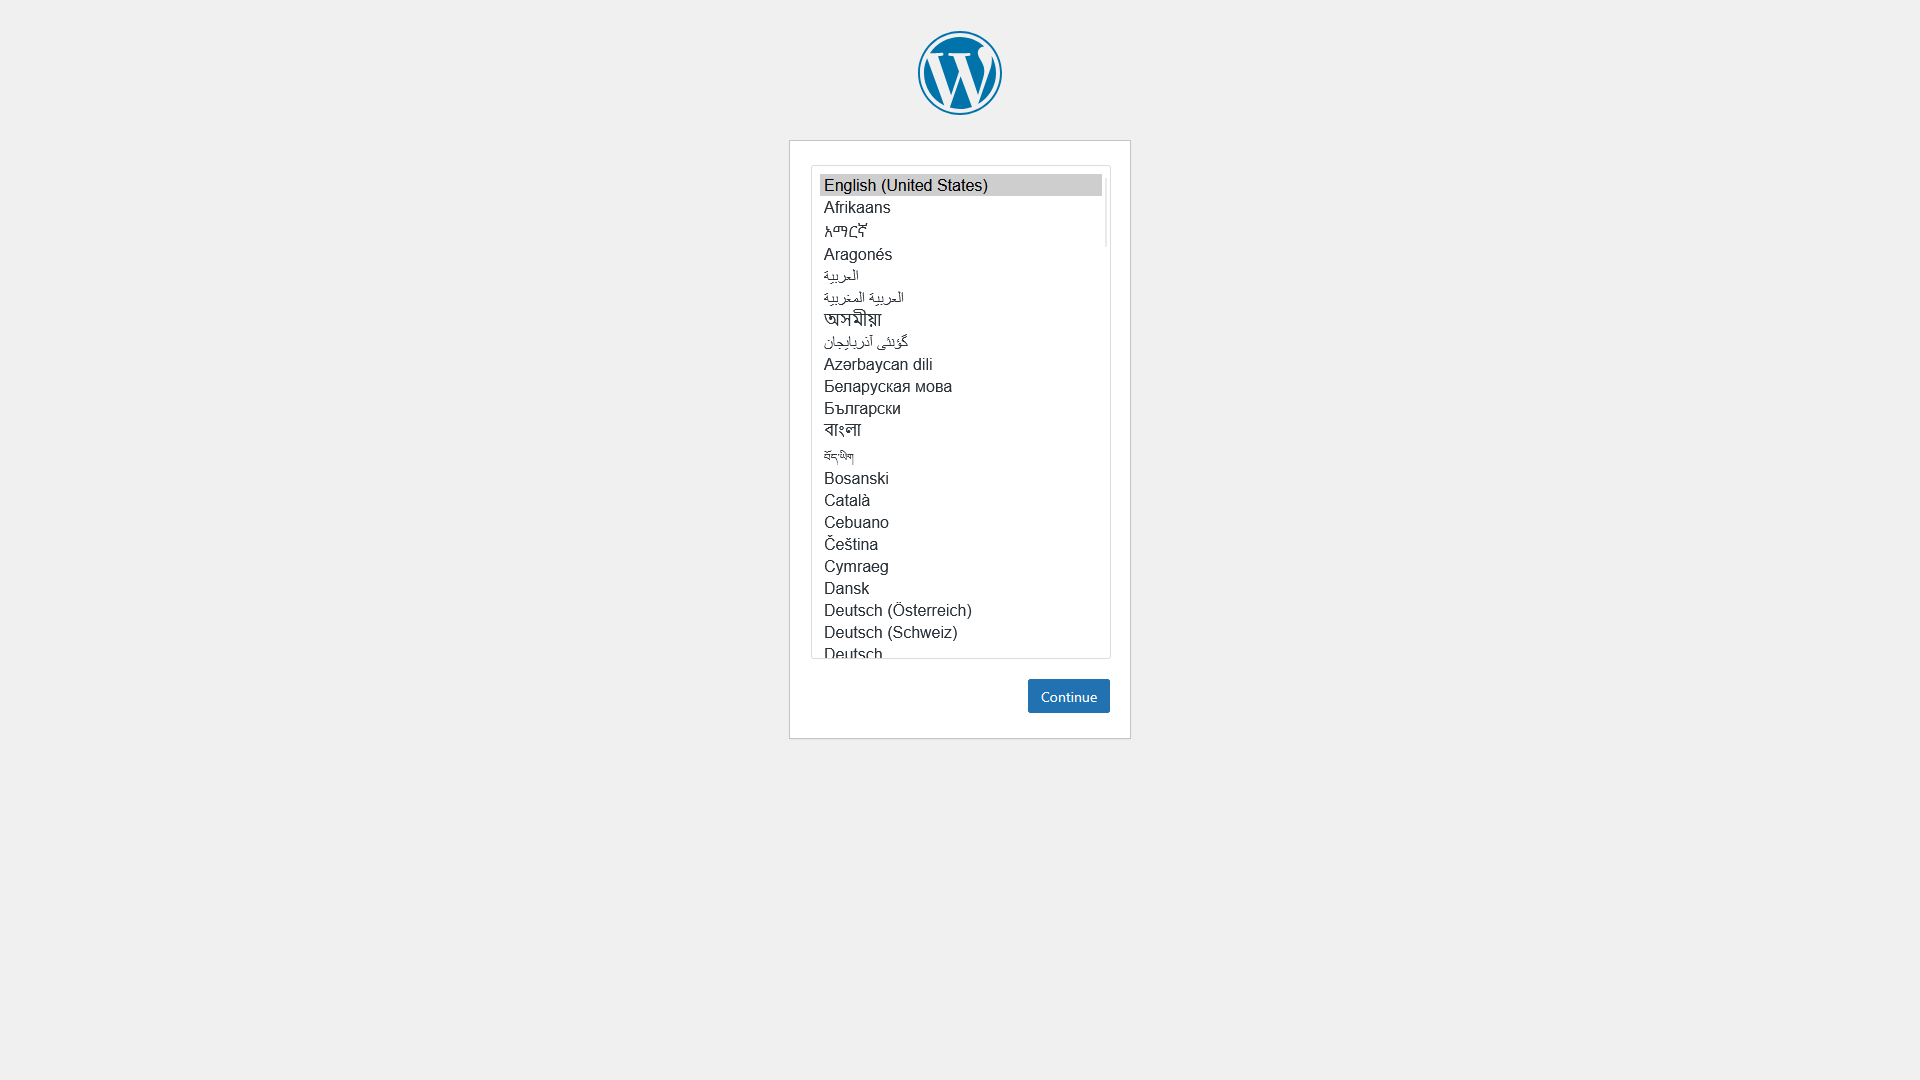
Select your preferred language (such as “English (United States)”) and click “Continue”.
WordPress will briefly verify it can connect to the MariaDB database. Because Coolify configured all the connection details automatically, this succeeds without manual input so you won’t need to enter database credentials.
The next screen asks for information about your WordPress site:
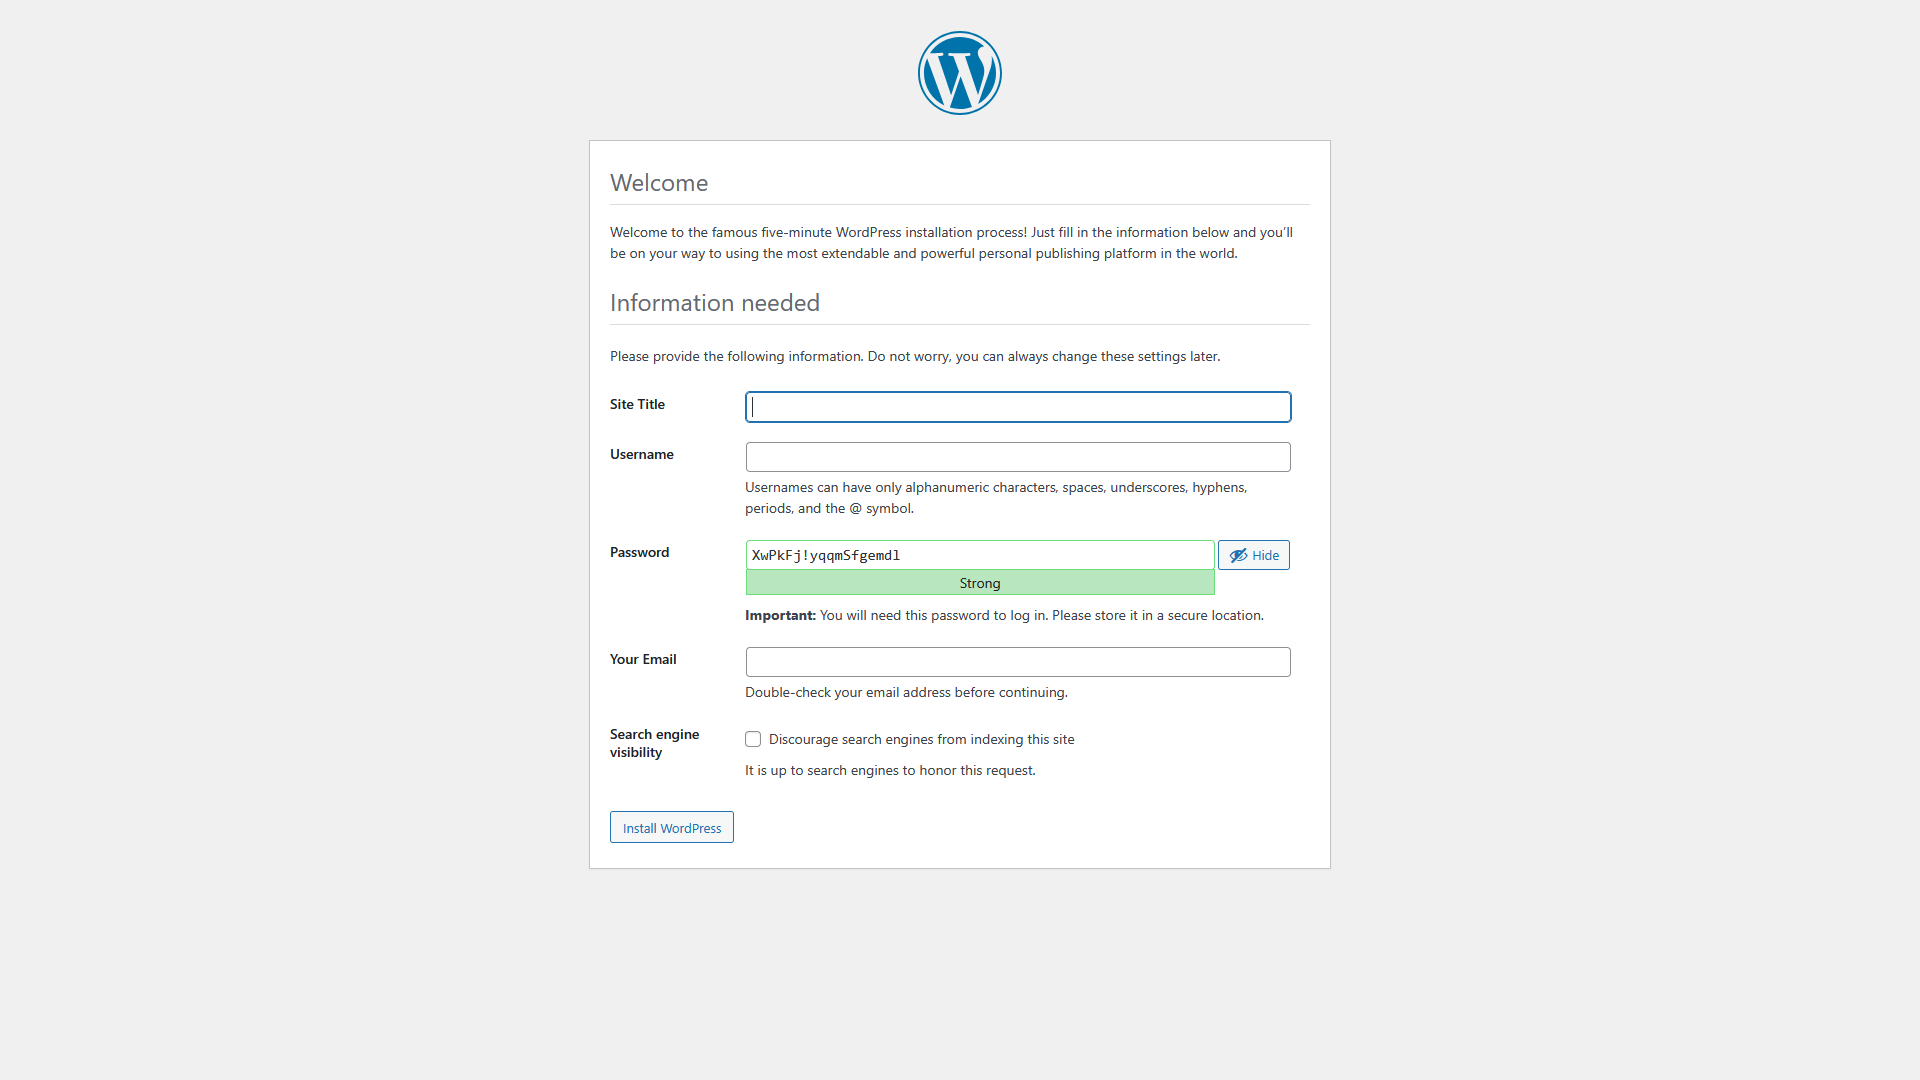
Fill in the following fields:
- Site Title: The name of your website (e.g., “My Tech Blog”)
- Username: Your WordPress admin username. Avoid using “admin” for security reasons. Use something unique like your name or a randomly generated username
- Password: A strong password for your admin account. WordPress will suggest a strong password; it’s recommended to use the suggested password or create an equally strong one
- Your Email: Your email address for admin notifications, password resets, and comment notifications
- Search Engine Visibility: Leave this checkbox unchecked unless you’re still developing the site and don’t want search engines to index it yet
After filling in all fields, click “Install WordPress”. WordPress will create the necessary database tables, set up your admin account, and configure the basic site settings. This process takes just a few seconds.
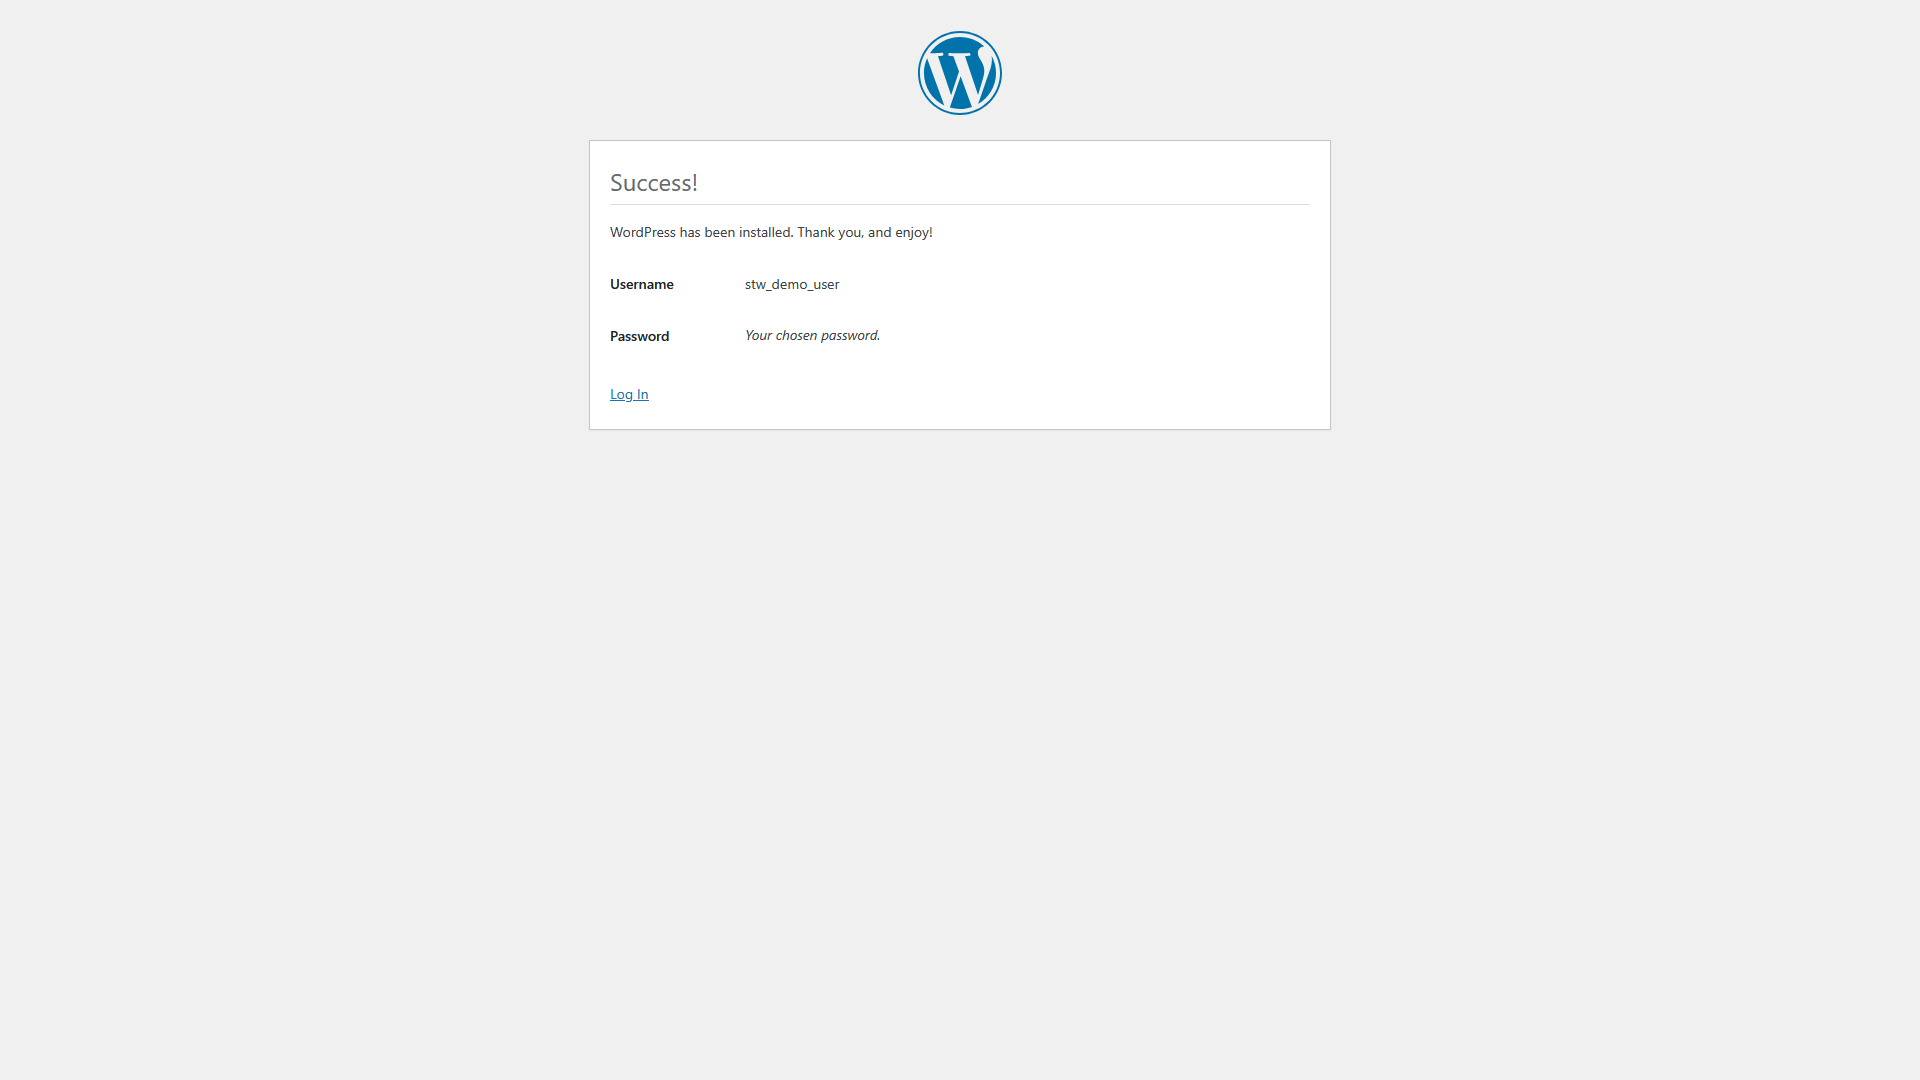
When installation completes, you’ll see a success message. Click the “Log In” button to access the WordPress admin area.
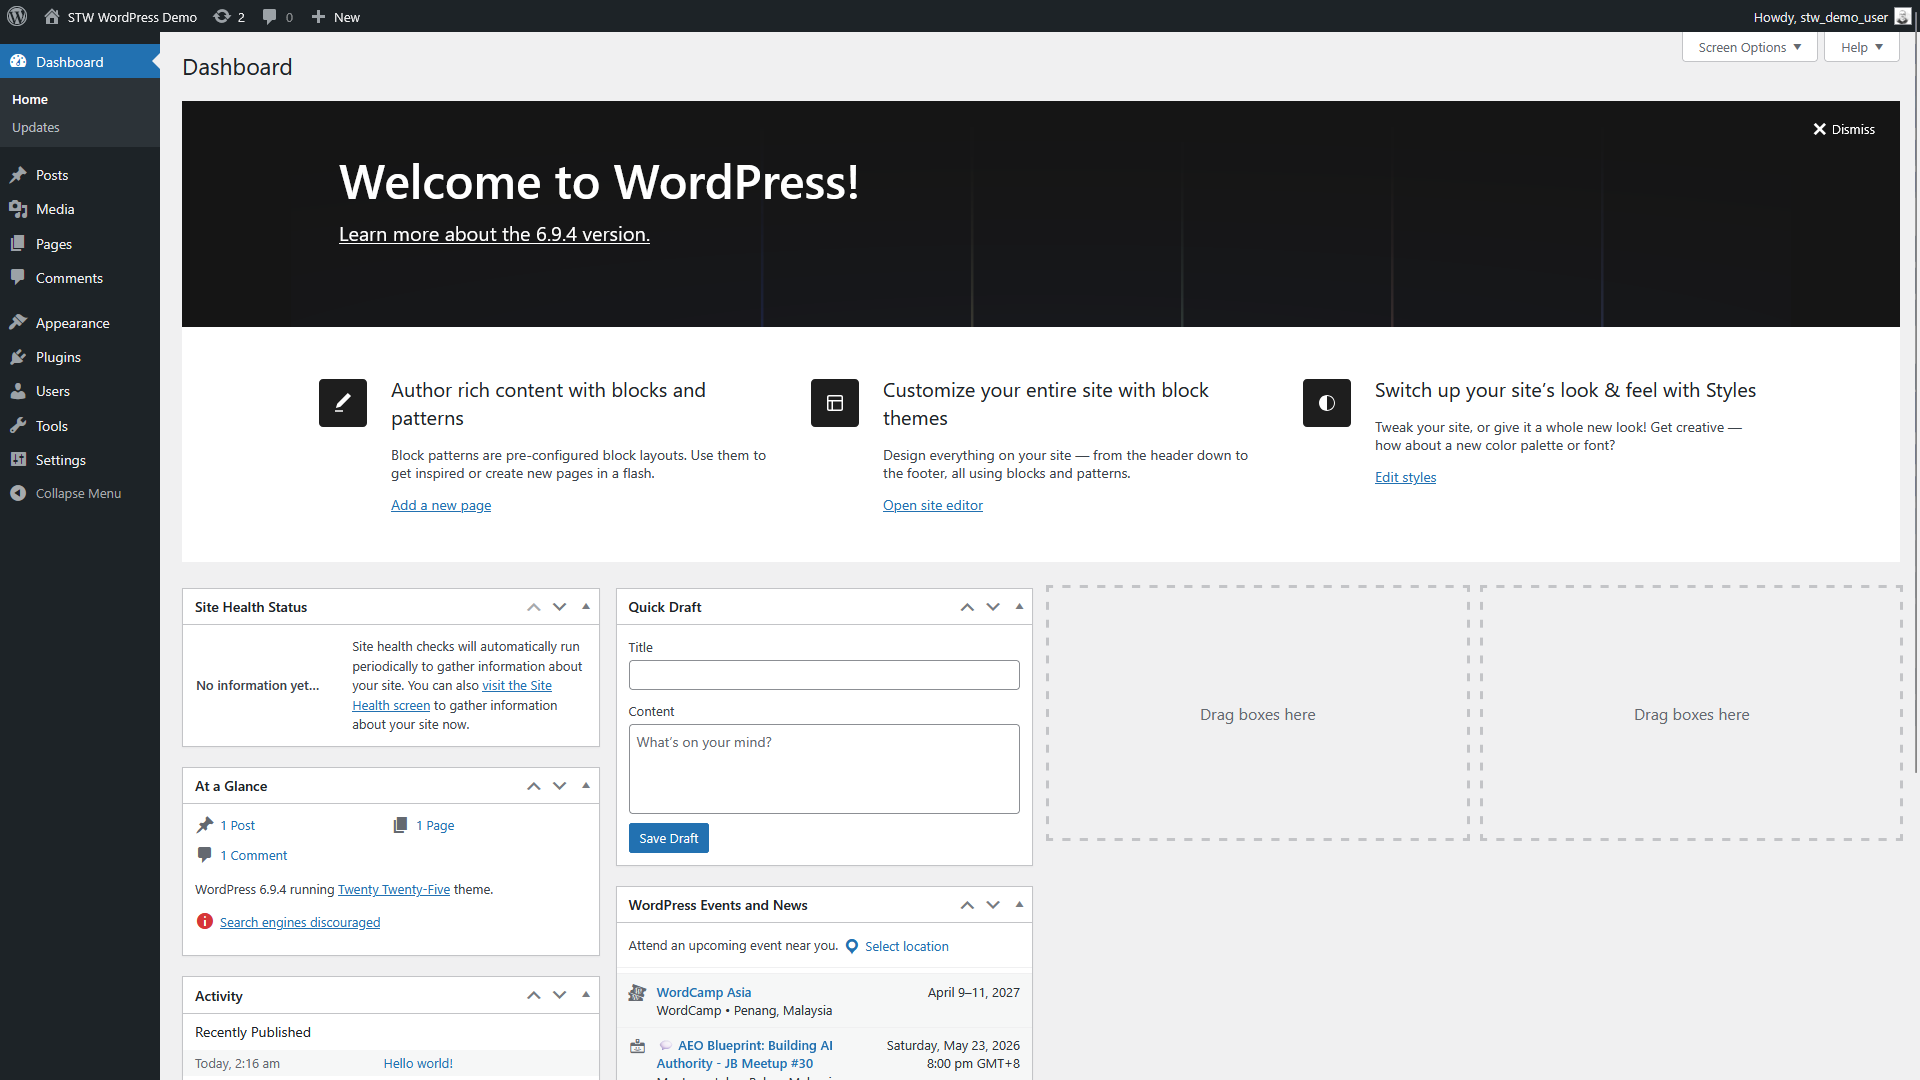
Enter your username and password on the login page, then click “Log In”. You’ll be taken to the WordPress admin dashboard, where you can manage your WordPres site’s content, appearance, and settings.
To verify your site is publicly accessible, open a new browser tab and visit your domain’s homepage. You should see the default WordPress theme (Twenty Twenty-Four or similar, depending on the WordPress version) with a sample post and page. This confirms that WordPress is fully operational, accessible over HTTPS, and ready for you to customize.
Conclusion
You’ve successfully deployed a production-ready WordPress site on Ubuntu using Coolify. Your site is now:
- Running in isolated Docker containers for security and portability
- Accessible via HTTPS with automatic SSL certificate management through Let’s Encrypt
- Backed by a MariaDB database with secure credentials
- Managed through Coolify’s web interface for easy updates and monitoring
Coolify has abstracted away the complexity of Docker orchestration, reverse proxy configuration, and SSL certificate management, allowing you to deploy and manage WordPress with just a few clicks.
Next Steps
Now that your WordPress site is live, consider:
- Enabling scheduled MariaDB snapshots in Coolify.
- Installing a security plugin like Wordfence.
- Using a caching plugin and a CDN to reduce server load and improve global page speeds.
- Tracking resource usage in the Coolify dashboard to ensure your server handles traffic efficiently.
For more information about Coolify’s features and advanced configuration options, visit the official Coolify documentation.