
Introduction
In Part 3, you learned what A records and CNAMEs are. In Part 4, you learned how to edit DNS records without breaking things. Now we’re going to use both of those skills for the single most common DNS task: making a domain name load a website.
That sounds like one job, but it’s usually at least two. You need a record for yourdomain.com (the root domain), and another for www.yourdomain.com. If you also run a blog, shop, or staging site on a subdomain, each one needs its own record too. The decision each time is the same: do I use an A record, or a CNAME?
By the end of this article, you’ll know the answer to that question for every common scenario, and you’ll have verified the result with dig. All you need is the server IP address or target hostname from your hosting provider — the examples below use 203.0.113.50 (IPv4) and 2001:db8::1 (IPv6) as placeholders for yours.
The Core Decision: A Record or CNAME?
Your goal should be to keep your DNS easy to maintain. Ideally, every alias that points to the same logical service should be a CNAME back to one authoritative A record. That way, if the server’s IP address changes, you update a single A record and every alias follows automatically.
Take a typical setup: yourdomain.com and www.yourdomain.com both serve the same website. If both are separate A records with the same IP address, you have to update both when you move servers. Make www a CNAME pointing to yourdomain.com instead, and one A-record change covers both names.
The same logic applies to any subdomain that serves the same context as the root. If blog or staging resolves to the same server, make it a CNAME. One record to update, zero room for a mismatch.
So, the practical decision has two parts:
- Is this the root domain? The root
(yourdomain.com, represented as@) must be an A record. A CNAME cannot be used there. We’ll explain why in a moment. - For everything else: if the name serves the same logical service as an existing A record, make it a CNAME to that name. Only create a separate A record when the name points to a different server with its own IP address.
| You were given… | Use this record type |
|---|---|
An IP address like 203.0.113.50 |
A record |
An IPv6 address like 2001:db8::1 |
AAAA record |
A hostname like proxy.example.net |
CNAME |
| The same service as your root domain | CNAME to yourdomain.com |
That’s the whole decision framework. The rest of this article is applying it to the specific cases you’ll encounter.
Step 1 — Point Your Root Domain (A Record)
The root domain — also called the apex — is yourdomain.com by itself, with no subdomain prefix. In DNS records, you’ll see it represented as @.
The root domain needs an A record (or AAAA for IPv6). You cannot use a CNAME here.
Why no CNAME at the root?
As we covered in Part 3, a CNAME can’t coexist with other record types on the same name — and your root domain already has NS records, typically MX records for email, and TXT records for SPF and domain verification. A CNAME would conflict with all of them.
Adding the A record
In the STW DNS Manager (Domains → Manage DNS → DNS Zones → [your domain]), click + Add Record and fill in:
| Field | Value |
|---|---|
| Type | A |
| Name | @ |
| TTL | 3600 (or lower if you’re testing — see the TTL strategy in Part 4) |
| RDATA | <203.0.113.50> |
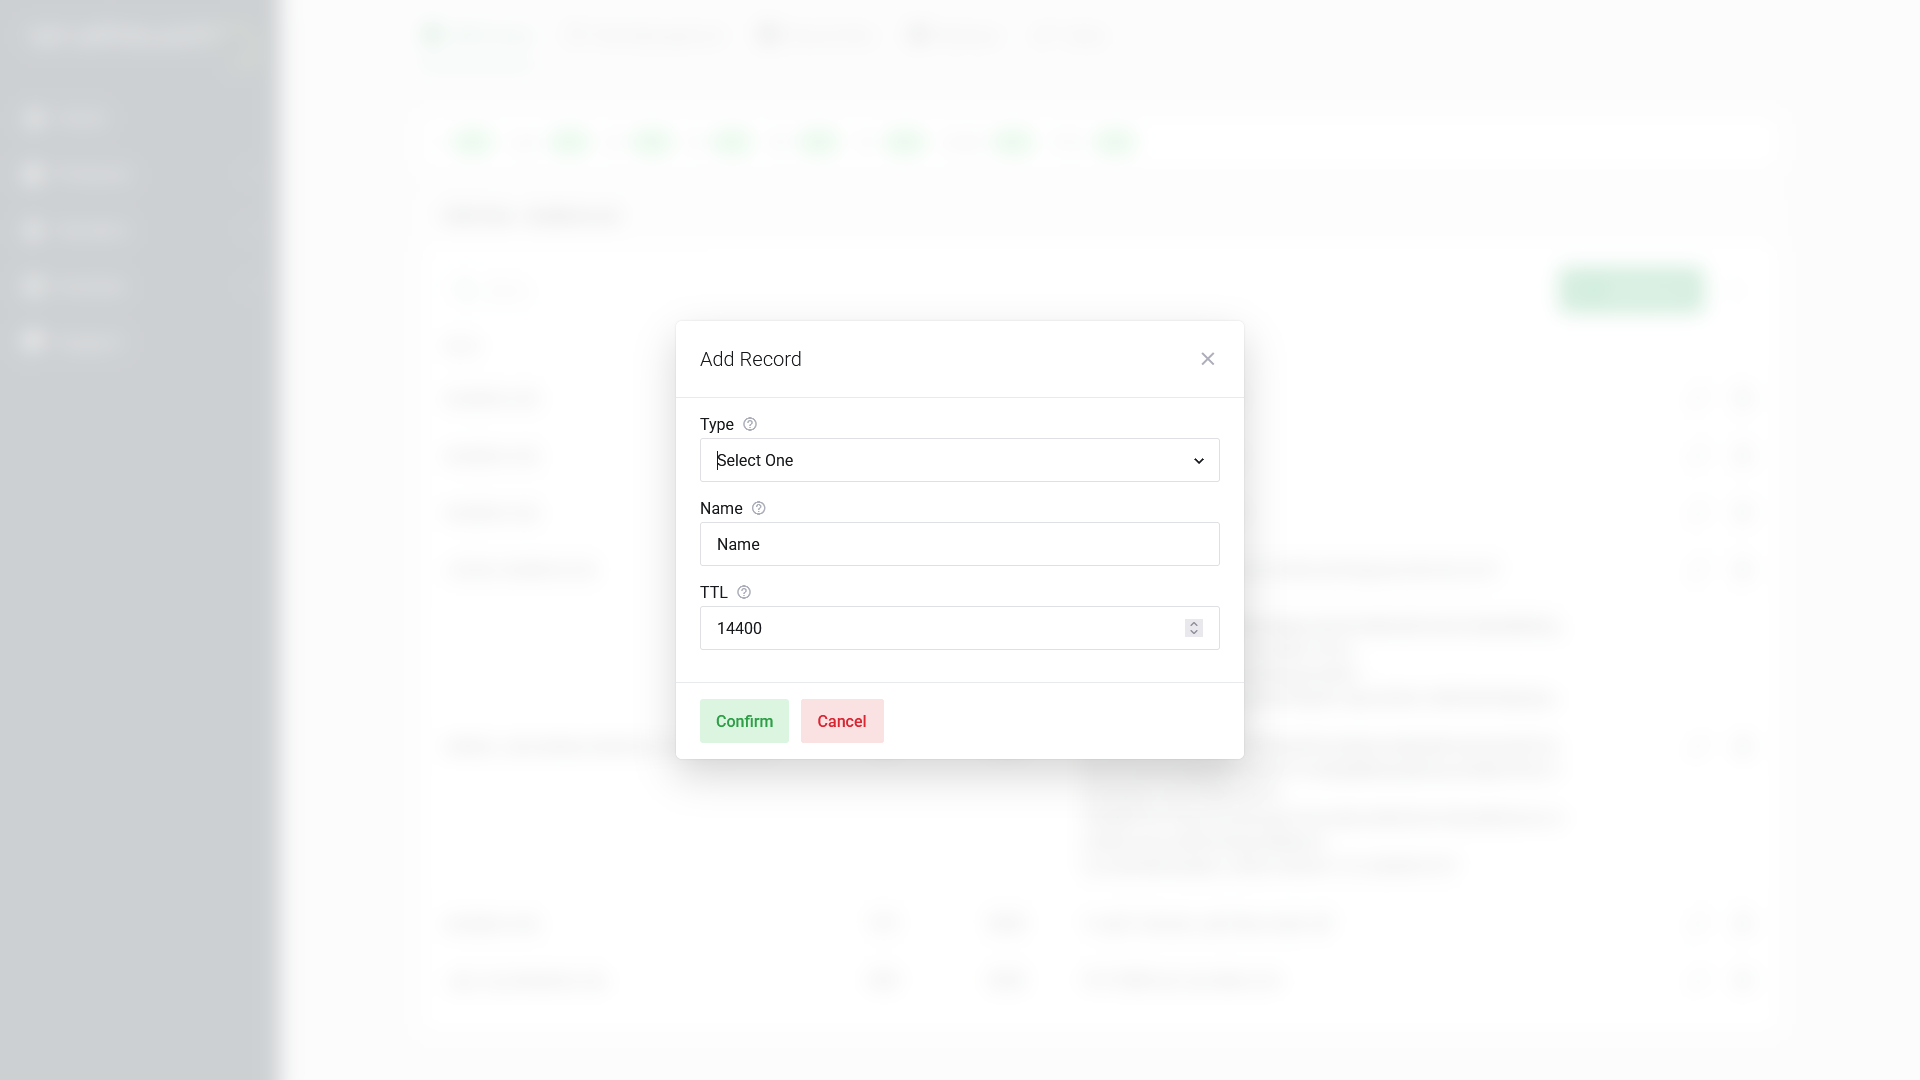
Click Confirm.
What about IPv6?
If your server also has an IPv6 address, add a second record of type AAAA with the same @ name. AAAA records work identically to A records — the only difference is that the address is IPv6 instead of IPv4. Most modern servers support both, and browsers will prefer IPv6 when it’s available.
You don’t need an AAAA record for your site to work — IPv4 (the A record) still handles the vast majority of traffic. If your server supports IPv6 and you can confirm it’s reachable over IPv6, adding the AAAA record future-proofs your setup. If you’re unsure whether your server’s IPv6 connectivity is working correctly, start with the A record alone — you can always add AAAA later.
Step 2 — Handle www (CNAME or A Record)
www.yourdomain.com is technically a subdomain, and visitors expect it to work. You have two options.
Option A — CNAME to your root domain (recommended)
Create a CNAME that says “www is just another name for yourdomain.com.” Whenever a browser looks up www.yourdomain.com, DNS follows the alias to your root domain’s A record and returns the same IP address.
| Field | Value |
|---|---|
| Type | CNAME |
| Name | www |
| TTL | 3600 |
| RDATA | yourdomain.com. |
Notice the trailing dot on yourdomain.com. — this marks a fully qualified domain name (FQDN). Without it, some DNS software will append your zone name to the value, creating a broken reference like yourdomain.com.yourdomain.com. The STW Manager may handle this automatically, but including the dot is a good habit.
The advantage of using CNAME here is if you ever move your website to a new server, you only update the root A record. The CNAME follows along automatically. One change instead of two.
Option B — A second A record
You can also create an A record for www pointing directly at the same IP address. This is technically fine, but it means that whenever your server’s IP changes, you need to remember to update both the root A record and the www A record. Option A avoids that duplication.
Step 3 — Add Subdomains
A subdomain is anything with a prefix before your root domain: blog.yourdomain.com, shop.yourdomain.com, staging.yourdomain.com. Each one is an independent DNS name, and each one needs its own record.
The decision is the same as before: A record if you have an IP, CNAME if you have a hostname.
Common subdomain setups
| Subdomain | Typical use | Record type | RDATA |
|---|---|---|---|
blog |
Blog on a separate server or platform | A or CNAME | Server IP, or platform hostname |
shop |
E-commerce storefront (Shopify, WooCommerce) | CNAME | Platform hostname (e.g., shops.myshopify.com.) |
app |
Web application on its own server | A | Application server IP |
staging |
Development/testing environment | A | Staging server IP |
mail |
Webmail or custom mail hostname | A | Mail server IP |
Adding a subdomain record
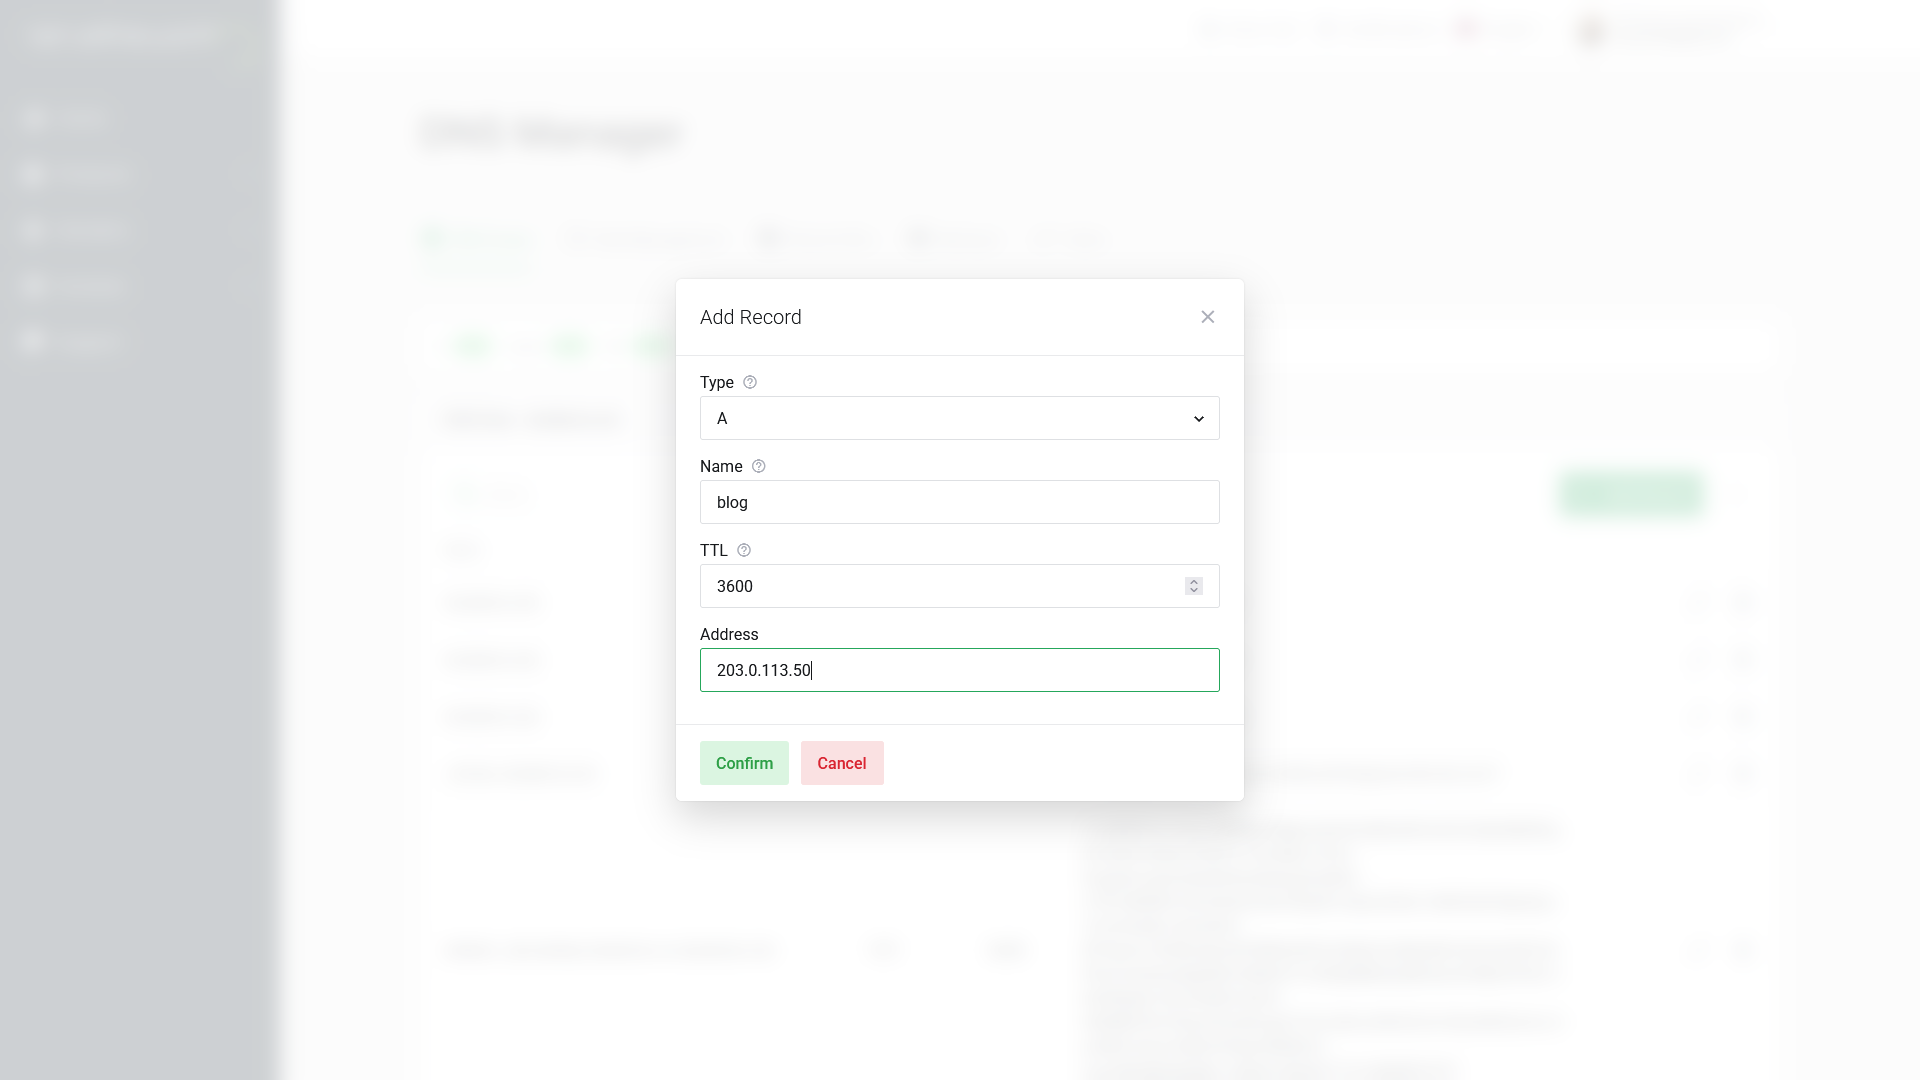
To add blog.yourdomain.com, click + Add Record in the DNS Manager:
| Field | Value |
|---|---|
| Type | A (or CNAME if you have a hostname) |
| Name | blog |
| TTL | 3600 |
| RDATA | <203.0.113.50> or target hostname |
Enter just the subdomain label — blog, not blog.yourdomain.com. The STW DNS Manager automatically appends your zone name. If you enter the full domain, you’ll end up with a record for blog.yourdomain.com.yourdomain.com, which is not what you want (and a surprisingly common mistake).
Why use subdomains?
Subdomains let you run different services independently. Your main website might be a WordPress site on shared hosting, while blog.yourdomain.com runs Ghost on a VPS and shop.yourdomain.com points to Shopify. Each subdomain has its own DNS record, its own server, and its own configuration. Changing one doesn’t affect the others.
This is one of the strengths of DNS that we described back in Part 1 — multiple services under one domain, each routed independently.
A note on wildcard DNS records
You might come across wildcard DNS — a record with * as the name (e.g., *.yourdomain.com) that matches any subdomain that doesn’t have its own explicit record.
Wildcards sound appealing — “just catch everything!” — but they come with trade-offs:
- Every typo and every random subdomain attempt will resolve to your server.
- It can be harder to spot misconfigured or forgotten subdomains.
- Some TLS certificate issuance workflows behave unexpectedly with wildcards.
If you know which subdomains you need, define them individually. Use wildcards only when you have a specific, understood reason.
Step 4 — Verify Your Records with dig
After saving your records, verify them before considering the job done. As mentioned in Part 4, you can query your authoritative nameserver directly to confirm a change took effect — without waiting for caches around the world to expire.
Find your authoritative nameservers
If you don’t already know them:
dig NS yourdomain.com +shortThis returns your nameservers (e.g., ns1.servetheworld.net, ns2.servetheworld.net).
Check the root A record
dig @ns1.servetheworld.net A yourdomain.comLook at the answer section:
;; ANSWER SECTION:
yourdomain.com.         3600    IN      A       203.0.113.50
The IP address in the last column should match what you entered.
Check the www CNAME
dig @ns1.servetheworld.net CNAME www.yourdomain.comExpected output:
;; ANSWER SECTION:
www.yourdomain.com.     3600    IN      CNAME   yourdomain.com.
Check a subdomain
dig @ns1.servetheworld.net A blog.yourdomain.comAfter DNS checks: test in the browser
DNS verification confirms the records are correct. But DNS is only half the story — assuming you’re running a website, your web server also needs to be configured to respond to requests for your domain name. Once dig shows the right values, open a browser and test:
http://yourdomain.com— does the site load?http://www.yourdomain.com— does it load the same site?http://blog.yourdomain.com— does it load the blog?
If dig returns the correct IP but the browser shows an error, the problem is on the server side — web server configuration, firewall rules, or the application itself — not DNS.
Quick Reference
| What you’re pointing | Record type | Name field | RDATA |
|---|---|---|---|
| Root domain → server IP | A | @ |
Server IPv4 address |
| Root domain → server IPv6 | AAAA | @ |
Server IPv6 address |
www → root domain |
CNAME | www |
yourdomain.com. |
www → server IP directly |
A | www |
Server IPv4 address |
| Subdomain → server IP | A | blog (label only) |
Server IPv4 address |
| Subdomain → hosted platform | CNAME | shop (label only) |
Platform hostname |
Conclusion
Pointing a domain at a website is a matter of answering one question for each name: IP address or hostname? A records map names to IPs. CNAMEs map names to other names. The root domain always gets an A record. Everything else follows from there.
Set up both @ and www, add subdomains as needed, verify each one with dig, and test in the browser. That’s the complete workflow.
In Part 6, we shift from web traffic to email. You’ll learn how MX records route incoming mail to the right server, and how SPF, DKIM, and DMARC records protect your outgoing mail from ending up in spam folders.
Next steps: